1. Navigate to the Details View of the “Develop Job Description” process, and click on the 
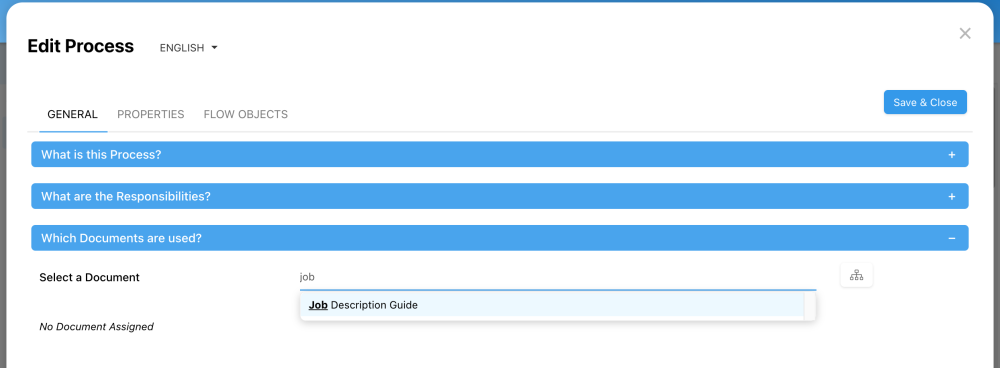
2. Navigate to the “Which Documents are used?” section, type the name of the document you want to add, and select it to assign it to the process. Click on the 

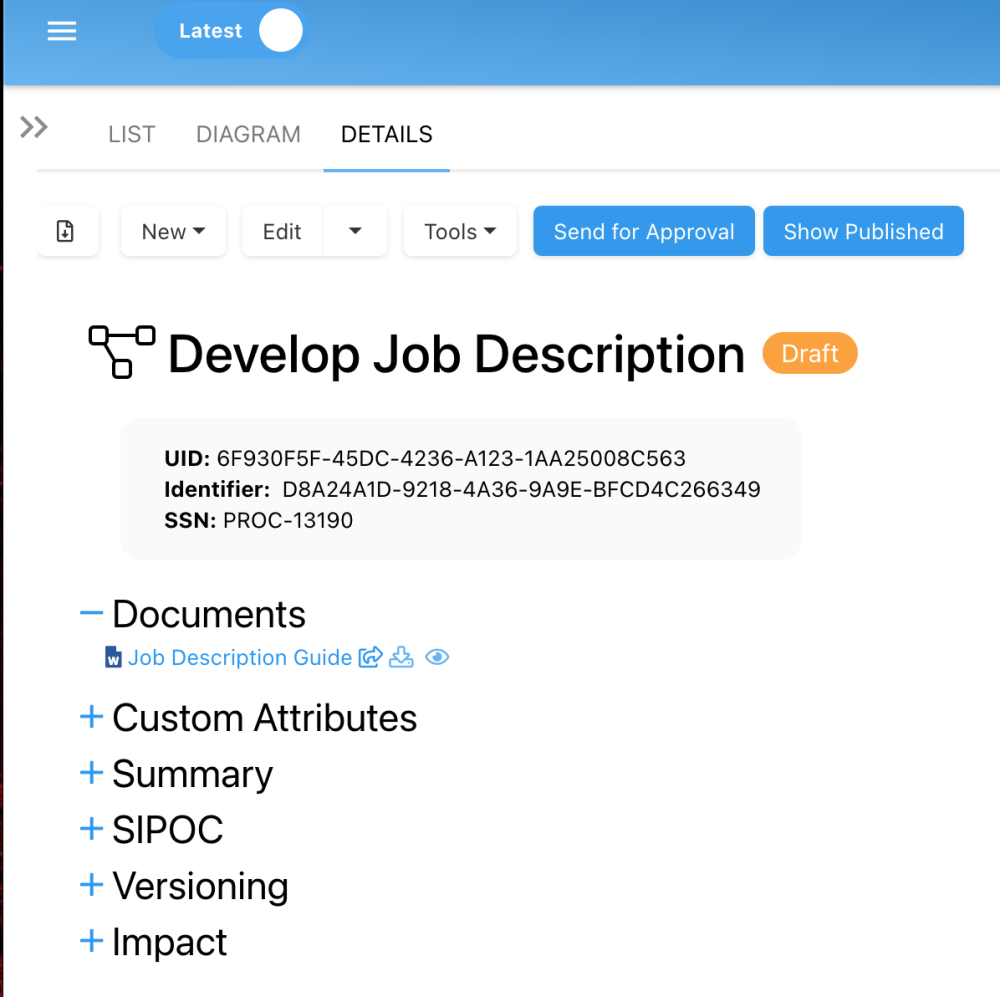
3. The document will now be displayed in the Details View of the process “Develop Job Description” under the section “Documents.” Click on the 

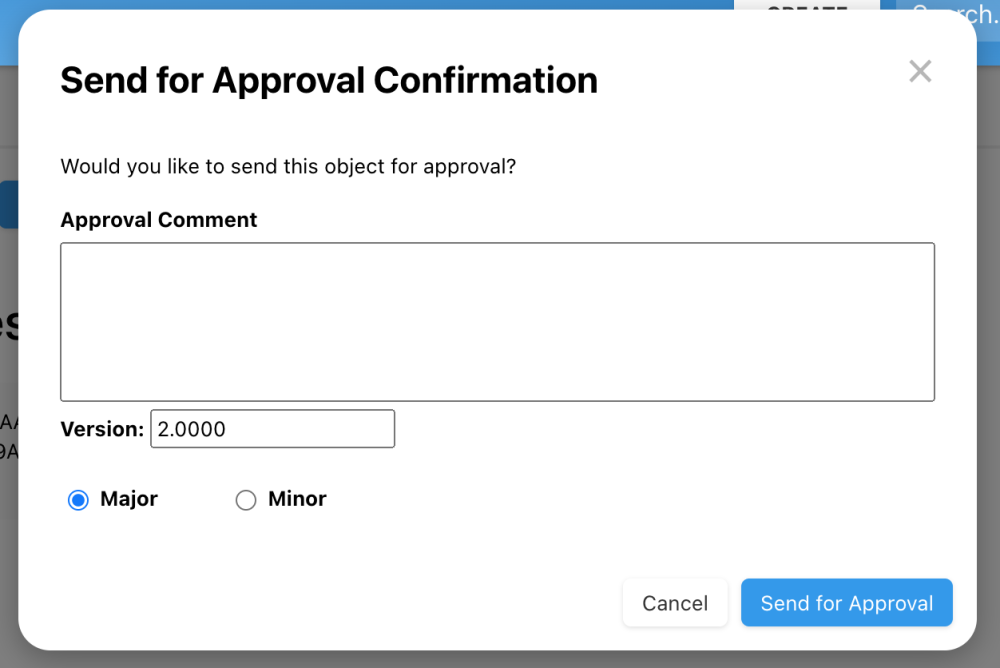
4. The button 


5. Since your user is the “HR Manager,” and we previously set the “HR Manager” as the approver, you now automatically received a notification letting you know you need to approve or reject the changes made to the process. The notification appears on the top-right of your EPC page with this icon 

Need more help with this?
Visit the Support Portal


 icons are available next to the document, allowing users to navigate to, download or preview the document.