
The Dispatch is the first screen you will see after creating an account. To start setting it up you can change to Admin Panel where you can select your preferences. To do this select the button on top “Admin”.

This panel will show you an overview of your company’s numbers, easy access to the most relevant information of your business and links to material that will guide you through the different functions of the systems.
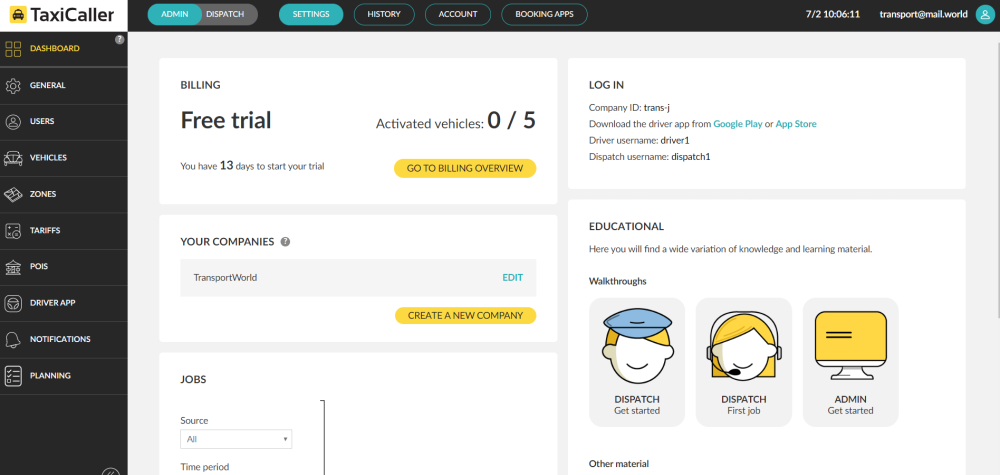
During your trial, you will be able to see a link to the dispatch console, the Google Play app, and the Apple Store app.
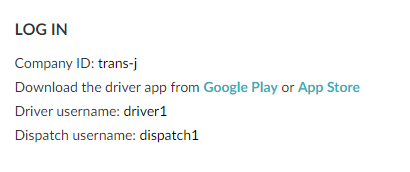
The system by default creates a user and a vehicle that you will be able to use to login in directly and start testing the system. You will be able to change those credentials later on.
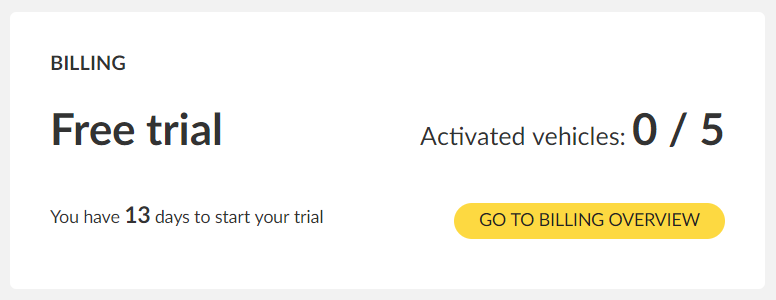
The dashboard will also display information about your billing status and your activated vehicles.
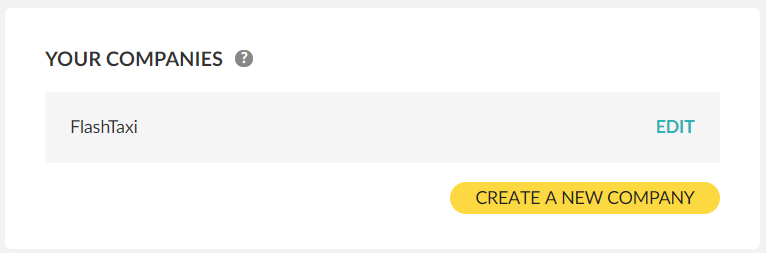
Additionally, you will be able to create a multi-company profile in your account if you would like to manage more than one fleet.
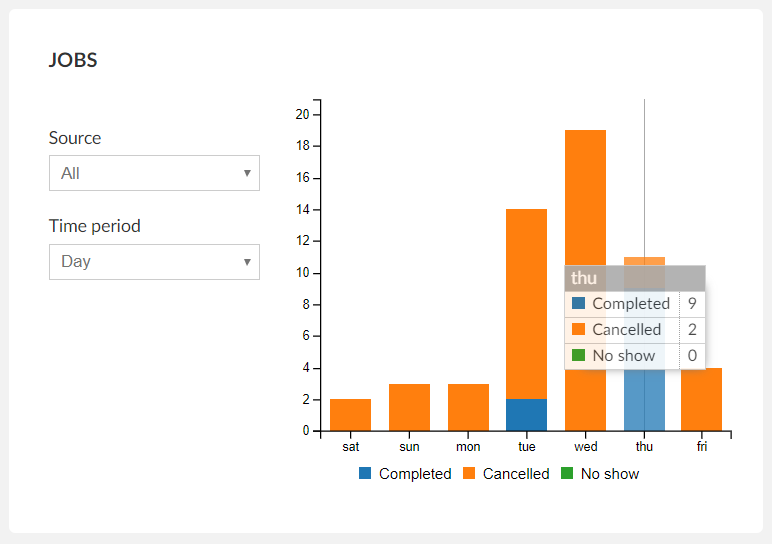
Finally, the system will show your company’s statistics at a high level; and by placing the cursor over the graph the system will display specific information about that parameter.
Navigating the TaxiCaller Admin Panel
The TaxiCaller Admin Panel is a robust application that comprises several functionalities.
To experience the best of the system take a look at the section below where you will find some suggestions on how can you navigate into the system.
The system is structured into three main menus where you will access all of the functionalities.

The four main buttons at the top of the Admin Panel will be the main menu or menu 1 of the Admin Panel. The sections are divided by function.

Clicking on each section will display the second menu where you can access all the functionalities within that feature.
The Settings Section will be the place where you will be able to set your company in the system from scratch.
You will find all the options of Settings Section in the left menu or menu 2. When clicking the menu 2, the system will display all the functionalities of this feature that will be available to navigate in menu 3.
When navigating into the manual, a lot of times we will recall the route where you can find a particular feature.
The notation of this route will be displayed as Menu1>Menu2>Menu3>Feature Name.
As for example: Settings>General>General Settings>Payment Options.

In the Settings Section, you will be able to set your vehicles, users, zones, tariffs, points of interest, among others.
In the History Section, you can see all the records about jobs, see your statistics and generate reports.
In the Account Section, you will find your billing information, frequent customers, Vouchers and bank information.
In the Booking Apps Section, you can control all of your booking channels, including Web booking, Passenger app, and Reception tool.
Additionally, you will find a quick button to access to the Dispatch Console. In the Dispatch, you will be able to manage everything related to dispatch assignments, jobs, customers, alarms, among others. The functionalities of the dispatch section are set in the Settings Section of the Admin Panel. To more information about the Dispatch, visit the Dispatch Console Manual
To find more information about the system, you can access the quick links with the question mark icon from the system that will pinpoint you to that specific section in the manual.
You can also use the search function of the manual to find more information.

You will be able to access our support 24/7 and the dashboard at any time.
