The General Settings control the overall behavior of the components of the TaxiCaller Admin System.
Company ID
The Company ID is the unique identification you will use to access the Dispatch Console. You can also activate or deactivate the dispatch by ticking the box active. If your Dispatch Console is set as inactive, you will not be able to use the Dispatch software.
When logging in into the Dispatch Console you will be asked to write the Company ID and the credentials for the Dispatch User you have created. For more information on how to create a user visit the User Section. If you are starting with the trial, the software by default has created a user for the Dispatch Console and a user for the Driver App, you will be able to see these credentials in the Dashboard.

Payment Options
In the payment options, you will enable features on how would you like to be the Payment Process in the Driver App when the customer is finishing a trip.

Require the driver to specify price paid for each trip:
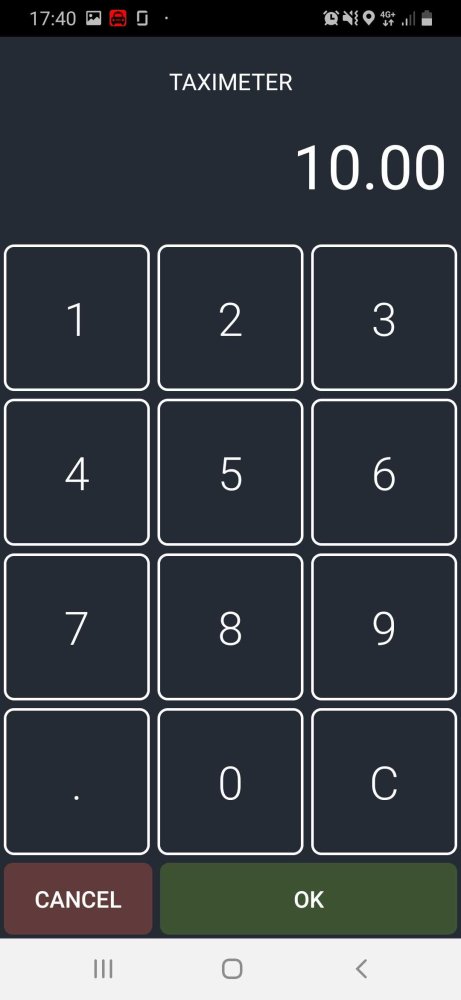
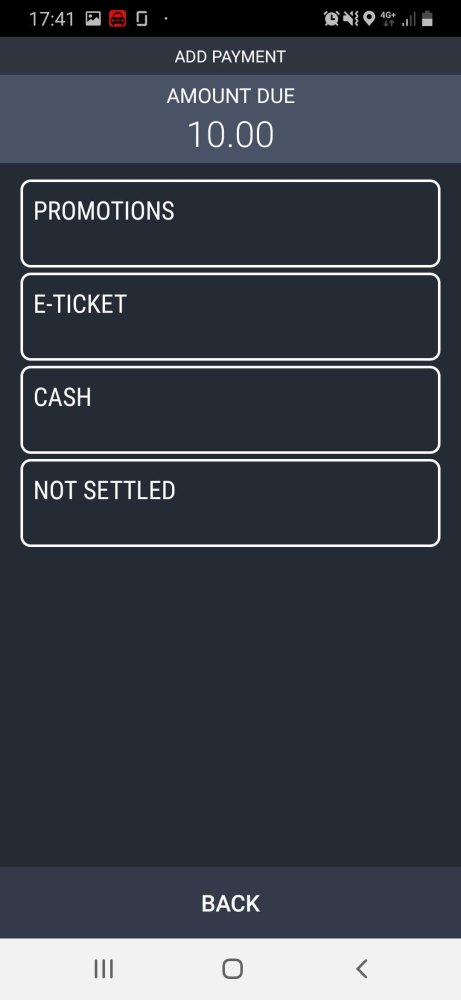
This option will display the price of the trip and the payment option to the driver in the Driver App. If you disable this option the Driver will not be able to see any information regarding the payment.
If enable the Driver App will make visible the following screens.
Price of the trip:
Payment option:
For the following features, you will need first to set your tariffs. You require to have the tariffs created in order to pick tariffs options. For more information about how to create a tariff please visit the Tariff Section.
Enable tariffs: Toggle whether you want to use the tariff options or not.
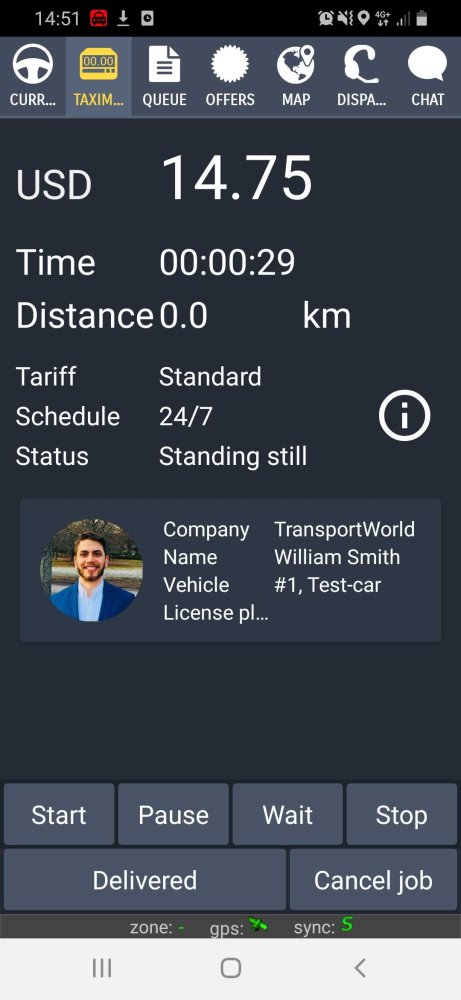
Enable the in-app taximeter in the driver app: Enables the use of the in-app taximeter in the driver app. If you have a physical taximeter device, it is recommended that you continue to use it, as any in-app taximeter is going to depend on external factors like the GPS settings and coverage of the device you’re using.
The in-app taximeter will look like this in the Driver App:
Force tariffs so drivers can’t change the predefined tariff for a type of job:
When this is disabled, the driver will get to freely choose tariffs from a list in the Driver App.
The Tariff List shown will represent the Tariff Categories set under tariffs. To learn more about tariffs go to the Tariffs Section.
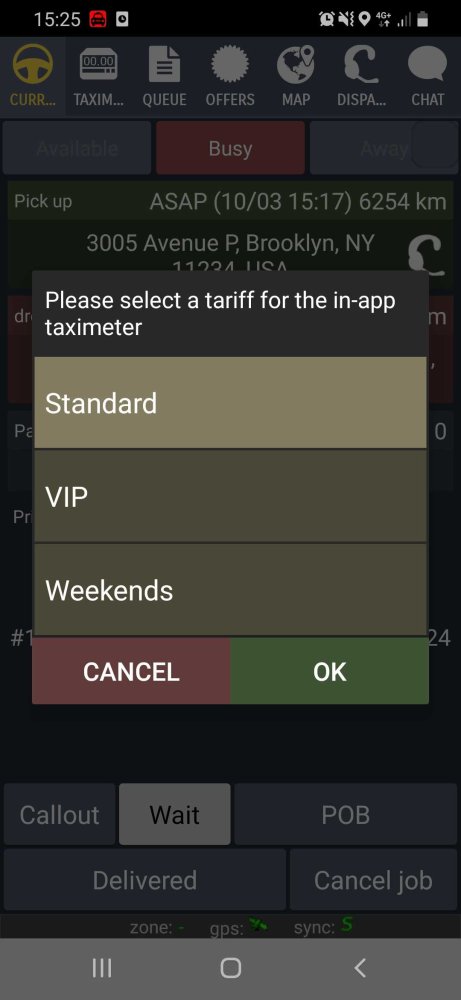
If this option is enabled, the software will automatically choose the corresponding tariff skipping this screen no matter if the booking is made via the Dispatch Console, Passenger App, Reception Tool, Website Booking or if it is a street job made in the Driver App.
Enable the advanced payment flow in the driver app:
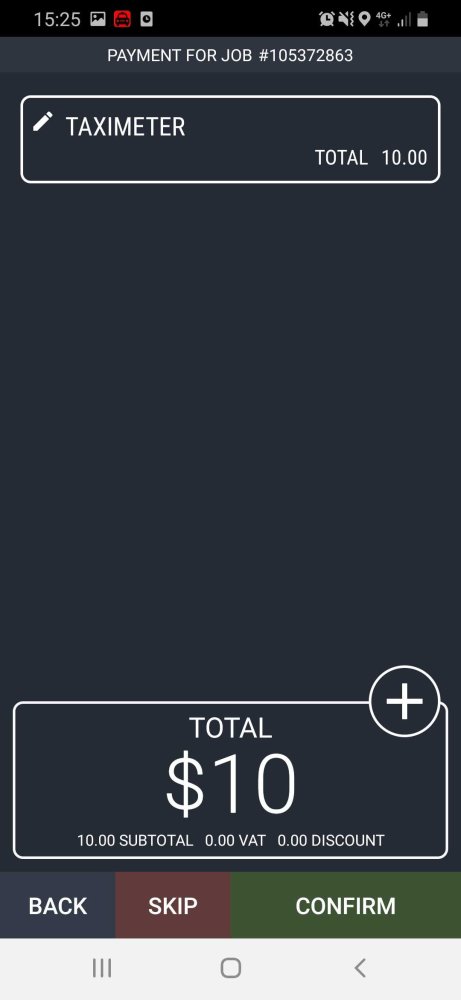
This feature will enable the Driver to choose additional payment options like Extras, for example, tolls.
This feature enabled will allow you to click on the plus sign during the Payment Process in the Driver App when finishing a job. It will display an additional window in which you will be able to choose your extras.
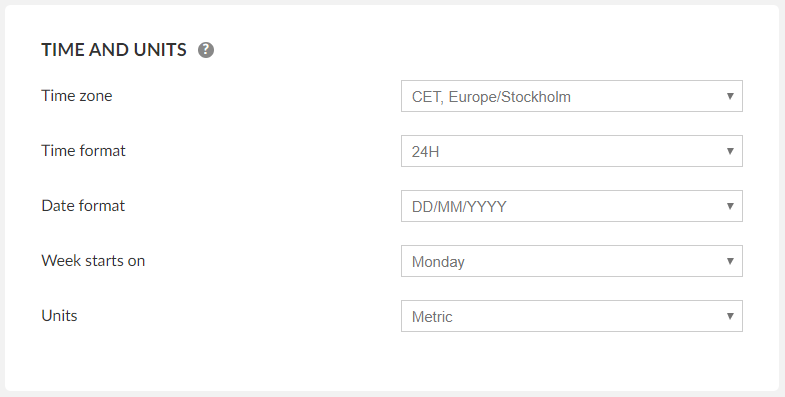
Time and Units
Here you can select your time zone that will apply to your entire account. It is important to configure the correct time zone, date format and units for the system to display the information as you need it and to make sure that the jobs are booked at the time desired.
Appearance
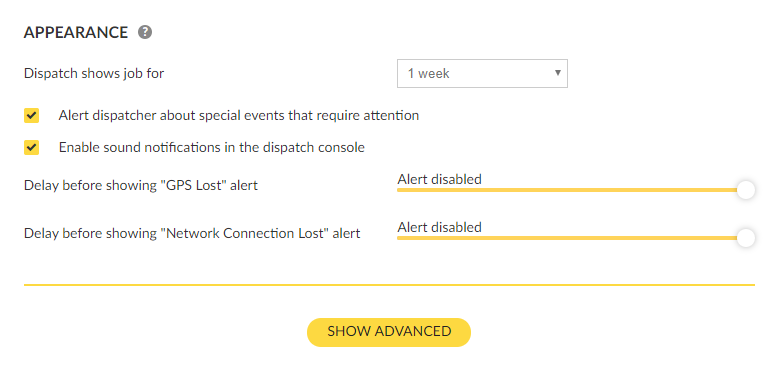
Dispatch shows job for: Determines how far ahead the dispatch will show future jobs. You can see these jobs in the Unassigned, Assigned and Active Tab in the Dispatch Console.
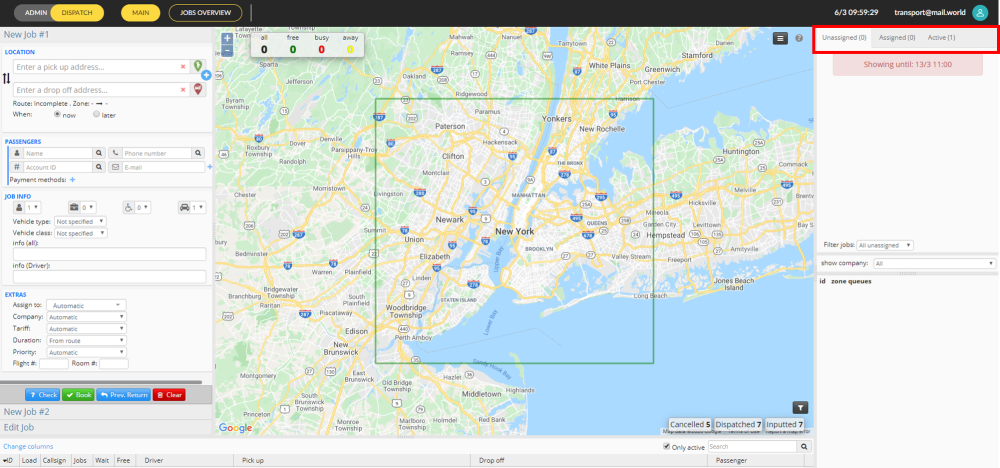
For more information about the Dispatch Console visit the Dispatch Manual.
Alert dispatcher about special events that require attention: Enable this function in order to activate Alerts in the Dispatch Console. You will receive Alert notifications in the Dispatch.

For more information about this topic visit the Alerts Section that in the Dispatch Manual.
Alert dispatchers about late pickups
This setting will send alerts for when vehicles are late to the pick up location. When a vehicle is more than 3 minutes late it will send its first alert, followed by an additional alert each minute. These alerts can be found in the job-tab of the dispatch console, as well as on the map where pick up point is. If you click on the red marker on the map you will be brought to the job and the vehicle which is late.
To see the alert on the map you first need to enable the Alarms filter in the dispatch console

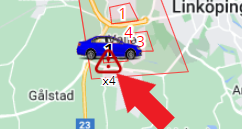
The red icon on the screenshot above is to indicate where the alarm is, click it and you will be brought to the edit view for the job (under New Job#1) as well as open the vehicle pane for that vehicle.

When hovering over, you will see one alert per minute (one timestamp per alert)
Alert 1 13/5 11:08 Pick-up time
Alert 2 13/5 11:07 PIck-up time
etc
Alert dispatchers about vehicle driving in wrong direction
This setting is similar to the “alert dispatchers about late pickups” where it will send a warning on the map and in the job-tab for if a vehicle which is already late is also driving in the wrong direction, as shown on the screenshot above this timestamp is titled 13/5 11:07: pickup distance
Enable sound notifications in the Dispatch Console: You can further configure which sounds to activate in the Dispatch, visit the Preferences Section in the Dispatch Manual.


