
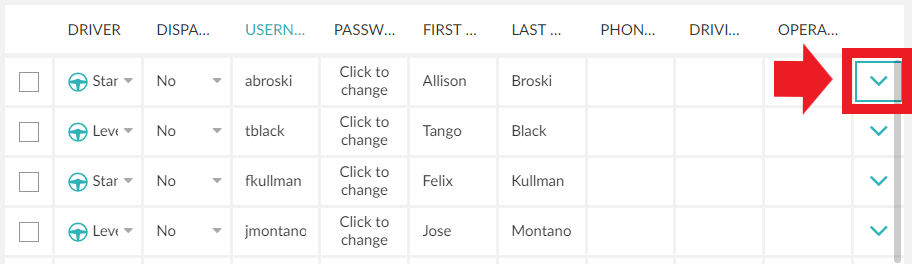
To access to the advanced options for users click on the arrow to display de menu.
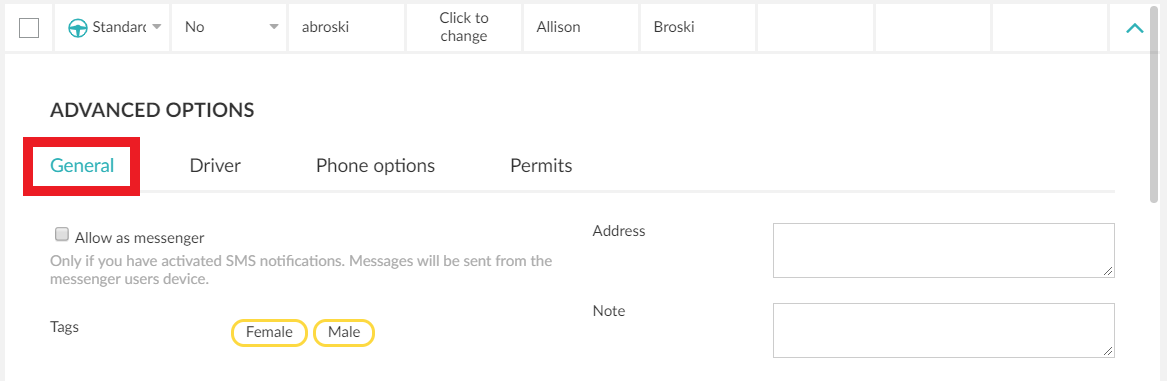
General
In this section, you can specify if your user is going to be a messenger. You can also add an Address and a Note for the user if desired. This information will not be available to passengers or unauthorized users.
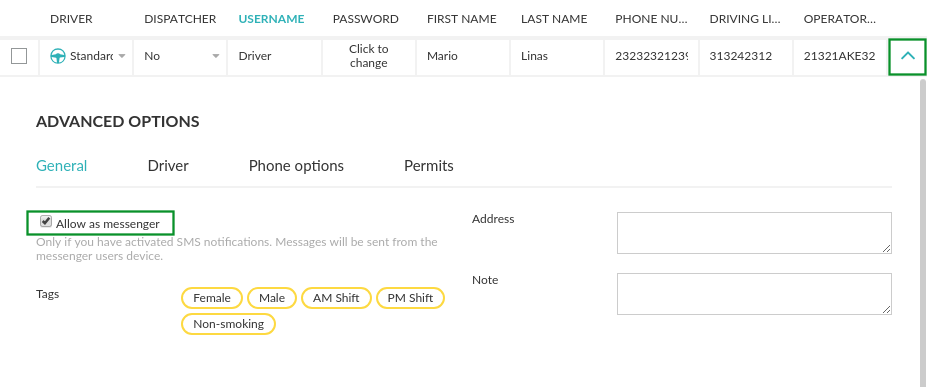
Allow as messenger
If you have activated SMS notifications, the messages will be sent from the device where the messenger user is logged in.
These messages can be sent directly from the Driver App. For example, a message can be sent to the passenger when a driver is assigned to their ride. For this to work, the driver in question needs to also have the messenger role and their driver app must be installed in a device capable of sending SMS.
To enable this role check the box “Allow as messenger” and save the changes on the top right corner of the panel.
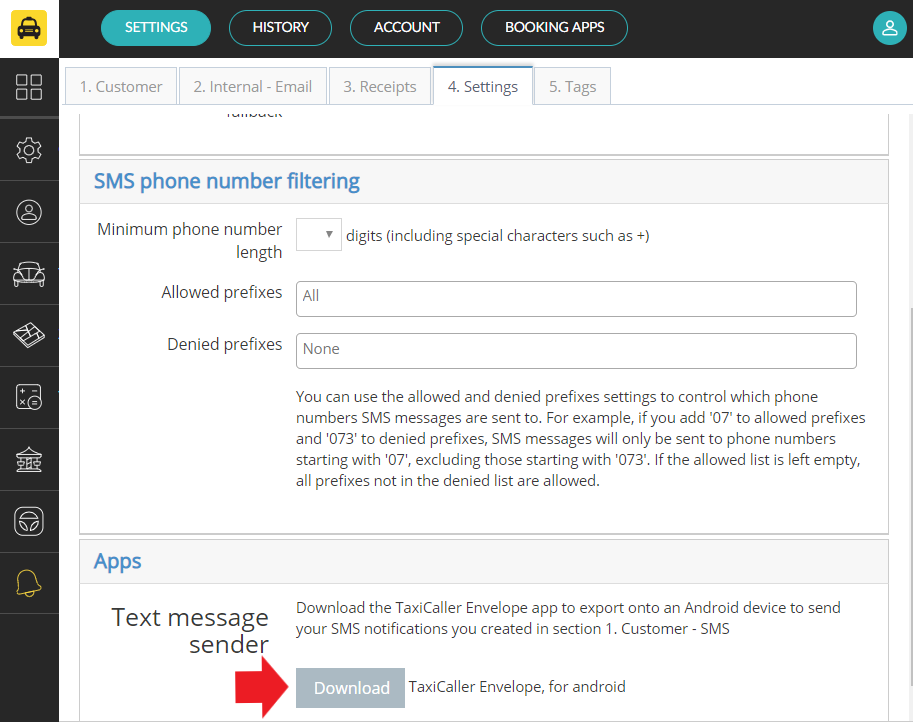
The Envelope app
If no drivers are assigned as messengers, but you still want the SMS notification functionality to work, you’ll need to have at least one Android device capable of sending SMS with the Envelope app installed. You can download the Envelope app from the Admin panel > Settings > Notifications > Settings > Apps; download it and then export it to an Android device.
Tags
It is possible to enable or disable specific tags for each user. These tags can then be applied to jobs to ensure that only drivers with the matching tags are considered for the job.
Follow the link for more information about user tags.
Driver
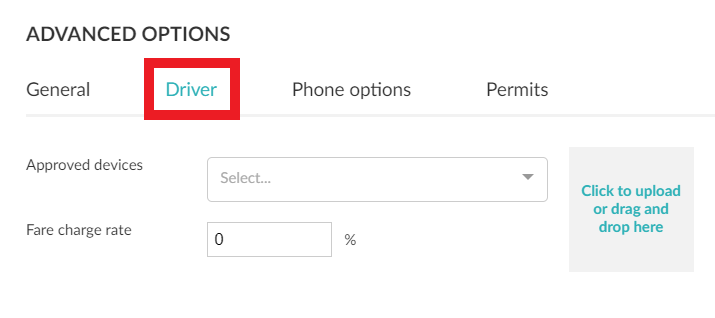
Approved devices
Use this option to limit which device(s) a driver can use. Simply add the Device ID to the “approved devices” field and the driver will only be able to start shifts from that specific device. You can find the unique Device ID at the bottom of the log-in screen in the Driver App.
Fare change rate
This option is to be with the Bank feature. You can read more about this here.
Driver picture
Add a picture that may show when a passenger books a ride.
Dispatcher options
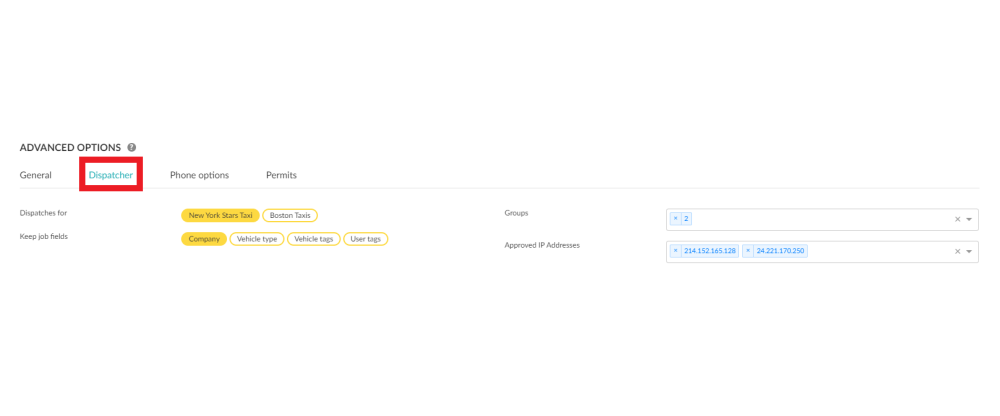
Dispatches for
This allows you to select which company profile(s) the dispatcher dispatches for. If left unmarked the dispatcher dispatches for all of the company profile’s on the account.
Keep job fields
This feature remembers the first selections of the shift. For example, if you have the ability to work for multiple company profiles but you mainly work for “New York Star Taxis” —if you select New York Star Taxis at the beginning of your shift this is the new default for the coming jobs until you change it manually.
Groups
The group feature is used to organize vehicles and dispatcher users into specific groups, restricting their interaction to within those groups.
For example, if both a dispatcher and a vehicle are assigned to Group 1, that dispatcher will only be able to assign jobs to vehicles in Group 1. Similarly, vehicles in Group 1 will only receive jobs from dispatchers assigned to the same group.
Approved IP Addresses
This setting enables you to control where a dispatcher can log in from. If you enter one or more approved IP addresses, the dispatcher will only be able to sign in from those networks (for example, only from your office). If no IP addresses are entered, the dispatcher can log in from any network or location.
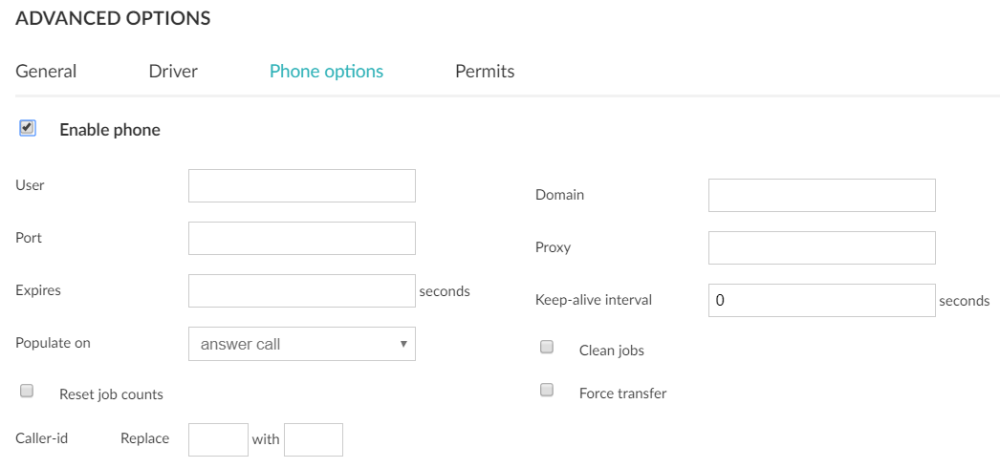
Phone options
Enable phone
For this feature to work, you will need first to enable the phone options in a dispatch user.

Then, you will need to get a VoIP service provider to be able to get the credentials needed to connect with Taxicaller softphone.
We have a standalone softphone client that technically should be compatible with any VoIP provider that supports the SIP standard, so if you have a VoIP provider in mind but are not sure whether they would be compatible with our softphone or not, you should check if that provider can connect their VoIP service to a third-party softphone using the SIP standard.
To download Taxicaller softphone please click on the following link Download Taxicaller Softphone, you will need to have installed the softphone before trying to integrate with your VoIP provider.
Caller ID to display
This is a legacy option that is not supported anymore, since the VoIP provider is handling the ability to show the caller-ID now rather than the softphone itself.
Once you have:
- Enabled the dispatch user
- Downloaded the Taxicaller softphone
- Gotten your credentials from your VoIP provider
You will need now to configure the Dispatch user both in the Admin Panel and Dispatch Consol.

The VoIP providers that Taxicaller recommends are:
Ring Central http://www.ringcentral.com/
VOIP Studio http://voipstudio.com
Sip Trunk (USA) https://www.sip.us/
Cellip (Sweden) https://www.cellip.com/
If you are interested in integrating with VoIPStudio please check the following article: “How can I integrate VoIPStudio?”: https://www.taxicaller.com/en/help/kb/KV1uIBudEUpTtmO7
Enable CallerId
The Caller ID option uses TaxiCaller’s call information gateway called PhoneLink. When enabled, a WebSocket connection is established between the customer’s VoIP system and our dispatch platform. This connection allows the your or your VoiP providers system to send basic call details that then appear in the dispatch console. These details include:
- Who’s calling (caller number)
- Which extension is ringing (e.g., dispatcher 200)
- The call status (OFFERING, CONNECTED, ON_HOLD, DROPPED)
In short, this lets you use your VoIP solution without switching to our softphone, while still displaying incoming call information directly in the dispatch console.
Permits
To add permits to individual users or vehicles, you first need to create and enable a permit category in the permits tab.
Once you have created and enabled permits, you can then set and update the permit’s expiry date directly under the user.
For more information about user permits, check here.