
The DeliverPoint Configuration Wizard provides a user interface that presents information on how to configure the installation, as well as obtain information from you about the pending installation process. Ensure you read each screen carefully before clicking Next to move to the next screen.
Before you start the DeliverPoint configuration process, be sure to complete the following:
- Install the DeliverPoint binaries.
- Create an Active Directory (AD) username for the DeliverPoint service account, and ensure that it is NOT disabled in AD.
- Inform your database administrator (DBA) that the DeliverPoint configuration wizard will create a new database, and ensure the DeliverPoint service account, you created in the above point, has the dbcreator and securityadmin server roles on the SQL Server where the database is to be created.
- Confirm the SharePoint Administration (SPAdminV4) service is running successfully on all your Web Front-ends.
- The DeliverPoint service account also requires Read-Write access to the DeliverPointInstall.log file, which is created in the Temp folder for the user ID that you used to install DeliverPoint. The configuration of DeliverPoint will fail it the service account does not have this permission to the Temp folder, which is set by an environmental variable that by default is set to AppData\Local\Temp. Therefore, navigate to folder set by the TEMP environment variable, such as, C:\Users\<install account>\AppData\Local folder and alter the security properties of the Temp folder for the DeliverPoint service account. If there are any errors during the configuration of DeliverPoint you will see them in the DeliverPointInstall.log file, for example, if you have not provided the DeliverPoint read-write access to the Temp folder, the error message in the DeliverPointInstall.log file, will be similar to:
Running database setup
  SERVER: sql1.trainsbydave.com; DATABASE DP2013; User: trainsbydave\dpservice
  Impersonating user
System.UnauthorizedAccessException: Access to the path 'C:\Users\brett.DP\AppData\Local\TempDeliverPointInstall.log' is denied.
To configure DeliverPoint use the following steps:
- Once you have installed the DeliverPoint binaries, start the DeliverPoint Configuration Wizard, which you can find on:
- Windows Server® 2008 by clicking Start, All Programs, DeliverPoint Configuration Wizard and there should be a shortcut to the configuration wizard on your desktop.
- Windows Server® 2012 and 2016, you can find the DeliverPoint Configuration Wizard on the Start screen.
If the User Account Control dialog box is displayed, click Yes.
The first step of the DeliverPoint Configuration Wizard is displayed.
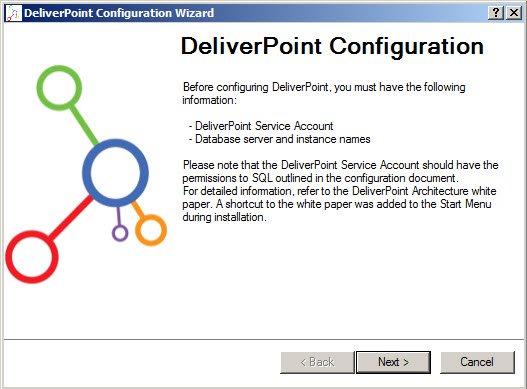
Click Next to display the Impersonation Account step.

In the DB Impersonation User Name text box, type the DeliverPoint service account credentials. Use the DOMAIN\username format to enter the AD account. In the DB Impersonation User Password text box, type the password of the service account. If you have previously installed DeliverPoint then a checkbox is displayed which when selected allows you to save the previous installation settings.
Click Next.
The configuration wizard checks that the you have entered a valid AD account and that you have not previously installed DeliverPoint. If the credentials are not valid, then a Invalid Credentials dialog box is displayed, click OK and then enter valid AD credentials and then click Next.
The Database Configuration step is displayed.
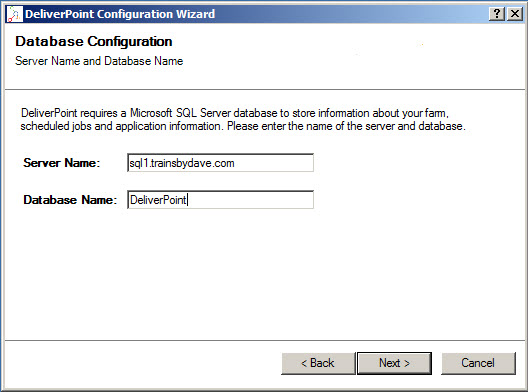
In the Server Name text box, type the name of the server running SQL Server where the DeliverPoint database should be created. In the Database Name text box, type the name of the DeliverPoint database.
Click Next to display the Configuration Summary step.

Optionally choose “Compatible With All SharePoint Versions”. If you have performed an upgrade from SharePoint 2010 to 2013, for example, and still have some team sites or pages using the SharePoint 2010 look and feel. DeliverPoint will adhere to both master pages if this option is selected.
Check that the details are correct, and then click Next to complete the installation, which includes the following:
The DeliverPoint database is created. The DeliverPoint SharePoint® farm solution is added and deployed. The DeliverPoint user interface (UI) is activated for each Web Application. The three SharePoint® timer jobs are installed.
This process could take between 5-15 minutes to complete. When complete the Configuration Complete message is displayed.
Click Next to display the Success step, and then click Finish.

Feedback
Copyright © 2025 Lightning Tools
—
Powered by 
Post your comment on this topic.
Michael McKee wrote: Aug 28, 2014
The DeliverPoint service account also requires Read-Write access to the DeliverPointInstall.log, which is located in the AppData\Local folder of the Install account. The install fails without this permission. Recommend you add this to the "Before you start" or Step 3 info. [Starting suggestion for text below.]
\AppData\Local folder and Share the Temp folder there with the DeliverPoint Service account, enabling writing to the DeliverPointInstall.log.
Navigate to C:\Users\