When an Office 365 tenant is created, an Azure Active Directory (Azure AD) is automatically created to store all of your Office 365 users accounts and groups. In most cases, you would usually manage your Office 365 permissions from the Office 365 Admin Center, however it is possible to manage your users and groups through Azure AD or Windows PowerShell. You start with a free subscription of Azure AD, however you can upgrade to a premium version.
In the case of the DeliverPoint Add-in, consent to install the solution must be given, as the DeliverPoint Add-in needs access to the Azure AD data. You do NOT need the premium edition of Azure AD to install the DeliverPoint Add-in
The following instructions encompass 3 main steps to creating the Windows Azure Application:
- Creating a New Azure Active Directory Application
- Verifying the Permissions
- Creating a New Application Registration Key
Create a New Azure Active Directory Application
- Open your browser and launch the Microsoft Azure Portal
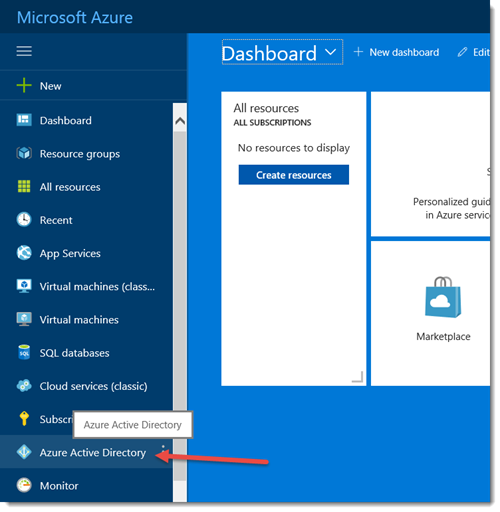
- On the Hubs Menu, select Azure Active Directory to open the Azure Active Directory Admin blade.
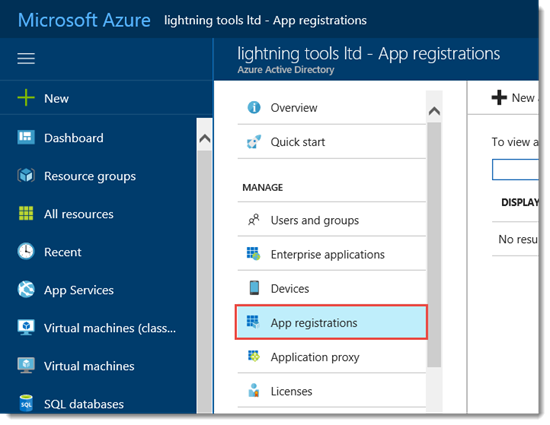
- On the Azure Active Directory blade, under Manage, select App registrations.
- On the top menu bar, click on New application registration.
- Configure your new App by entering the following details:
- Name – DeliverPoint Add-In
- Application – Web App/API
- URL – https:// company.onmicrosoft.com (where company is the prefix of your onmicrosoft.com URL)

- Click Create
You should now see your new App in the App Registration List.
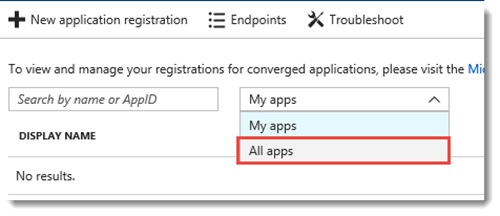
Note: If you do not see the newly created app, change the drop down menu from My Apps to All Apps.
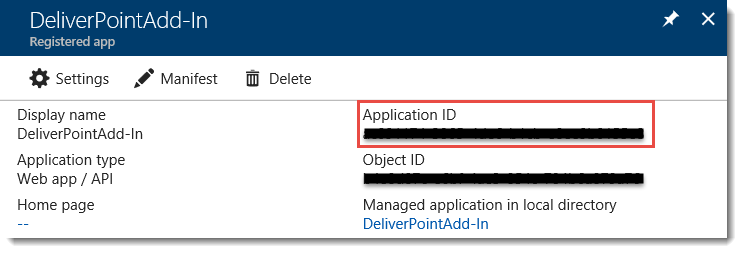
Take note of the Application ID, which will be required later during the Configure DeliverPoint Add-In stage.
Verify Permissions
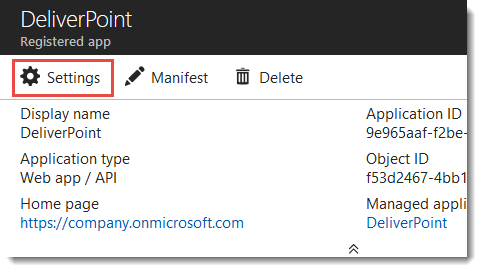
- Set the Required permissions by selecting your new DeliverPoint Add-In Application from the above list.
- Click on Settings, which will extend the blade on the right with more options. Select Required permissions.
- In Required Permissions select Windows Azure Active Directory.
- On the Enable Access blade, verify the permissions match the image below, and modify if necessary.
- Close the Enable Access blade by clicking the X in the upper right-hand corner.
Create an Application Key
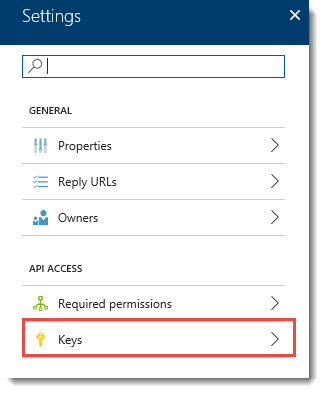
- On the DeliverPoint Add-In Settings blade, click on Keys.
- To create a new key, enter the following details under Passwords
- Description – Any description that is 16 character or less (e.g. “DeliverPointApp”)
- Expires – Select Never Expires
- Value – This will be generated upon SAVE.
- Click Save
- Copy and Save the Key, as it will be required when configuring the DeliverPoint Add-In.
Remember! You will not be able to retrieve the key once you leave this page. If you do not save the key, you will need to generate a new one.
Once the Azure Application is created, you will now have the following details required for Configuring the DeliverPoint Add-In stage.








Post your comment on this topic.