
Mounting the POS
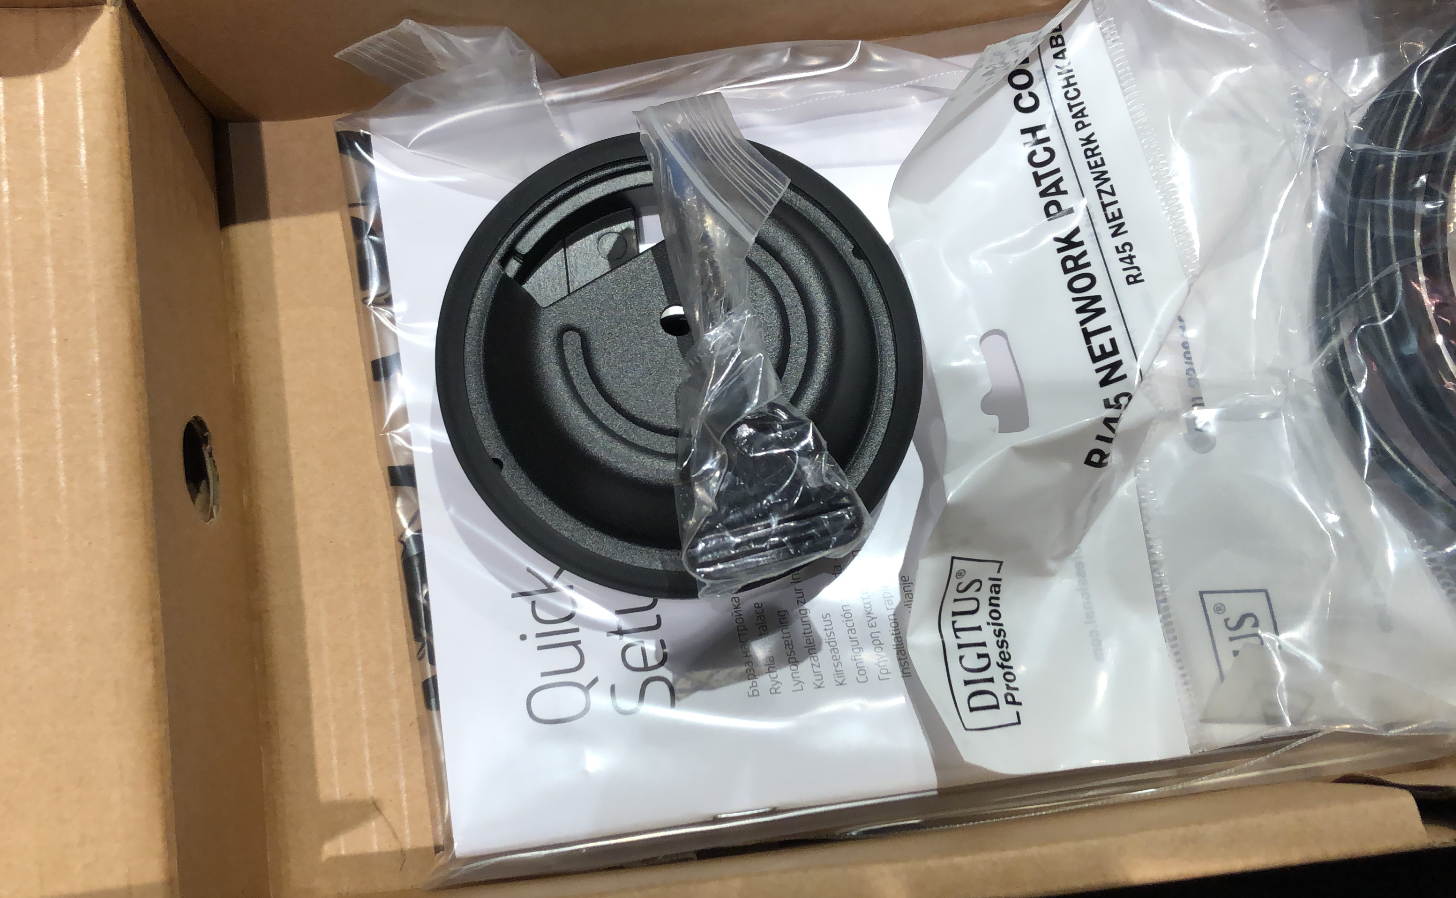
1. Find the Plug Parts that connect the POS to the Desk.
- The video below will show you, where to find the Plug Parts.
2. Pull the USB C Cable through the Top Part of the Plug and connect the USB C Cable to the POS.
3. Place the Top Part of the Plug on the Bottom of the POS.
4 Pull the USB C Cable through the Hole, and place the POS where it should be Mounted on the Desk.
- The Video below will show you how to do step 2, 3 & 4
5. Pull the USB C Cable through the Bottom part of the Plug, and Screw the Plug into the POS.


Connecting Peripherals
5. Unpack the Barcode Scanner and the Stand.
- Place the Barcode Scanner and Stand on the Desk.

6. Unpack the Epson Receipt Printer and the USB cable.

7. Connect the USB cable and the Power Supply on the bottom of the Receipt Printer.
- Remember to put the lid back on.
- Connect it to power.

8. Take the Paper from the old Receipt Printer and put it in the new Receipt Printer.
- Ask the staff for some receipt paper if needed.
- Now place the receipt printer on the desk.

9. Unpack the Customer Display
- Place the Customer Display on the Desk.


10. Unpack the Cash Drawer and pull the Preinstalled Cable from the Cash Drawer to the Receipt Printer and connect it as shown below.
- Put the Cash Drawer in the Desk.


Connecting Cables to the Connectivity HUB
11. Pull all Cables through the Desk to where the Connectivity HUB will be placed.
12. Connect a Black LAN Cable from where the Connectivity HUB will be placed to a LAN outlet in the desk.
- Make sure that the LAN socket is Patched in the Back office.
13. Connect all Cables to the Connectivity HUB
A – Power Supply
B – USB C to POS PC
C – Barcode Scanner
D – Epson Receipt Printer
E – Customer Display
F – Ethernet cable


Post your comment on this topic.