
If Pencil icon (next to Document Request) is selected, it will open a pop-up window with the following form:
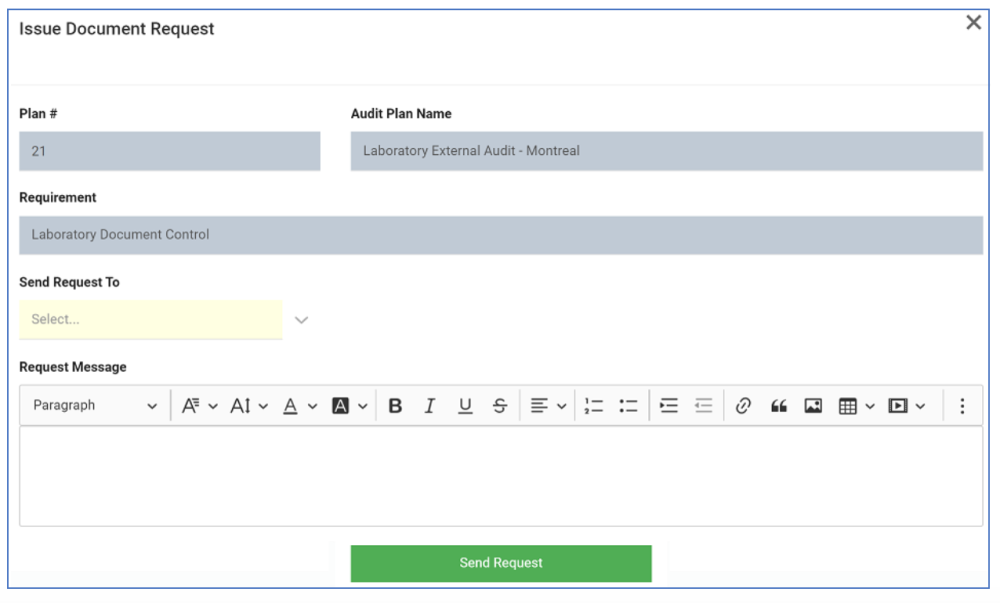
- Plan #/Audit Plan Name/Requirement: These fields are all automatically populated with the audit plan and requirement details.
- Send Request To: This is a single-select dropdown field that retrieves the list of users. It is a mandatory field. It allows you to select only one value at a time from the dropdown.
- Request Message: This is a description box that allows users to input the request message. In this field users can insert headings, bullets, images, tables, links, and media files (as well as change font colors, font sizes, background colors and more).
- Send Request: This button allows you to send the document request to the selected user.
Once the request has been sent, the selected user will receive a notification in their Pending Tasks informing them that they need to attach documents.

Clicking on the subject in Pending Tasks should direct the user to the Attach Documents form.
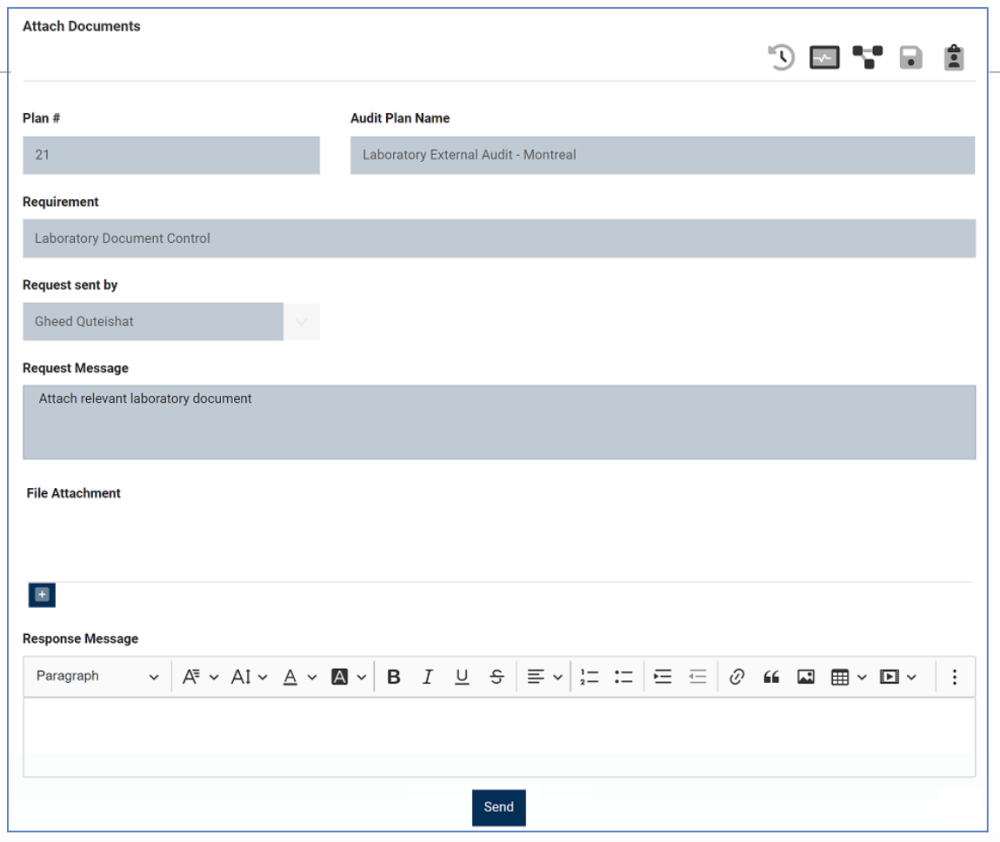
- Plan #/Audit Plan Name/Requirement/Request Sent By/Request Message: These fields are all automatically populated with information from the Issue Document Request form.
- File Attachment: This is an attachment field that allows users to attach the requested document(s).
- For more details on this function, see previous instance.
- Response Message: This is a description box that allows users to input their response to the document request. In this field users can insert headings, bullets, images, tables, links, and media files (as well as change font colors, font sizes, background colors and more).
- Send: This button allows users to send the requested document(s).
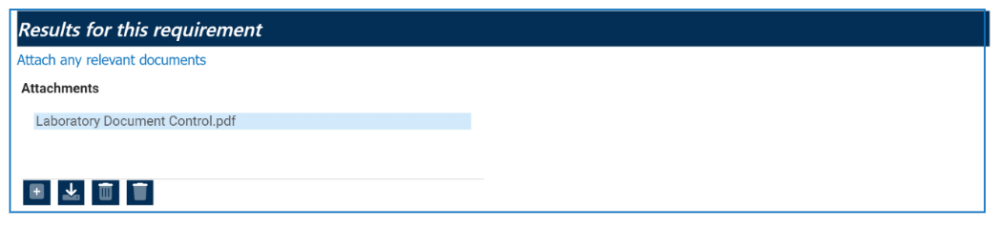
- Once sent, the attached document(s) will populate the Evidences field in the Requirement Conduct Result form (as shown in the image below).
![]()
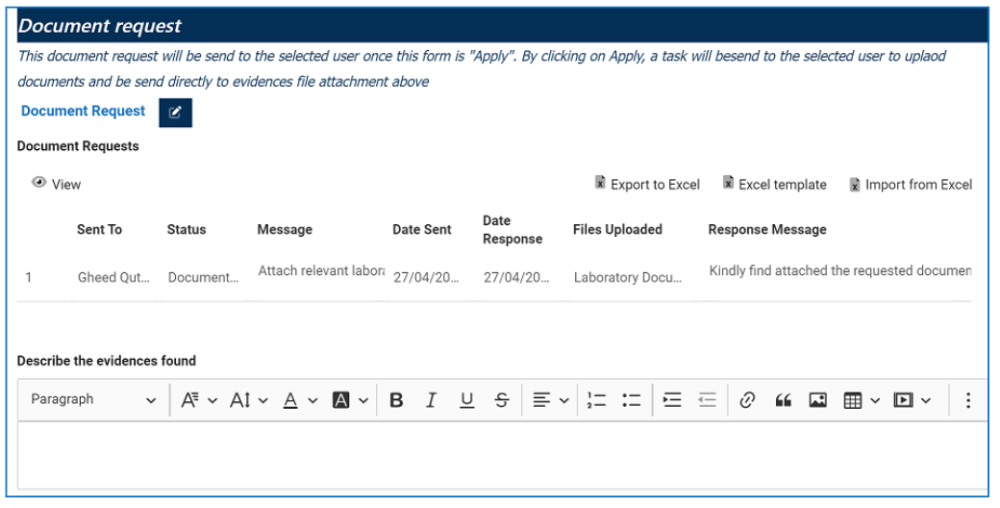
- A copy of this form will also be displayed under the Document Request section of the Requirement Conduct Result form.
![]()
- View: This button allows users to view the document request.
- To view, select the document request that you want to view from the grid and click on the View button. In viewing mode, users will be able to access the details of the document exchange (the request message, the attached file(s), the response message, etc.). Users cannot make any modifications. They can, however, download any attached files.
- Export to Excel: This button allows users to export selected columns from the grid to Excel.
- Excel Template: This button allows users to generate an Excel template of the grid.
- Import from Excel: This button allows users to import data (inside columns) from an Excel sheet into the grid.
- View: This button allows users to view the document request.
- Once sent, the attached document(s) will populate the Evidences field in the Requirement Conduct Result form (as shown in the image below).
Post your comment on this topic.