Once the Establish Contact button has been selected in the Schedule Audit form, the lead evidence collector will receive a notification in their Pending Tasks informing them that they need to assign collectors for the audit.

They will also receive an email informing them that they have a new task to do.
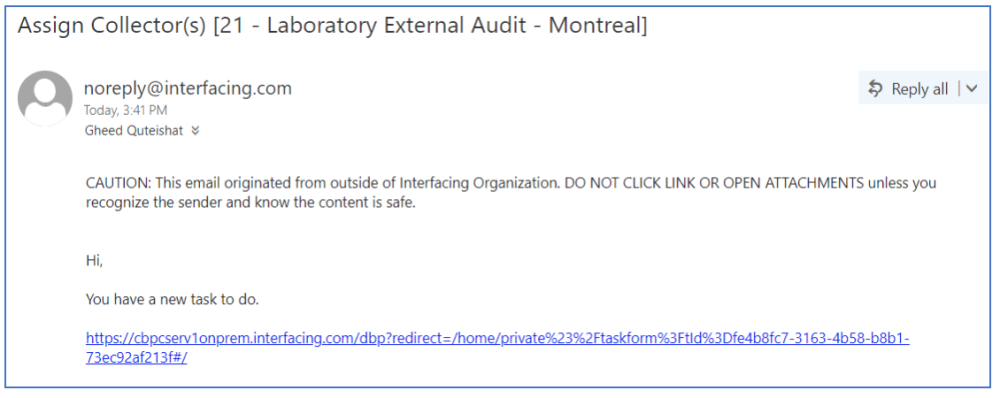
Clicking on either the subject in Pending Tasks or the link in the email should direct the lead evidence collector to the Assign Collector(s) form. This form is composed of two main sections: Audit Details and Plan Details.
1. Audit Details
Users cannot make any direct modifications in this section of the form. They can, however, perform Excel-related activities (export, import, and create an Excel template).
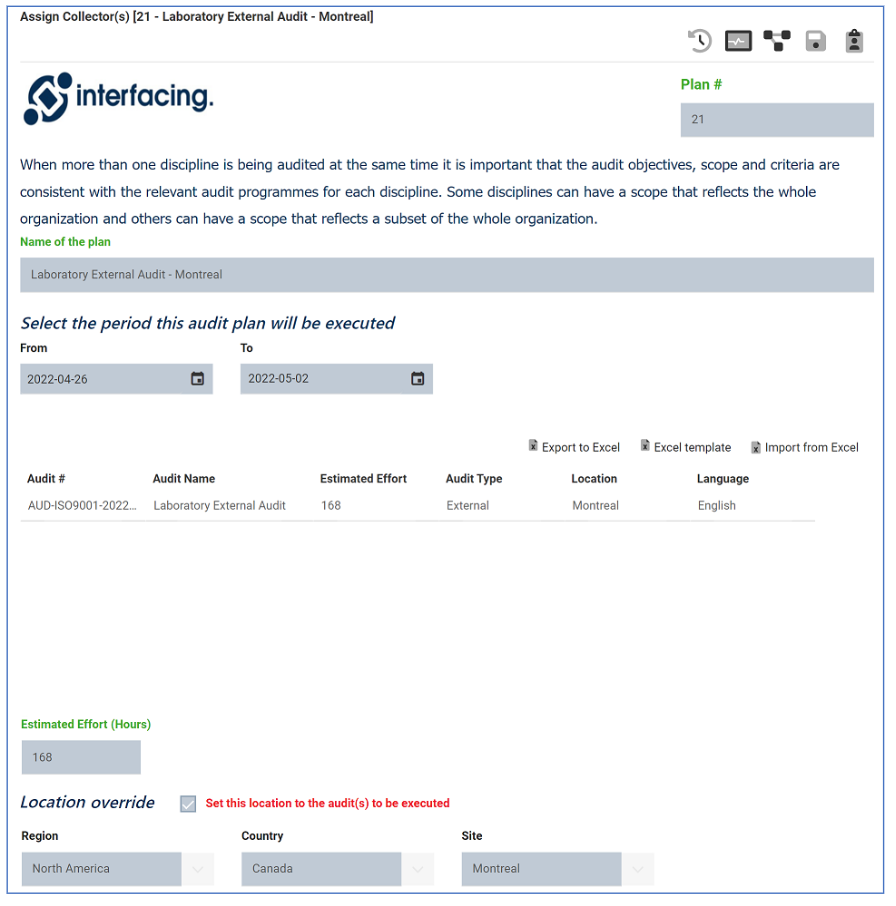
2. Plan Details
Users can make some direct modifications in this section of the form—only in the Evidences tab, however.
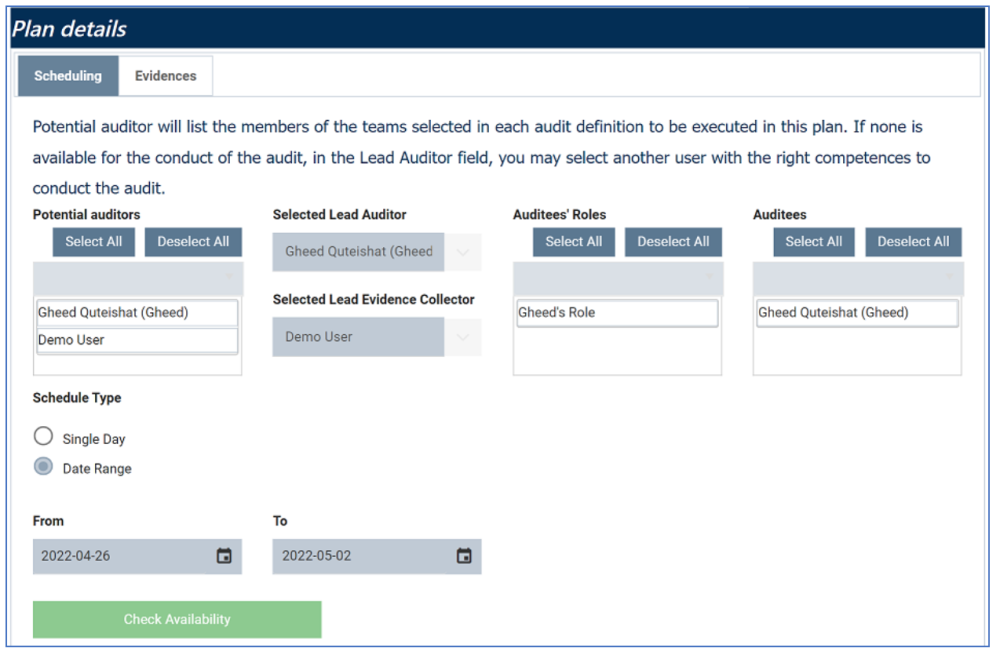
- Scheduling
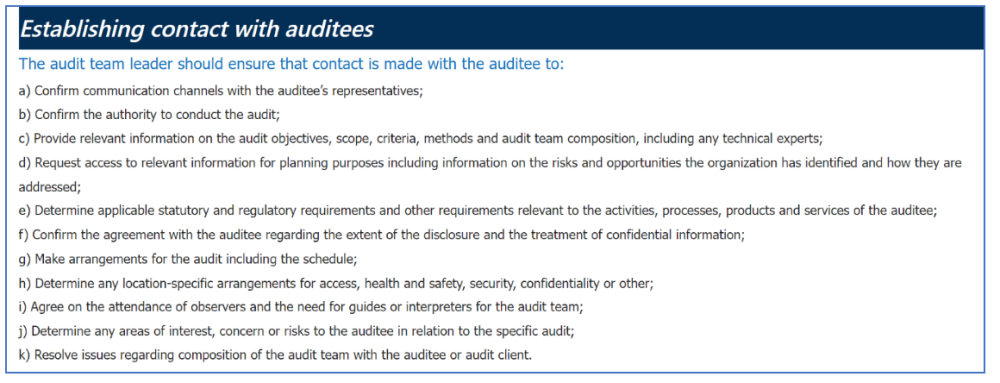
Users cannot make any direct modifications in this tab. It is used primarily to provide users with information about the audit plan and highlight the importance of establishing contact with auditees.
- Establishing Contact with Auditees
- Evidences
Users can make direct modifications in this tab.
- If the same date is set for both the first and second rounds of evidence collection, the user will later receive them in the same task. If different dates (either start or end) are set, however, the user will receive the rounds as separate tasks on the respective days.
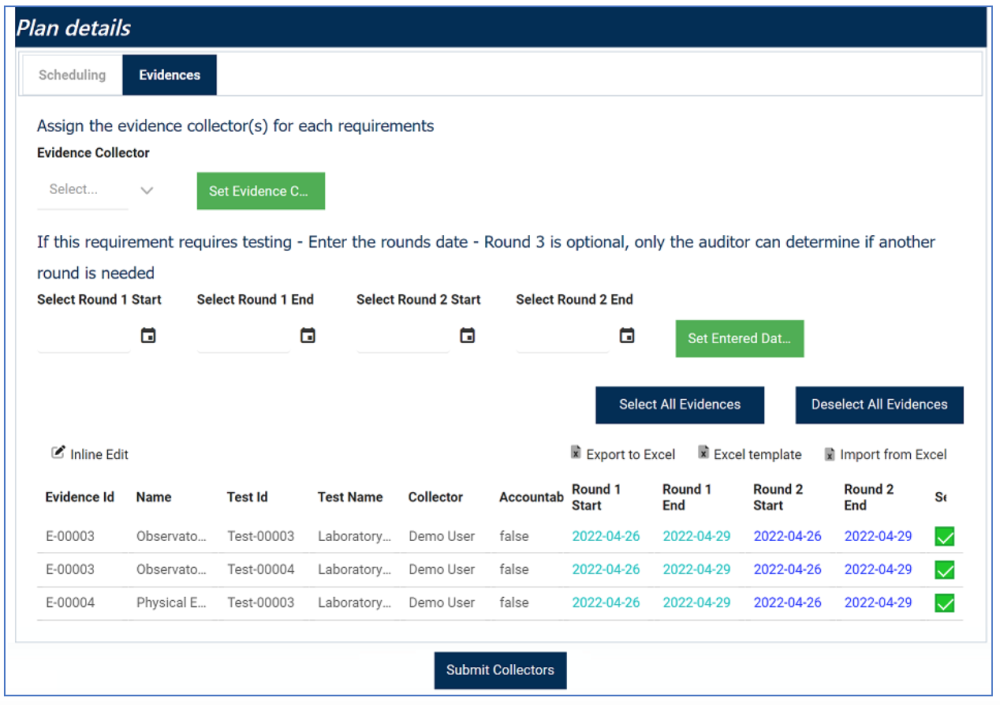
- Evidence Collector: This is a single-select dropdown field that retrieves the list of users. It allows you to select only one value at a time from the dropdown.
- Set Evidence Collector: This button allows you to assign the selected user as the evidence collector for the selected evidence requests in the grid.
- Select Round 1 Start: This is a date picker that allows users to input/select the start date for Round 1 of testing.
- Select Round 1 End: This is a date picker that allows users to input/select the end date for Round 1 of testing.
- Select Round 2 Start: This is a date picker that allows users to input/select the start date for Round 2 of testing.
- Select Round 2 End: This is a date picker that allows users to input/select the end date for Round 2 of testing.
- Set Entered Dates: This button allows users to set the entered dates for the rounds in the grid.
- Select All: This button allows users to select all evidence requests.
- Deselect All: This button allows users to deselect all evidence requests.
- Inline Edit: This button allows users to edit inside the Evidence grid. Here, it specifically allows users to manually assign the Collector, set the dates for the testing rounds, and select/deselect the Select checkbox.
- To edit inline, select the evidence request that you want to edit from the grid and click on the Inline Edit button.
- Click on either the Save button to save your changes or the Cancel button to cancel them.
- To edit inline, select the evidence request that you want to edit from the grid and click on the Inline Edit button.
- Export to Excel: This button allows users to export selected columns from the grid to Excel.
- Excel Template: This button allows users to generate an Excel template of the grid.
- Import from Excel: This button allows users to import data (inside columns) from an Excel sheet into the grid.
3. Submit Collectors
At the bottom of the Assign Collector(s) form, there is the following button:

- Submit Collectors: This button allows users to submit the selected collectors.


Post your comment on this topic.