
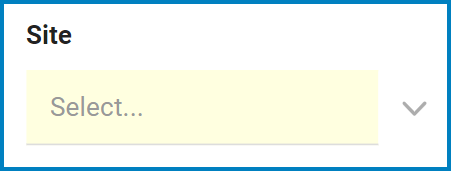
1. Audit Details
- Plan #: This field is automatically populated with the plan number/ID whenever a new audit plan is created.
- Name: This field will automatically be populated with the audit name once an audit has been added/selected. Users cannot modify the field.
- If multiple audits have been selected, all of their names will populate this field.
- From: This is a date picker that allows users to input/select the From date.
- To: This is a date picker that allows users to input/select the To date.
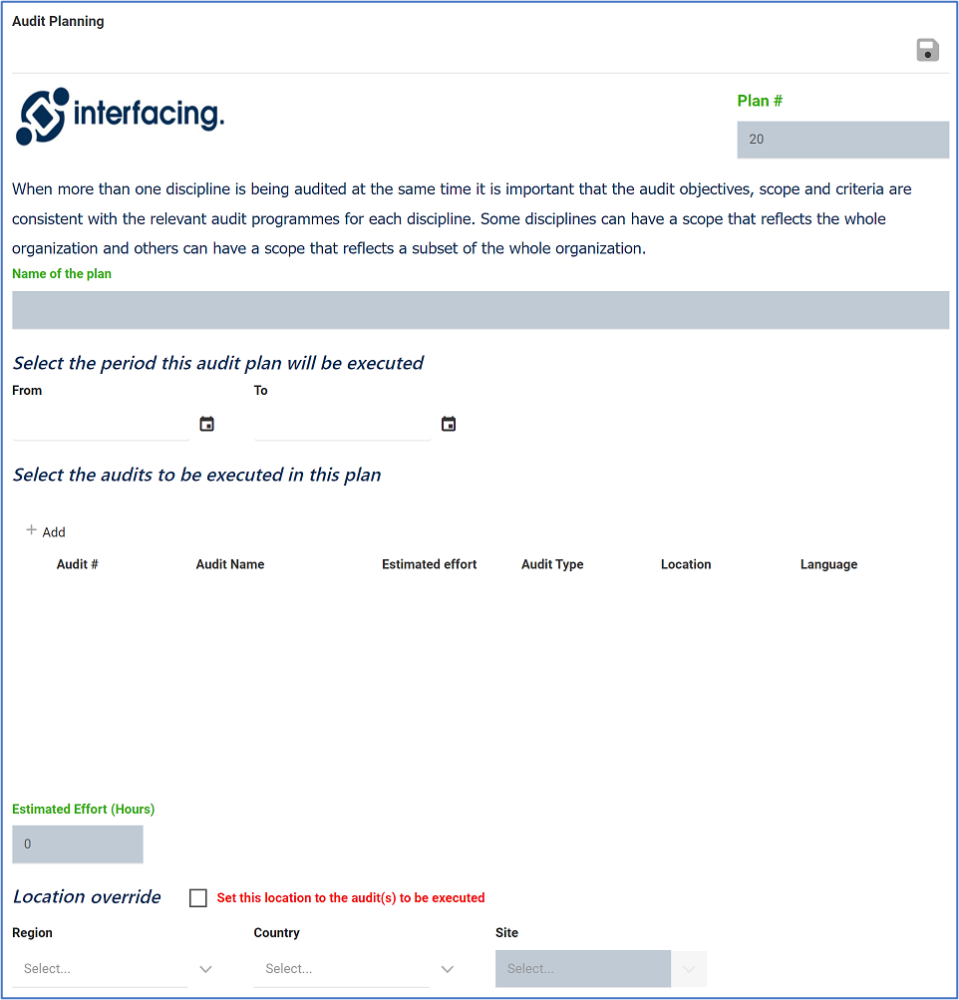
- Add: This button allows users to add an audit, thereby setting it up to be executed.
- If selected, it will open the following pop-up window:
![]()
- Select the Defined Audits: This is a single-select field that retrieves the list of defined audits—specifically, the audits for which the user has been assigned as team leader. It is a mandatory field. It allows users to select only one value at a time from the list. Users can select an audit either by inputting its name or by clicking on the arrow icon. Unlike most single-select examples, however, in which the arrow icon is used to release a dropdown menu, here, the arrow icon opens the following pop-up window instead:
![]()
- Audit #: This is a text field that allows users to input the audit number/ID.
- Audit Name: This is a text field that allows users to input the audit name.
- Location: This is single-select dropdown field that retrieves the list of location sites (from the Site List). It allows users to select only one value at a time from the dropdown.
- Filter: This button retrieves the list of requests that match with the search (based on the values you entered).
- Clear Filter: This button allows users to clear the filters that were used in the previous search.
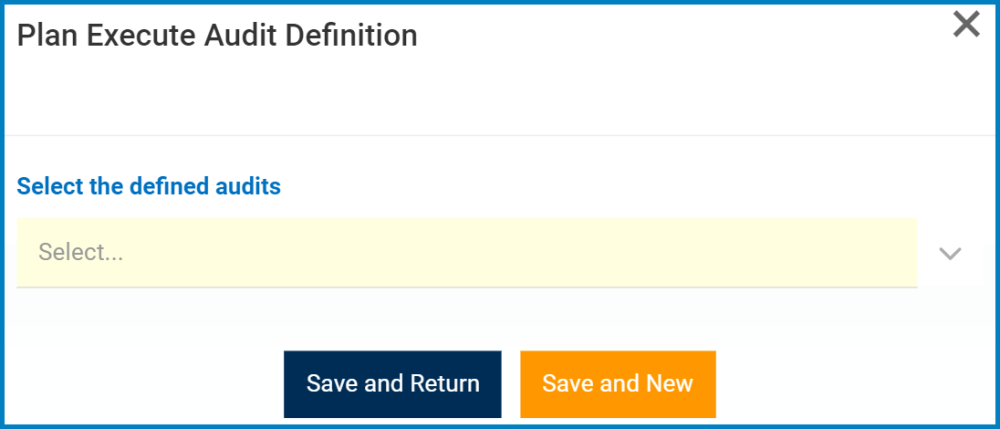
- Note: To select an audit for execution, users will need to double-click on the audit from the grid. Its name will then automatically populate the Select the Defined Audits field.
![]()
- Save and Return: This button allows users to save the selection and return to the main form.
- Save and New: This button allows users to save the selection and open a new window to make another selection.
- If selected, it will open the following pop-up window:
- Estimated Effort (Hours): Once an audit has been selected, this field will automatically display the total number of hours estimated for its execution.
- If multiple audits are selected, this field will display the combined total of hours.
- Note: The estimated effort of an audit is a value that would have been inputted in the New Audit Definition form.
- Region: This is a single-select dropdown field that retrieves the list of predefined regions (from the Region List). It allows users to select only one value at a time from the dropdown. The region selected in this field will override the region chosen in the New Audit Definition form.
- When a Region is selected, it will filter the items in the Country dropdown.
- Country: This is a single-select dropdown field that retrieves the list of predefined countries (from the Country List). It allows users to select only one value at a time from the dropdown. The country selected in this field will override the country chosen in the New Audit Definition form.
- When a Country is selected, it will filter the items in the Site dropdown.
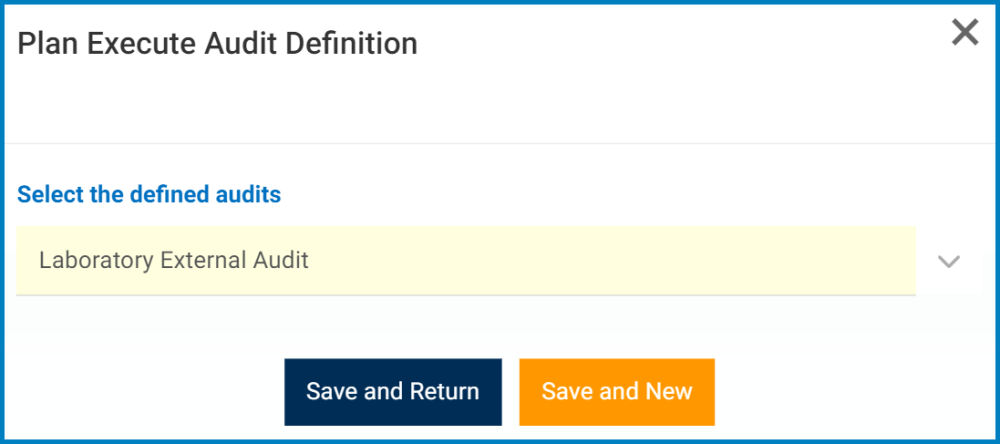
- Set This Location: This is a checkbox which, if enabled, allows users to set a new location site for the audit execution (thereby overriding the location site previously set in the New Audit Definition form).
- If this checkbox is selected, it will enable the Site dropdown.
![]()
- Site: This is a single-select dropdown field that retrieves the list of predefined location sites (from the Site List). It is a mandatory field. It allows users to select only one value at a time from the dropdown. The site selected in this field will override the site chosen in the New Audit Definition form.
- If this checkbox is selected, it will enable the Site dropdown.

2. Plan Details
Once an audit has been selected for execution, this section of the form will be populated with the list of requirements associated with the audit.
- If multiple audits have been selected, all of their associated requirements will be listed in the grid (barring any duplications).
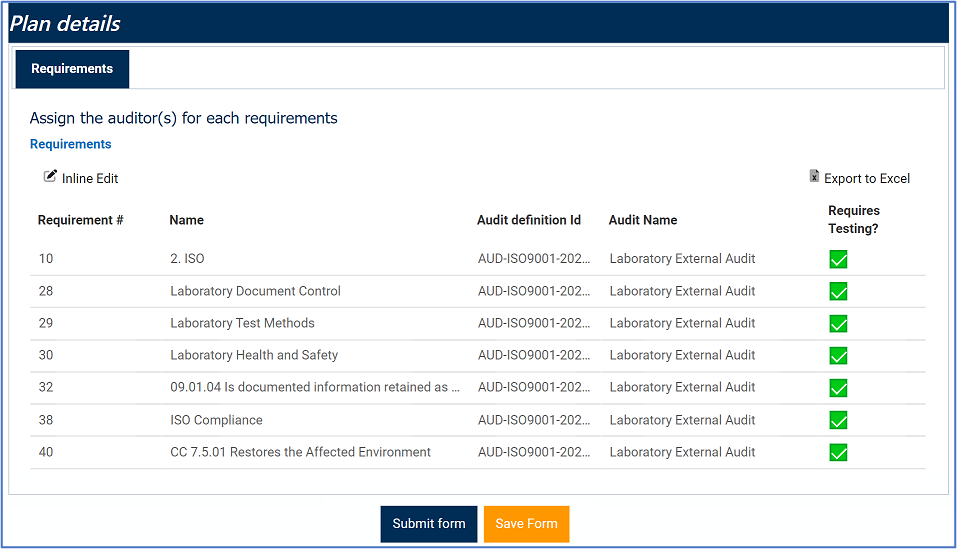
- Inline Edit: This button allows users to edit inside the Requirements grid. Here, it specifically allows users to manually select/deselect the Requires Testing? checkbox.
- Requires Testing?: This is a checkbox which, if enabled, allows users to establish that the requirement will need testing. Any tests that are assigned to the requirement will then be triggered during the audit execution.
- If this checkbox is not enabled/selected, the requirement will not undergo testing (even if a test has been previously assigned to it in either the Define a New Audit Requirement or Define a New Requirement form).
- Requires Testing?: This is a checkbox which, if enabled, allows users to establish that the requirement will need testing. Any tests that are assigned to the requirement will then be triggered during the audit execution.
- Export to Excel: This button allows users to export selected columns from the grid to Excel.
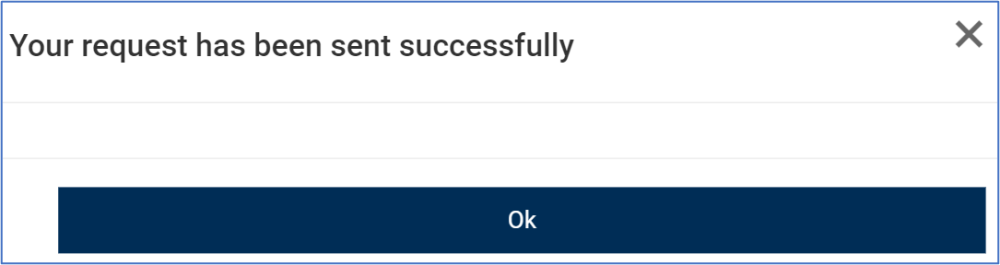
- Submit Form: This button allows users to submit the form.
- Once selected, the user will be ejected from the Plan/Schedule Audit module and a pop-up window will appear with the following message:
![]()
- This message serves to prevent duplicate Plan IDs, should multiple audit plans be created and submitted at the same time (or within seconds of one another).
- For example, in the case that two users have submitted their audit plans simultaneously, the following change (or lack thereof) will be observed:
- For one user, the Plan # in the following stages of the Plan & Execute Audits workflow will be the same as the one displayed in this form.
- For the other user, the Plan # in the following stages of the Plan & Execute Audits workflow will be one value greater than the number displayed in this form (as shown in the image below).
![]()
- For example, in the case that two users have submitted their audit plans simultaneously, the following change (or lack thereof) will be observed:
- Users can click on either the Exit button (X) or the OK button to remove the window from the screen.
- Once selected, the user will be ejected from the Plan/Schedule Audit module and a pop-up window will appear with the following message:
- Save Form: This button allows users to save the form.
- If saved, this form can be found in the Drafts tab.
- Generally, a saved form can be found in the Drafts tab if it is the first step in a given workflow. If it is a task assigned in the middle of a workflow, the saved form will remain in the Pending Tasks tab.
- If saved, this form can be found in the Drafts tab.

Post your comment on this topic.