
Once the Create a New Action form has been submitted, the responsible user will receive a notification in their Pending Tasks informing them that they need to execute the action.

- If the action item created in the Create a New Action form is external, users will be tasked with creating SCAR at the same time as the Execute the Action task.
- For more details on the SCAR workflow, click here.
- At this stage, if applicable, users will also be notified of any trainings that have been assigned to them.
- For more details on the Training workflow, see the User Manual for the Training Application.
The user will also receive an email notification informing them that they have a new task to do.

Clicking on either the subject in Pending Tasks or the link in the email should direct the user to the Execute the Action form. This form is composed of 3 main sections: (1) Action Details, (2) Action Type Details, and (3) Enter Observations and/or Evidences.
1. Action Details
Users cannot make any direct modifications in this section of the form. They can, however, add to, delete, or download existing files in the attachment field.
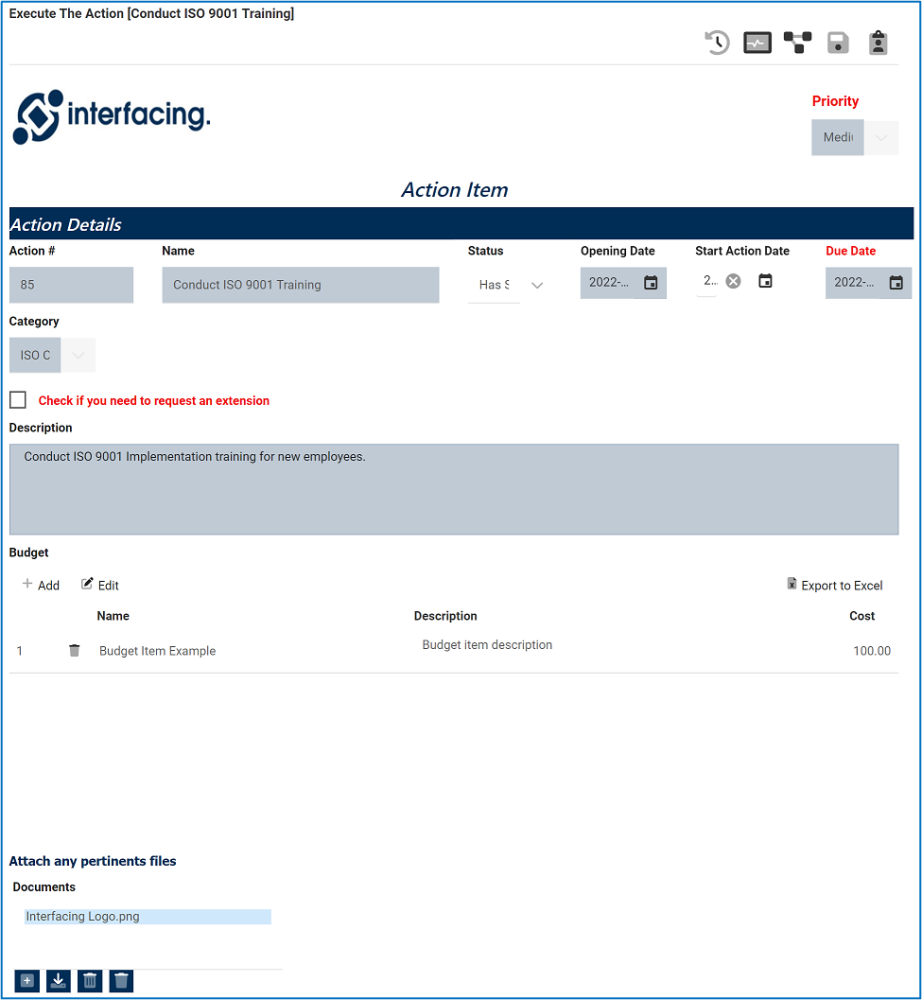
- Action #/Name/Opening Date/Due Date/Priority/Category/Description: These fields are all disabled in editing mode. They are automatically populated with the details inputted in the Create a New Action form.
- Opening Date: This is a date field that displays the date that the action item was opened.
- Status: This is a single-select dropdown field that displays a list of statuses. It allows users to select only one value at a time from the dropdown.
- Statuses: Not Started, Has Started, In Progress, Completed.
- Start Action Date: This is a date picker that allows users to input/select the start date for the action item.
- Check . . . extension: This is a checkbox which, if enabled, allows users to send an extension request.
- For more details on this option, click here.
- Add: This button allows users to add a new budget item (see previous instance).
- Edit: This button allows users to edit an existing budget item (see previous instance).
- Export to Excel: This button allows users to export selected columns from the grid to Excel.
- Documents: This is an attachment field that allows users to attach any files related to the action item.
- Users can also download or delete existing files.
2. Action Type Details
Below the attachment field, the page display will vary depending on which action type was selected in the Create a New Action form.
- If Action Type = Internal, the page display will vary depending on which internal action type was previously selected.
- If Action Type = External, the page display will appear as follows:
![]()
- Supplier: This field can be modified.
- Supplier Representative Name: This field can be modified.
- Supplier’s Email: This field can be modified.
- Supplier’s Phone: This field can be modified.

3. Enter the Observations and/or Evidences
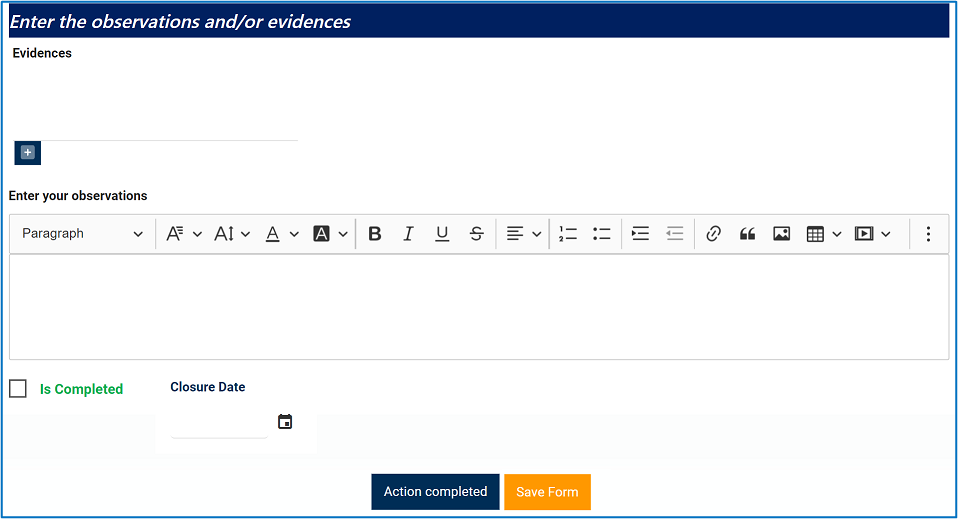
- Evidences: This is an attachment field that allows users to attach files as evidence.
- Enter your observations: This is a description box that allows users to input their observations. In this field users can insert headings, bullets, images, tables, links, and media files (as well as change font colors, font sizes, background colors and more).
- Is Completed: This is a checkbox which, if completed, allows users to mark the action item as completed.
- If selected, it will cause for the Closure Date field to become mandatory.
- It will also switch the Status to Completed.
- If selected, it will cause for the Closure Date field to become mandatory.
- Closure Date: This is a date picker that allows users to input/select the closure date for the action item.
- If the Is Completed checkbox is selected, the Closure Date will automatically input itself as today’s date. This entry, however, can be manually modified.
- Action Completed: This button allows to complete the action.
- Save Form: This button allows users to save the form.
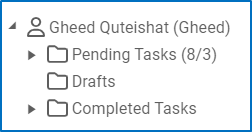
- If saved, this form can be found in the Pending Tasks tab.
- Generally, a saved form can be found in the Drafts tab if it is the first step in a given workflow. If it is a task assigned in the middle of a workflow, the saved form will remain in the Pending Tasks tab.
![]()
- Generally, a saved form can be found in the Drafts tab if it is the first step in a given workflow. If it is a task assigned in the middle of a workflow, the saved form will remain in the Pending Tasks tab.
- If saved, this form can be found in the Pending Tasks tab.
Post your comment on this topic.