
Once the Execute Action Items form has been submitted, the assigned user will receive a notification in their Pending Tasks informing them that they need to check effectiveness and approve the subject.

They will also receive an email informing them that they have a new task to do.
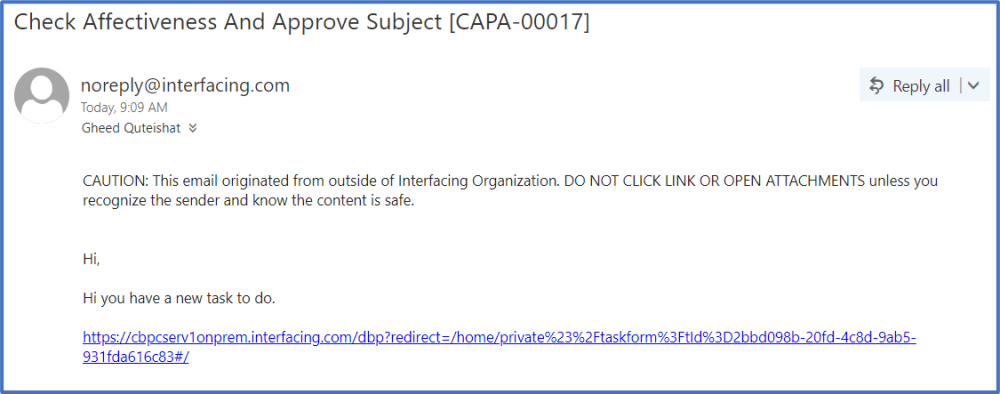
Clicking on either the subject in Pending Tasks or the link in the email should direct users to the Check Effectiveness & Approve Subject form. This form is composed of five sections: (1) CAPA Details, (2) Root Cause Analysis, (3) Action Item, (4) Budget, and (5) Re-Execute Actions.
1. CAPA Details
For the most part, users cannot make any modifications in this section. They can, however, set a new closure date if one or multiple actions are rejected.

- CAPA Re-Planned Closure Date: This is a date picker that allows users to input/select the re-planned closure date.
2. Root Cause Analysis & Specifics
Regardless of the analysis method selected, users cannot make any direct modifications in this section of the form. They can, however, download any attached files.

3. Action Item
Users cannot make any direct modifications in this section of the form.
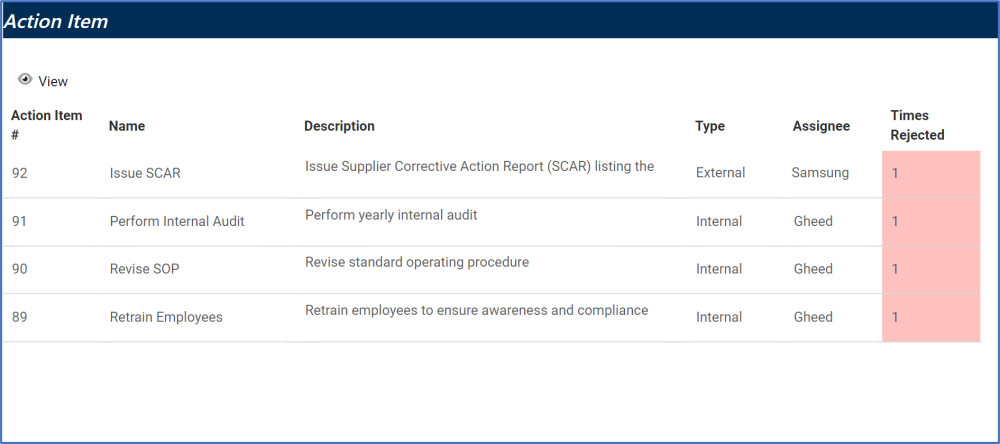
- View: This button allows users to view an action item.
- Times Rejected: This figure refers to the number of times an action item has been rejected. If it is only executed once, the number will remain at 1. If it is re-executed in this form, the number will increase by 1. (Users can re-execute an action however many times they deem necessary).
4. Budget
Users cannot make any direct modifications in this section of the form.
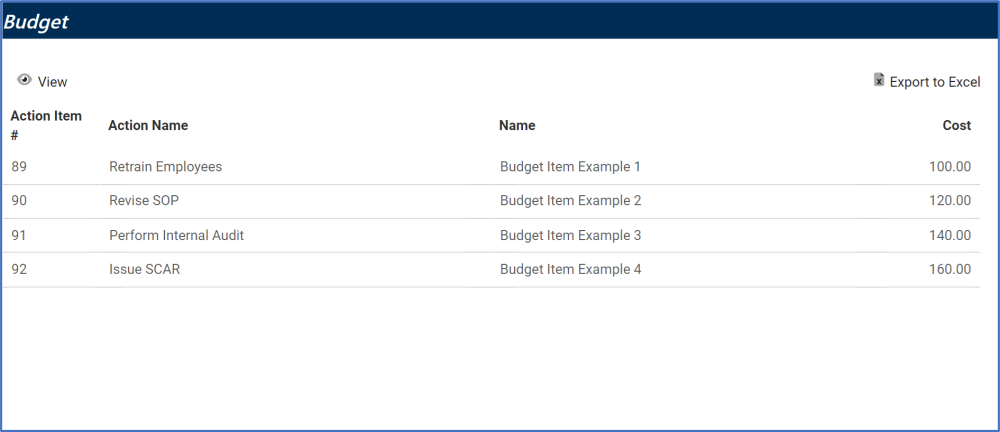
- View: This button allows users to view a budget item.
- Export to Excel: This button allows users to export selected columns from the grid to Excel.
5. Re-Execute Actions
Users can make direct modifications in this section of the form.

- Select actions that need to be re-executed: This is a multi-select dropdown field that displays a list of executed action items. It allows users to select multiple values from the dropdown.
- Select All: This button allows users to select all action items.
- Deselect All: This button allows users to deselect all action items.
- Set New Due Date: This is a date picker that allows users to input/select the new due date for the action item.
- Add to Summary: This button allows users to add the selected action item(s) to the Summary grid.
- Inline Edit: This button allows users to edit an action item from the grid. Users are allowed to edit the Responsible and New Due Date fields.
- To edit inline, select the action item that you want to edit from the grid and click on the Inline Edit button.
![]()
- Click either the Save button to save your changes or the Cancel button to cancel them.
- To edit inline, select the action item that you want to edit from the grid and click on the Inline Edit button.
- Export to Excel: This button allows users to export selected columns from the grid to Excel.
- Approved: This button allows users to approve the action.
- If selected, users will then be tasked with signing off.
- Users should not click on this button if they have set up action items to be re-executed.
- The selected action items will not be re-executed if the CAPA is approved.
- Reject: This button allows users to reject the action.
- If selected, users will again be tasked with executing the selected action items.
- If any trainings were assigned, the trainees will again be tasked with executing them.
- For more information on the Training workflow, see the Training Application User Manual.
- If any trainings were assigned, the trainees will again be tasked with executing them.
- Before selecting this button, users need to input a CAPA Re-Planned Closure Date.
- If selected, users will again be tasked with executing the selected action items.

Post your comment on this topic.