
In this section of the CAPA application, users can create a new action.
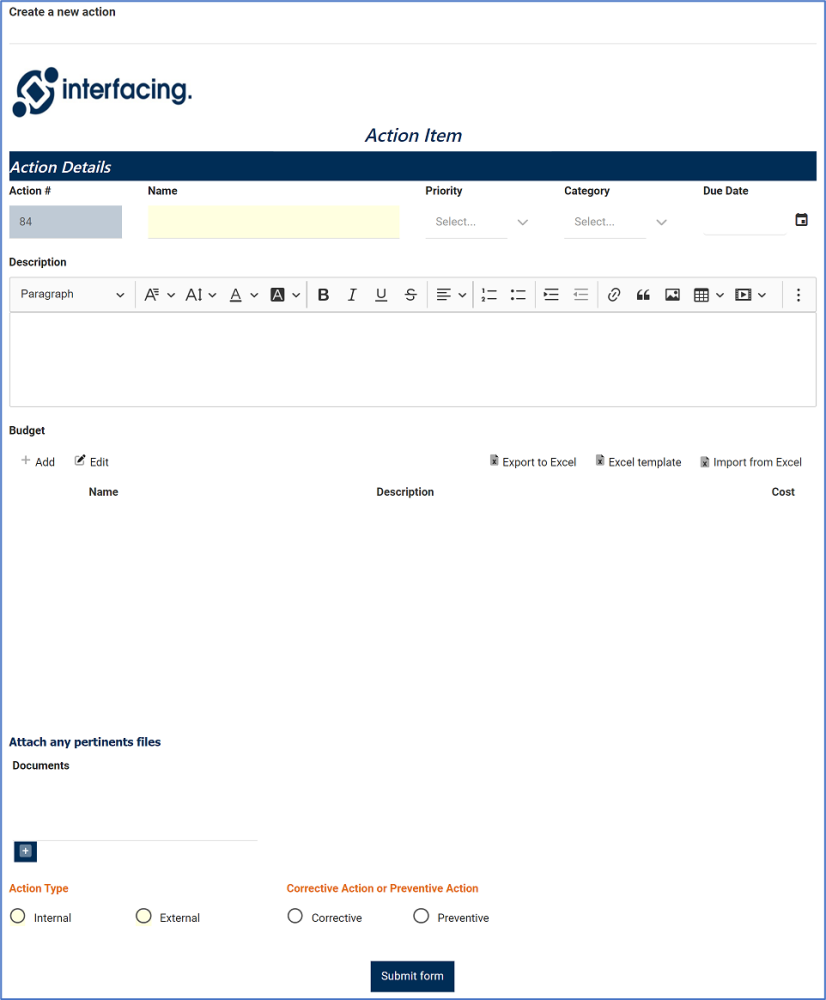
- Action #: This field is automatically populated when a new action item is added. It displays the Action #.
- Name: This is a text field that allows users to input a name for the action item. It is a mandatory field.
- Priority: This is a single-select dropdown field that displays a list of priority levels (Low, High, Medium). It allows users to select only one value at a time from the dropdown.
- Category: This is a single-select dropdown field that displays a list of predefined categories. It allows users to select only one value at a time from the dropdown.
- Action item categories are created in the Category section of Action Item Setting.
- Due Date: This is a date picker field that allows users to input/select the due date for the action item.
- Description: This is a description box that allows users to input details about the action item. In this field users can insert headings, bullets, images, tables, links, and media files (as well as change font colors, font sizes, background colors and more).
- Add: This button allows users to add a budget item.
- If selected, it will display the following form:
![]()
- Name: This is a text field that allows users to input a name for the budget item.
- Cost: This is a numeric field that allows users to input a cost for the budget item. Users can input the cost either as a whole number or a decimal.
- Description: This is a description box that allows users to input details about the budget item. In this field users can insert headings, bullets, images, tables, links, and media files (as well as change font colors, font sizes, background colors and more).
- Save and Return: This button allows users to save the budget item and return to the Add Action Item to Quality Event form.
- Save and New: This button allows users to save the budget item and open a new form to create another budget item.
- If selected, it will display the following form:
- Edit: This button allows users to edit the budget item.
- To edit, select the budget item that you want to edit from the grid and click on the Edit button. To save your changes, click on the Apply button at the bottom of the form.
- Export to Excel: This button allows users to export selected columns from the grid to Excel.
- Excel Template: This button allows users to generate an Excel template of the grid.
- Import from Excel: This button allows users to import data (inside columns) from an Excel sheet into the grid.
- Documents: This is an attachment field that allows users to attach any documents related to the action item.
- To attach a file, click on the Add button [+]. A pop-up window will appear with the following buttons:
![]()
- Using these buttons, users can add files, upload them either individually or all at once, or cancel the upload.
- Once the files have been uploaded, users can download them, deleted selected ones, or delete them all.
![]()
- To attach a file, click on the Add button [+]. A pop-up window will appear with the following buttons:
- Action Type: This is a radio button that allows users to select only one option from a set of mutually exclusive options. It is a mandatory field. Users can choose either an internal or external action type.
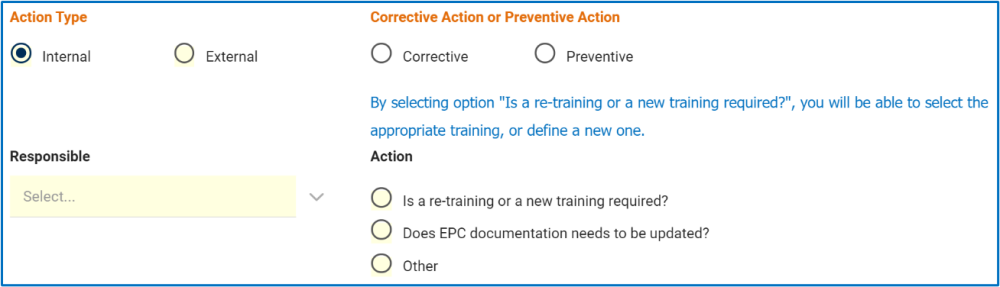
- If Internal is selected, it will display the following fields:
![]()
- Responsible: This is a single-select dropdown field that retrieves the list of users. It allows you to select only one value at a time from the dropdown. It is a mandatory field. The user selected will be the one responsible for the action and will thus be tasked with executing the action.
- Action: This is a radio button that allows users to select only one option from a set of mutually exclusive options. It is a mandatory field.
- Users can choose one of the following options:
- Is a re-training or a new training required?
- Does EPC documentation need to be updated?
- Other
- Depending on the option selected, different fields will be displayed.
- For more details on these fields, click here.
- Users can choose one of the following options:
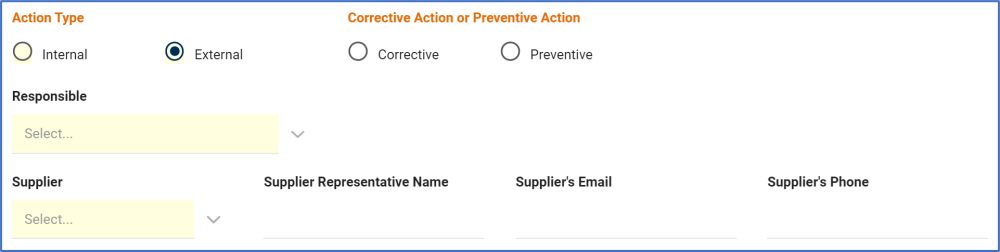
- If External is selected, it will display the following fields:
![]()
- Responsible: This is a single-select dropdown field that retrieves the list of users. It allows you to select only one value at a time from the dropdown. It is a mandatory field. The user selected will be the one responsible for the action and will thus be tasked with creating the Supplier Corrective Action Report (SCAR).
- Supplier: This is a single-select dropdown field that retrieves the list of suppliers (from the Suppliers application). It is a mandatory field. It allows users to select only one value at a time from the dropdown.
- Supplier Representative Name: This is a text field that allows users to input the representative name of the selected supplier.
- Once a supplier has been selected, this field will automatically be populated with information from the Supplier form. Users can still modify this field.
- Supplier’s Email: This is a text field that allows users to input the email of the selected supplier.
- Once a supplier has been selected, this field will automatically be populated with information from Supplier form. Users can still modify this field.
- Supplier’s Phone: This is a text field that allows users to input the phone number of the selected supplier.
- Once a supplier has been selected, this field will automatically be populated with information from Supplier form. Users can still modify this field.
- If Internal is selected, it will display the following fields:
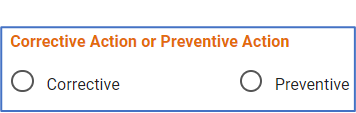
- Corrective and Preventive Action: This is a radio button that allows users to select only one option from a set of mutually exclusive options. Users can choose to distinguish the action item as either a corrective action or a preventive action.
![]()


- Submit Form: This button allows users to submit the form.
- Upon submission, it will trigger the Action Items workflow.
Post your comment on this topic.