
In this section of the CAPA application, users can access a list of all action items.
Search Panel
The search panel helps users to filter requests that match the search criteria. It consists of the following search fields:

- Action ID: This is a numeric field that allows users to input the action ID.
- Action Name: This is a text field that allows users to input the action name.
- Responsible: This is a single-select dropdown field that retrieves the list of users. It allows users to select only one value at a time from the dropdown.
- Priority: This is a single-select dropdown field that displays a list of priority levels (Low, High, Medium). It allows users to select only one value at a time from the dropdown.
- Category: This is a single-select dropdown field that displays a list of predefined categories. It allows users to select only one value at a time from the dropdown.
- Filter: This button retrieves the list of requests that match with the search (based on the values you entered).
- Clear Filter: This button clears the filters that were used in the previous search.
Grid
Inside the grid, action items are primarily organized by the values inputted in the Create a New Action section of the application. They are also organized, however, by whether or not they belong to either the Quality Event or CAPA workflow.
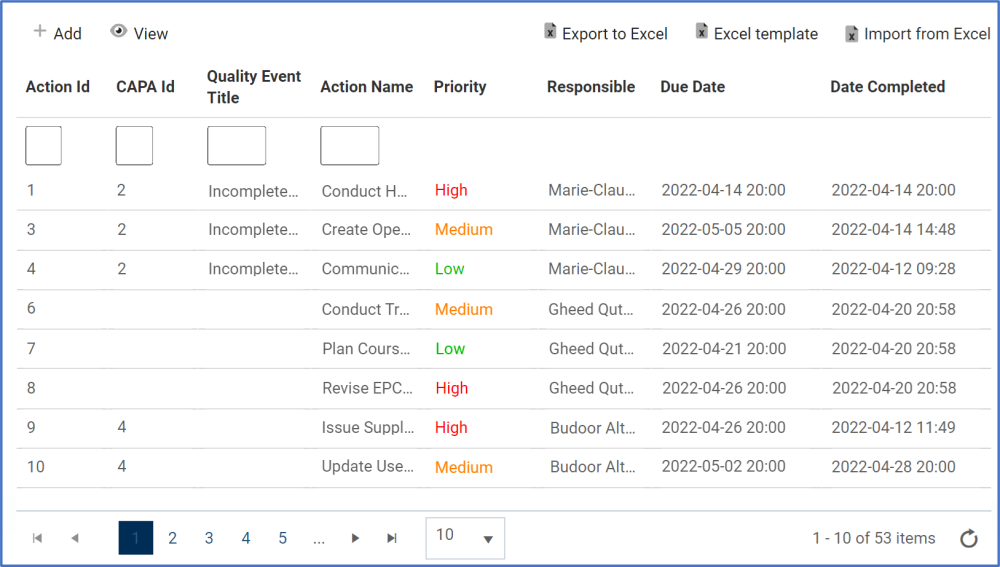
- Add: This button allows users to add a new action.
- If selected, it will open a pop-up window with the Create a New Action form.
- At the bottom of the form, users will have the following options:
![]()
- Save and Return: This button allows users to save the action item and return to the grid.
- Save and New: This button allows users to save the action item and open a new form to create another action item.
- At the bottom of the form, users will have the following options:
- If selected, it will open a pop-up window with the Create a New Action form.
- View: This button allows users to view an existing action.
- To view, select the action that you want to view from the grid and click on the View button.
- For as long as they remain in viewing mode, while users can view the form, they will not be able to modify any of the fields. They can, however, perform Excel-related activities (export, import, and create an Excel template) as well as download any attached files.
- To view, select the action that you want to view from the grid and click on the View button.
- Export to Excel: This button allows users to export selected columns from the grid to Excel.
- Excel Template: This button allows users to generate an Excel template of the grid.
- Import from Excel: This button allows users to import data (inside columns) from an Excel sheet into the grid.

Post your comment on this topic.