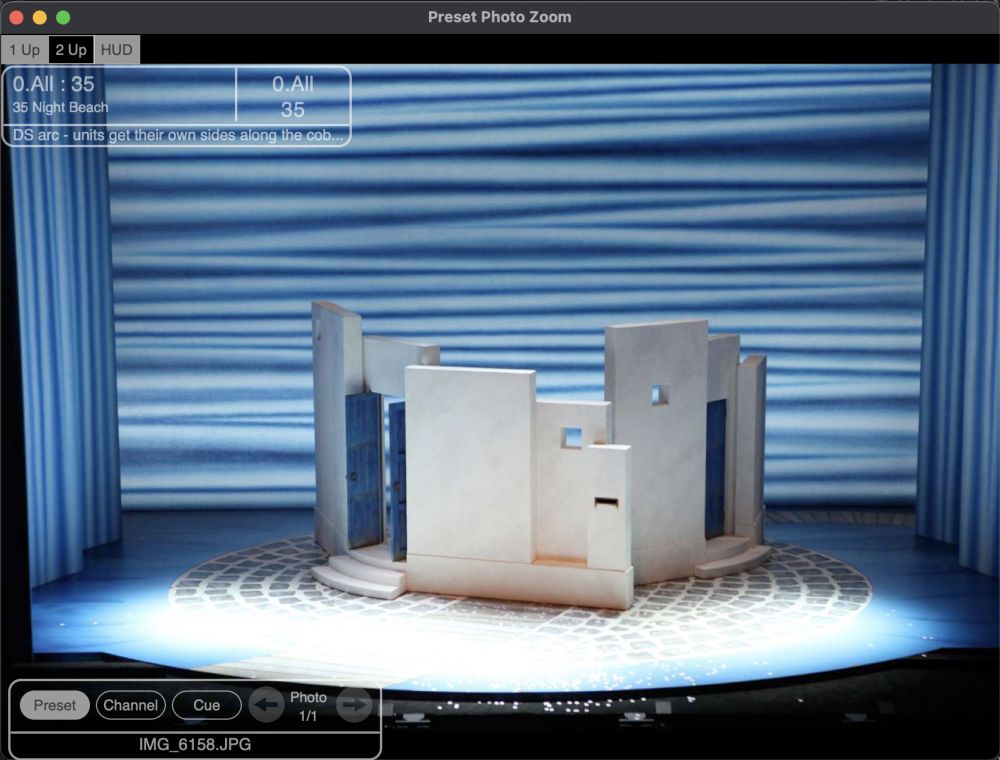
Clicking on the Zoom button will open the ‘Preset Photo Zoom window’. It is also possible to open this window by pressing the Z key on the keyboard. This window can be moved around and resized as required. It can also be made to go full-screen by clicking on the green dot in the title bar of the window. It is possible to drag the window to a separate display if one is connected to your computer.

The view controls at the top right of the window allow you to configure how the window will display photos.
1 Up
A single photo is displayed and will follow which ever image is displayed in the main Preset Documentation view. In the bottom left is a floating info panel with buttons that allow you to select which photo is displayed, Preset, Channel or Cue.
2 Up
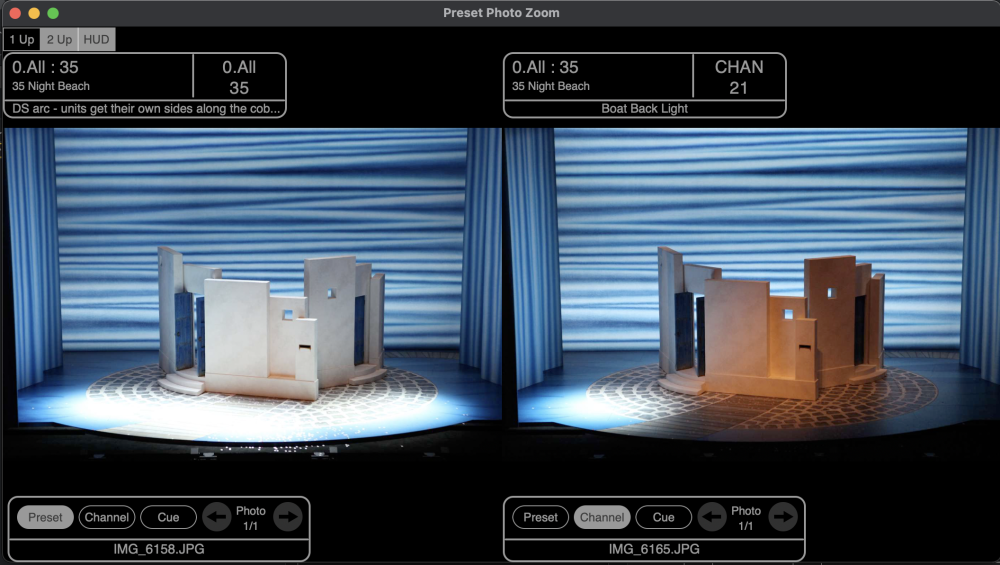
Two photos are displayed simultaneously. The area on the left typically will display the currently selected preset and the area on the right will display the currently selected channel. Each area has a floating panel that have buttons to allow you to select which photo is displayed, Preset, Channel or Cue.

HUD
The HUD button allows the floating HUD panels to be hidden or shown.

The selected item HUD panel is split into 3 areas showing information for the selected preset. The upper left area shows the currently selected preset. The upper right area shows information for the photo currently displayed based on what is selected in the photo HUD, i.e. Preset, Channel or Cue. The bottom area if the HUD shows either the preset notes or channel note based on what is selected in the Photo HUD. This text is limited to a single line. It is possible to reposition the HUD panel by clicking and dragging the HUD border.

The photo HUD allows you to select which photo is displayed. Clicking the Preset, Channel or Cue buttons allow you to change which is displayed. Where there are multiple photos for a preset, channel or cue, The arrow buttons allow you to change the photo number displayed. The text at the bottom of the HUD is the description assigned to the photo. It is possible to reposition the HUD panel by clicking and dragging the HUD border.
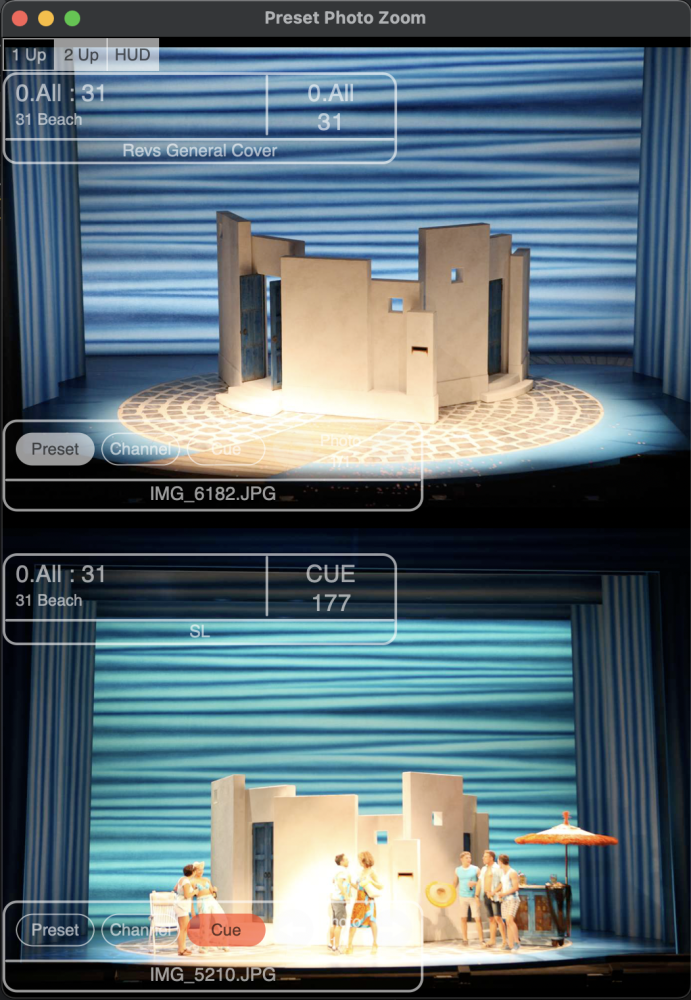
If you click on a Preset, Channel or Cue button a second time, the buttons background will turn red to indicate it is locked in that mode and will no longer automatically switch which photo type is displayed. Clicking the button again will unlock the photo mode.

The window will follow the preset and channel selection in the Preset List of the main ‘Presets’ view. The window uses the same highlight settings as the Preset Documentation view.
When the window is in 2 Up mode, resizing the window so it is taller will switch the two photos to be one above the other.


