The grandMA3 exports its data as a series of XML files. To make the process of exporting from the console easier, a plugin has been created that can be imported into your grandMA3 show file that will export all the information that Moving Light Assistant needs.
Steps to Import Plugin into Console
Within the Moving Light Assistant v1.4 installation folder, there is a ‘grandMA3 Support’ folder. Within this folder is a ‘grandMA3’ folder that should be dragged onto a USB memory stick. There is a newer set of plugins available here which has different plugins for different grandMA3 software versions.
If you already have a ‘grandMA3’ folder in your memory stick, you should copy the .xml files to the ‘plugins’ folder on your memory stick…
grandMA3
—>gma3_library
——>datapools
———>plugins
Once this is done, eject the memory stick and insert the stick into the console (or the computer running grandMA3 onPC). To import the plugin into your show file, do the following:
- Ensure on the console that you are using a user and in a world that has full access to the whole rig (or at least the part of the rig you want to export).
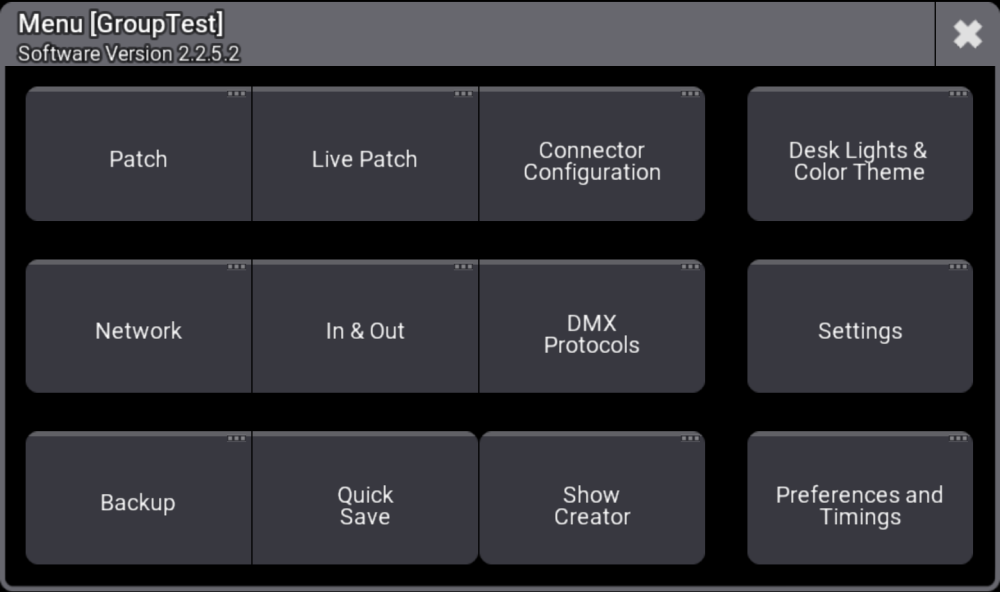
- Open the menu by hitting the gear icon

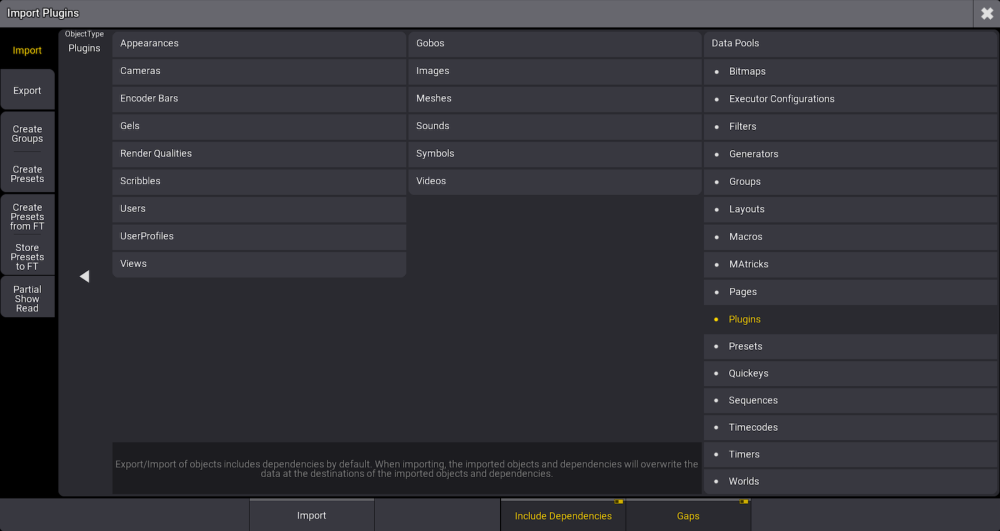
- Press the Show Creator button (Import/Export in earlier MA3 versions) to open the Import/Export window. If Import is not yellow, press the Import button on the top left.

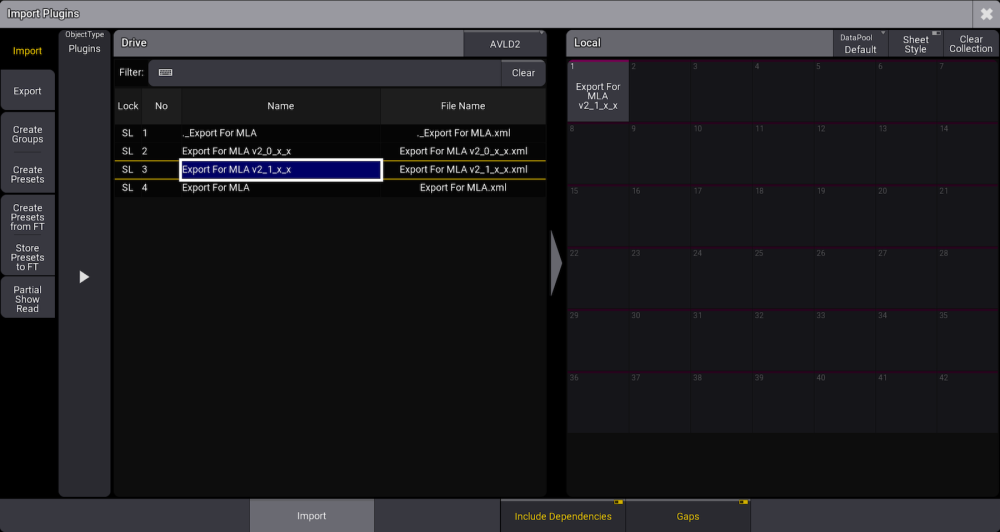
- Select the drive you wish to import the plugins from in the Drive section. On the right part of the screen (Local), it should show the data pool you are importing into, i.e. Plugins.

- Select the relevant
.xmlfile for your grandMA3 software version and click the Import button. The plugin should now appear in your Plugins pool.
Export For MLA.xml – Use on GMA3 version 1.x
Export For MLA v2_0_x_x.xml – Use on GMA3 version 2.0.x.x
Export For MLA v2_1_x_x.xml – Use on GMA3 version 2.1.x.x onwards.
Using the Plugin to Export XML Files
Open a Plugins pool window and find the plugin that you have just imported, i.e. Export For MLA, Export For MLA v2_0_x_x or Export For MLA v2_1_x_x
Tap the plugin to run it.
A dialog will appear for you to select on which drive to export the XML files to.
Once the progress bars disappear, the export is done.


