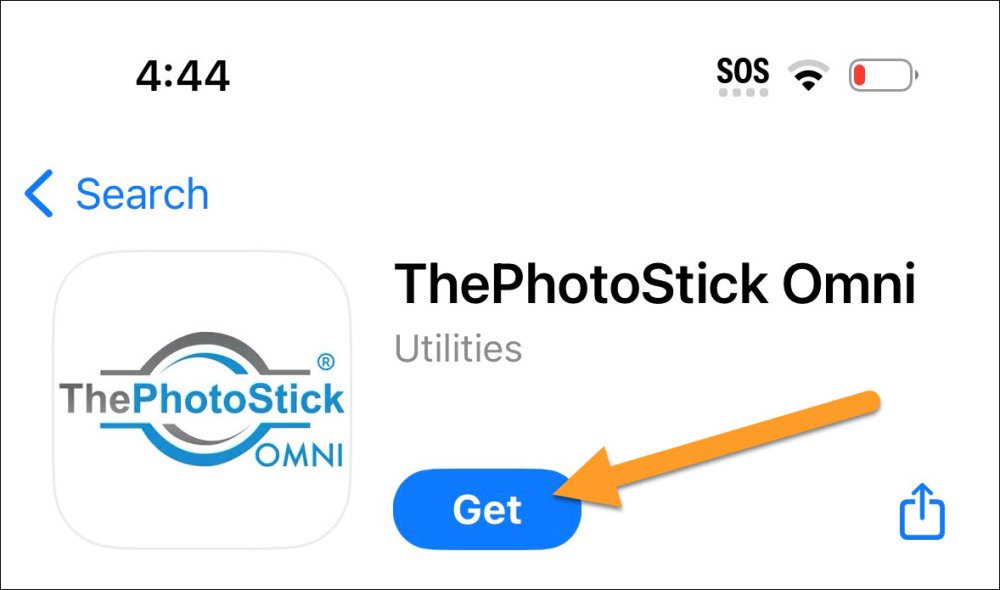
1. Download and Install ThePhotoStick Omni app from the Apple App Store.
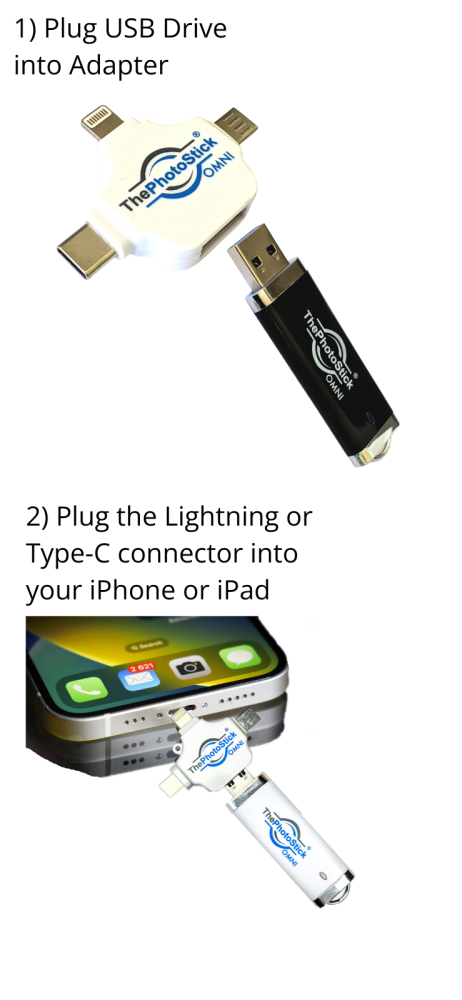
2. Once the app is downloaded and installed, plug ThePhotoStick Omni into your iPhone or iPad and open the app.
NOTE: Use the included adapter to connect with either the Lightning or Type-C connector.
NOTE: Certain phone cases may need to be removed in order to ensure a proper connection.
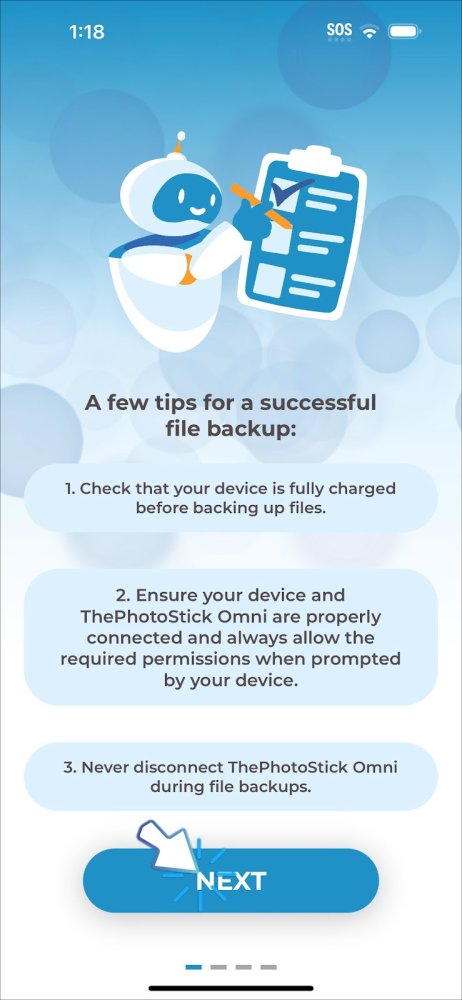
3. Tap the blue “GET STARTED” button.

4. After reading our tips for successful backups, tap the blue “NEXT” button.
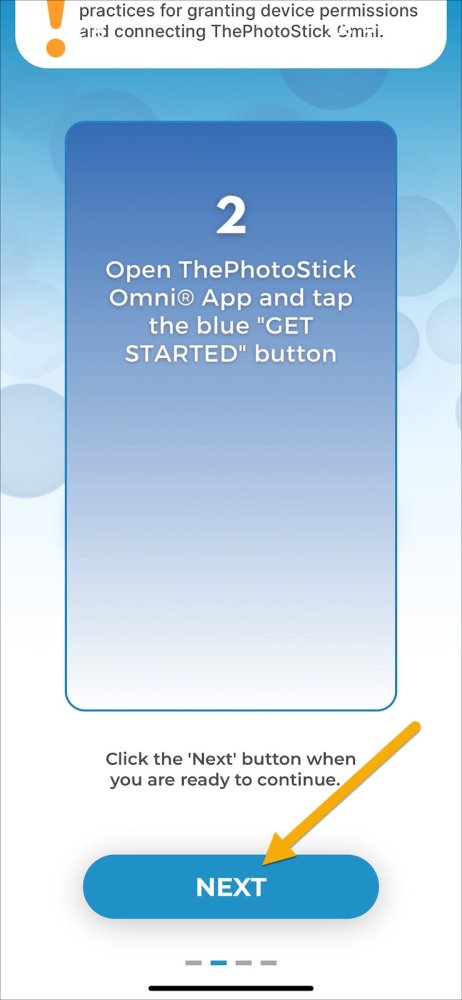
5. Watch the in-app tutorial video
<< TODO: insert iOS in-app video here so users can view online here >>
6. Tap the blue “NEXT” button when you are ready.
7. Tap “Connect” if you are ready to continue, or tap “Watch Video Again” if needed.
NOTE: You can always rewatch the tutorial video again by going to the “Support” section of the app.

8. Tap “Browse” in the lower right corner of your screen.
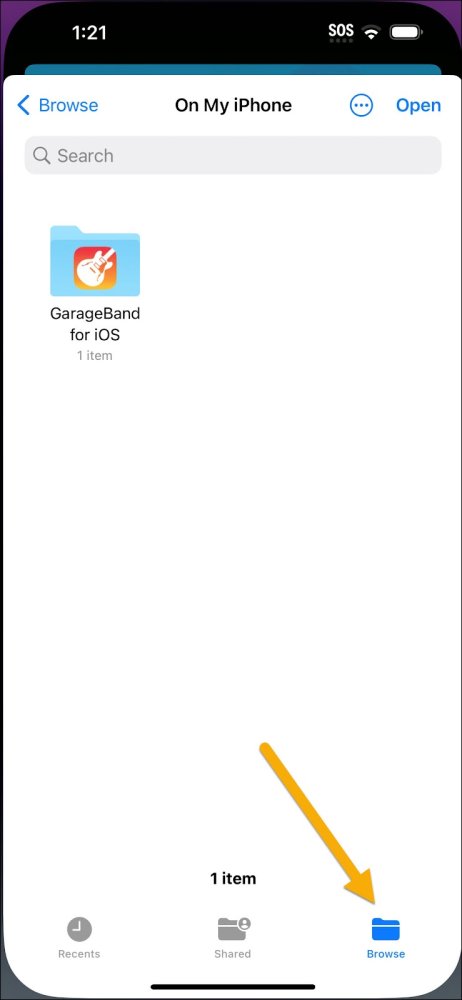
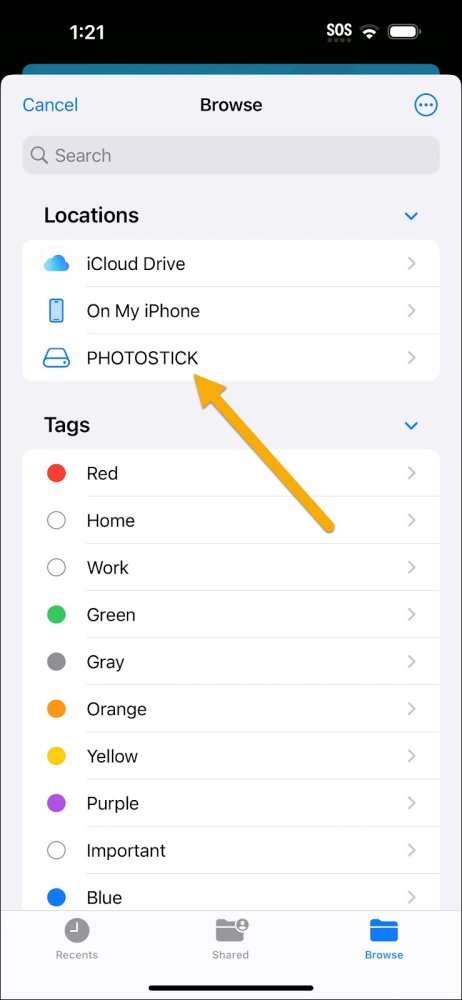
9. Select ThePhotoStick Omni drive called “PHOTOSTICK”.
NOTE: Some phones and tablets may show the drive as a “generic USB device” rather than “PHOTOSTICK”.
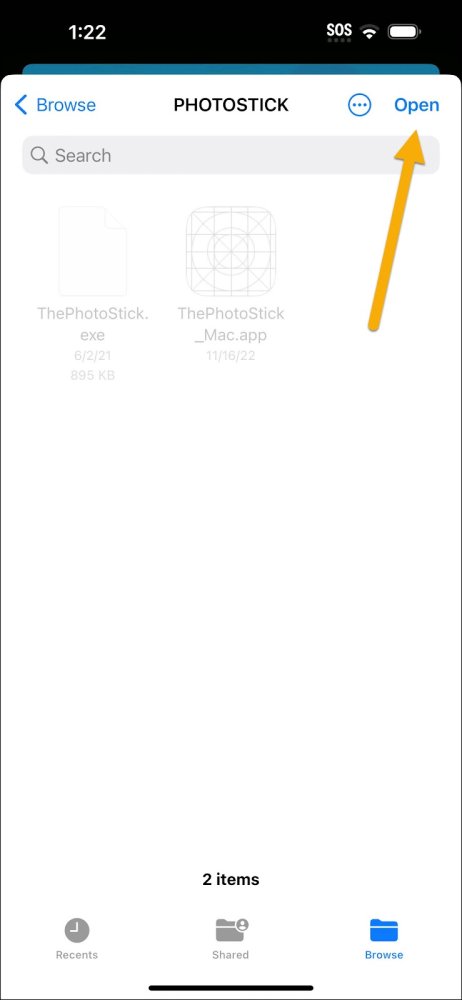
10. Tap “Open” in the upper right corner of your screen.
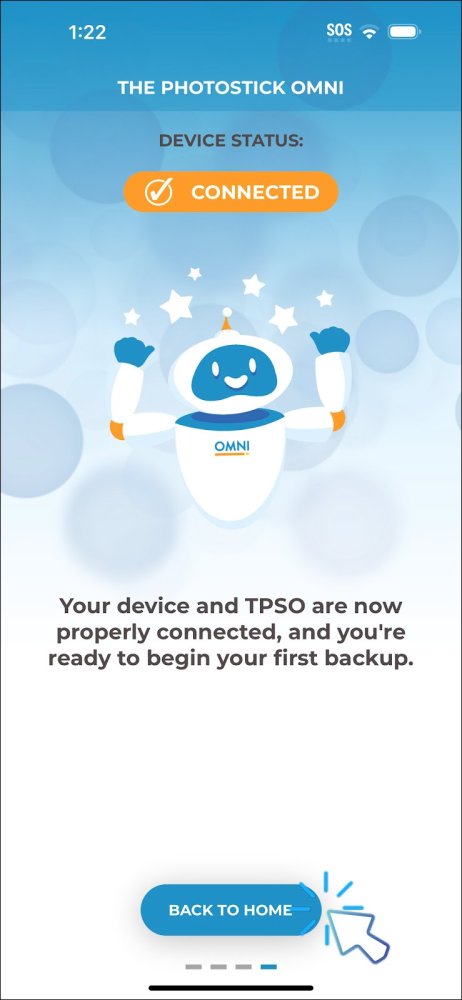
11. Tap the blue “BACK TO HOME” button when you are ready.



Post your comment on this topic.
Robin Hartwell wrote: Apr 11, 2025
I was stuck until watching your steps to back up my photos. Hitting the browse button
made it all happen! Thanks
Demetris F. Hendrix wrote: Apr 4, 2024
I know I will have to listen to the Video again but it did HELP. I wish I had done this earlier. If I get it Right I will be elated!!