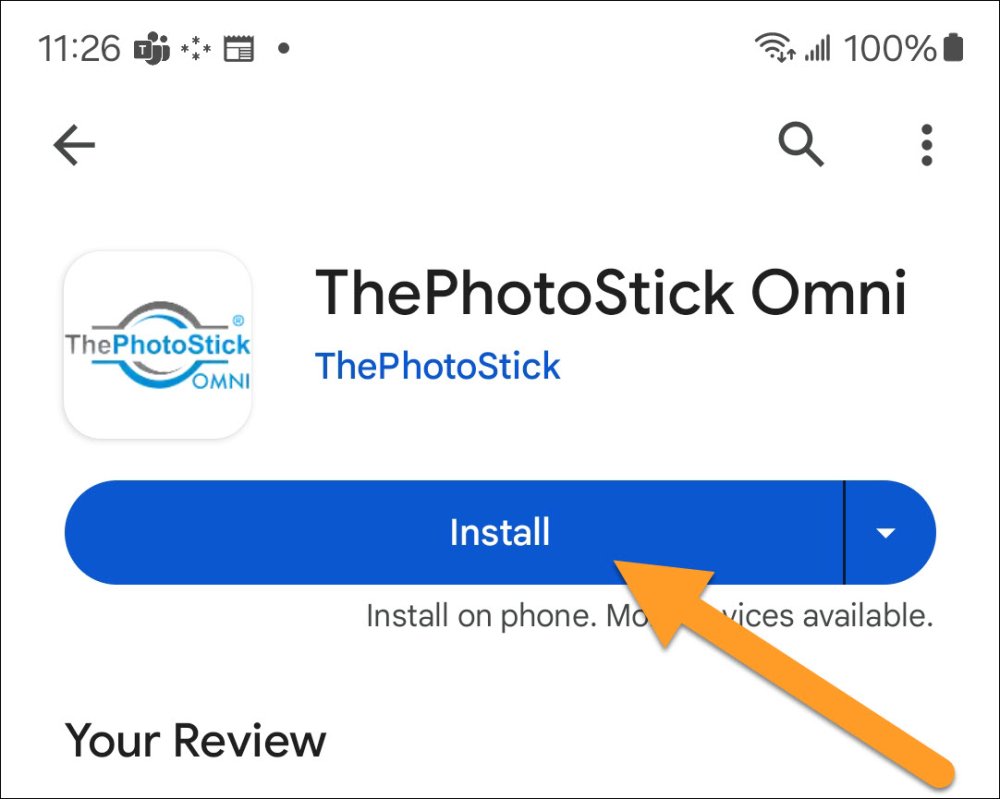
1. Download and install ThePhotoStick Omni app from the Google Play Store.
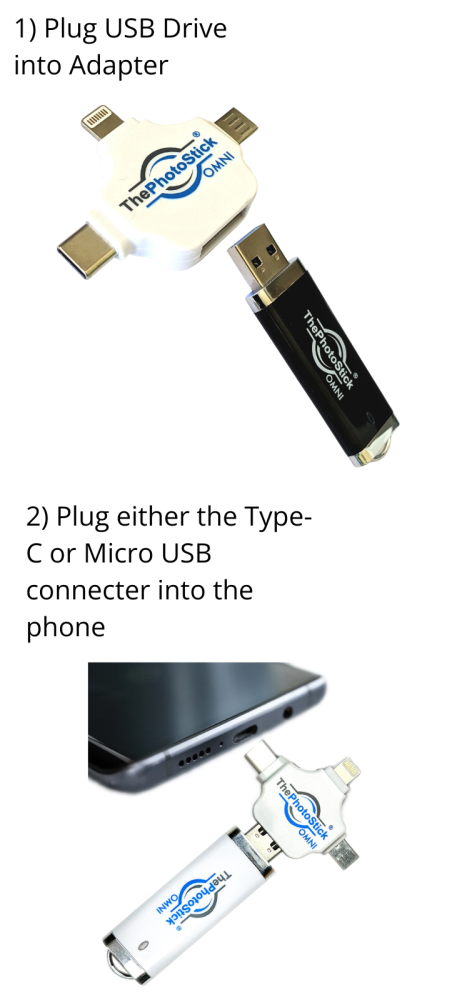
2. Once the app is downloaded and installed, plug ThePhotoStick Omni into your phone or tablet and open the app.
NOTE: Use the included adapter to connect with either the micro USB or Type- connector.
NOTE: Certain phone cases may need to be removed in order to ensure a proper connection.
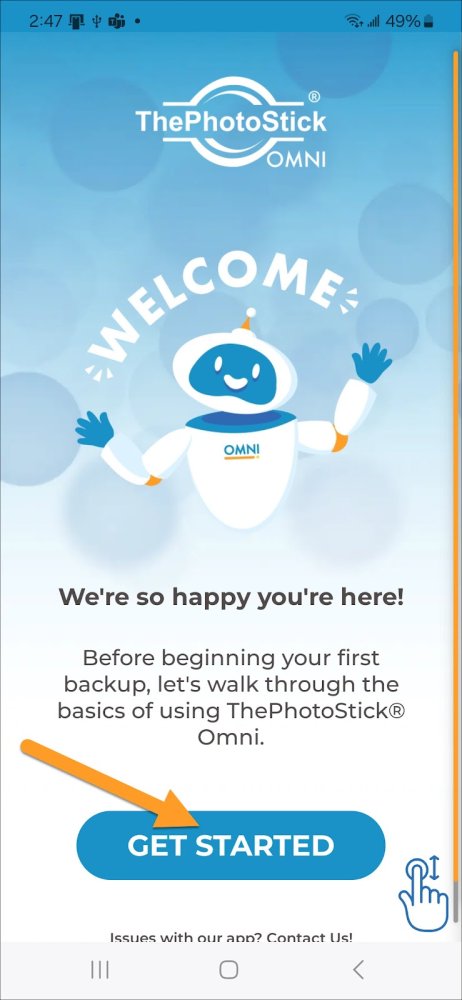
3. Tap the blue “GET STARTED” button.
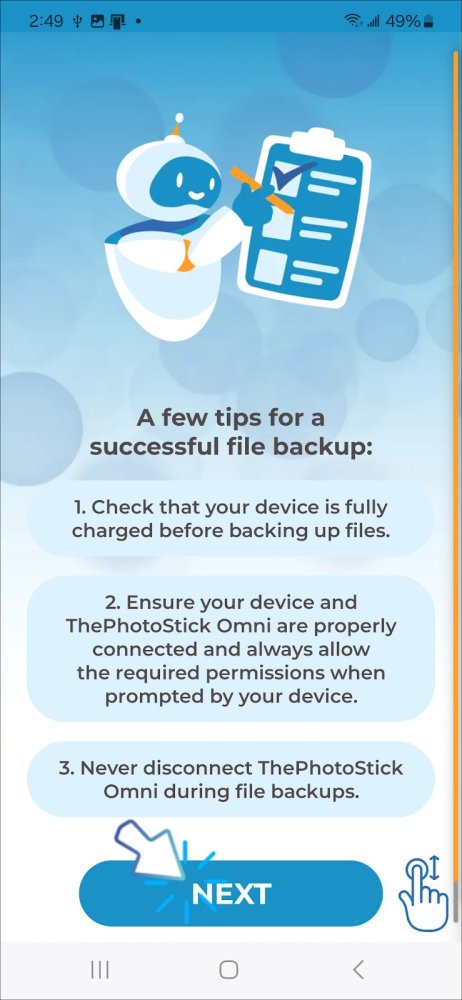
4. After reading our tips for successful backups, tap the blue “NEXT” button.
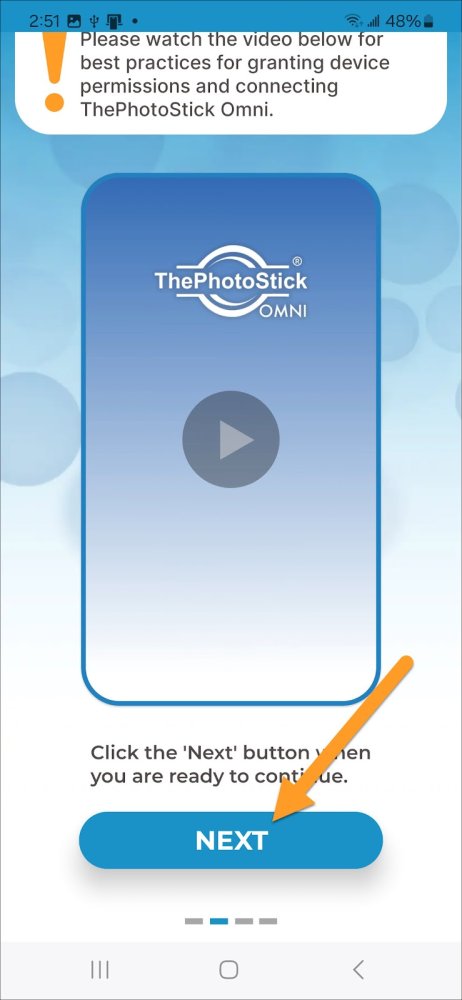
5. Watch the in-app tutorial video.
6. Tap the blue “NEXT” button when you are ready.
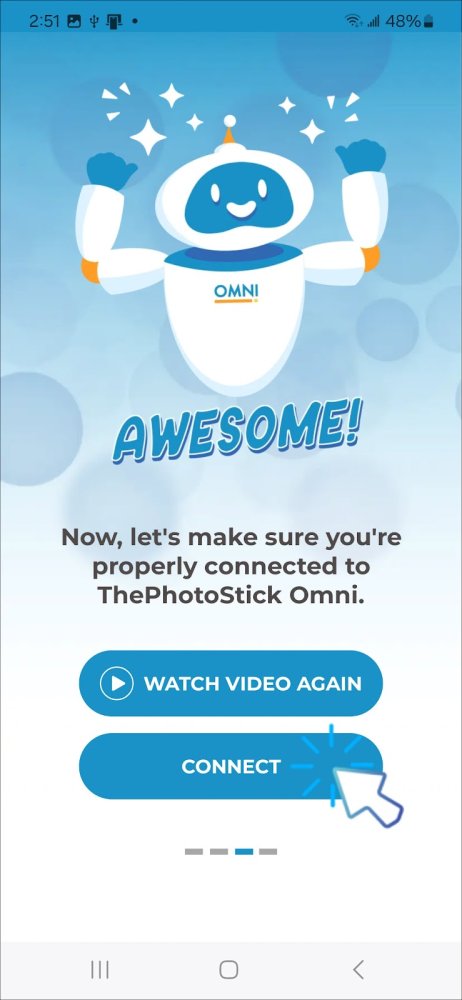
7. Tap “Connect” if you are ready to continue, or tap “Watch Video Again” if needed.
NOTE: You can always rewatch the tutorial video again by going to the “Support” section of the app.
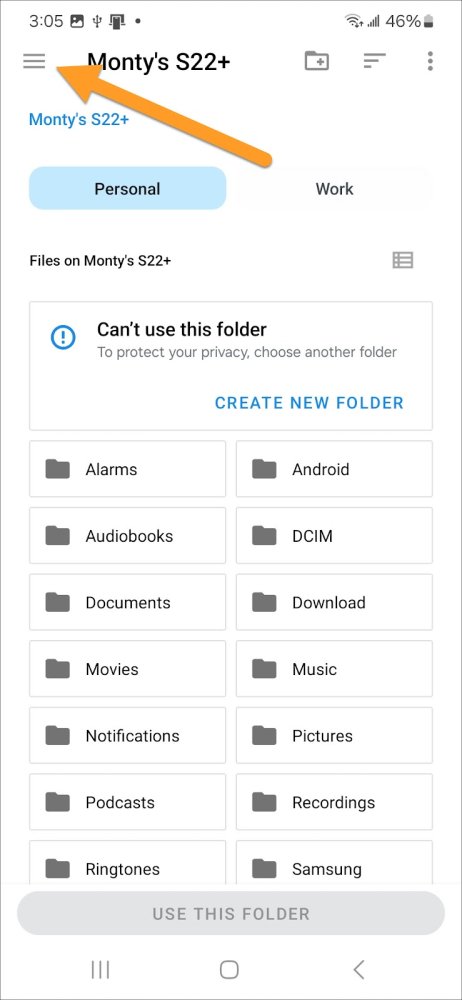
8. Tap the Options Menu in the upper left corner of your screen.
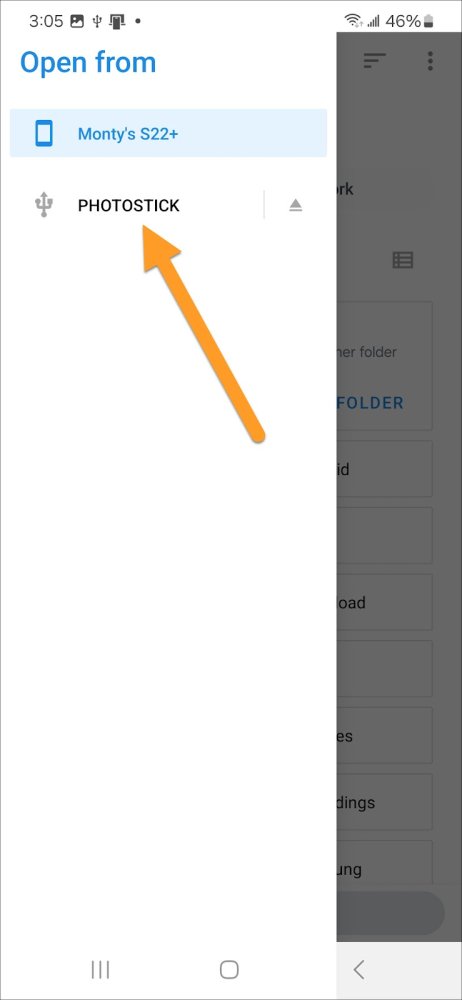
9. Select ThePhotoStick Omni drive called “PHOTOSTICK”.
NOTE: Some phones and tablets may show the drive as a “generic USB device” rather than “PHOTOSTICK”.
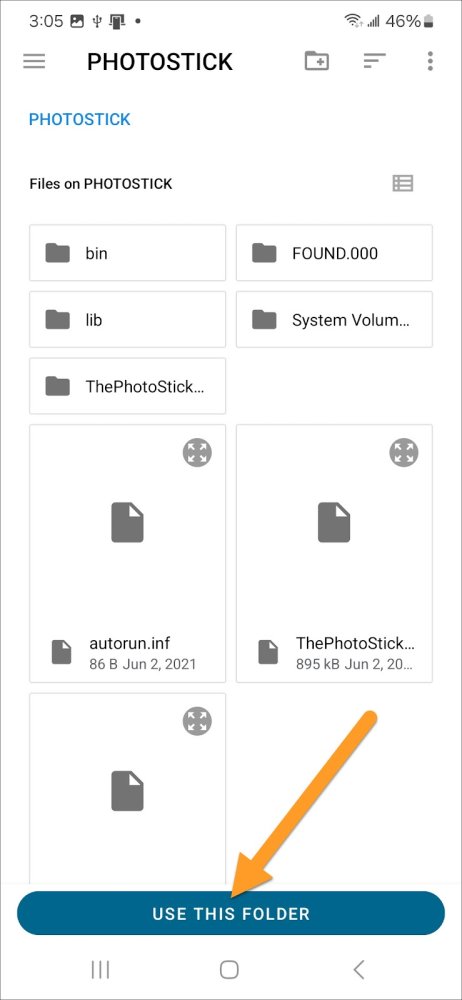
10. Tap the “USE THIS FOLDER” button at the bottom of your screen.
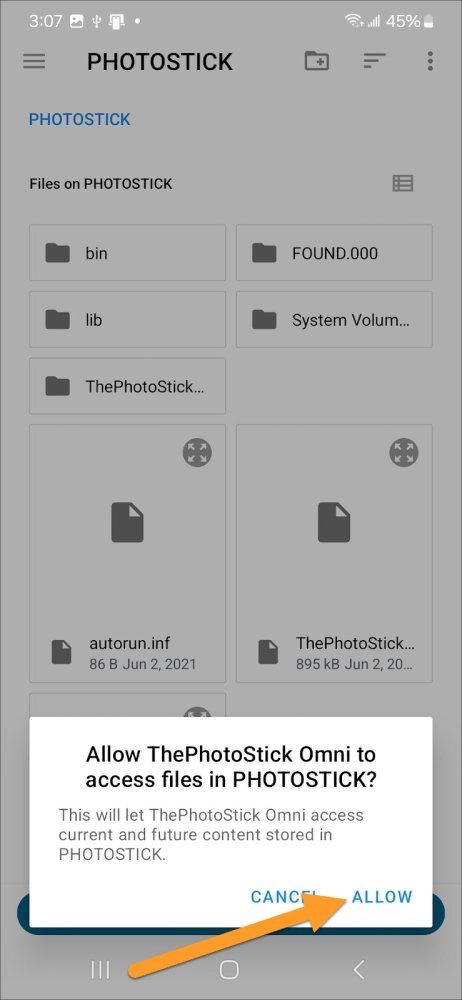
11. If prompted, tap “ALLOW” to allow ThePhotoStick Omni to access files on the PHOTOSTICK drive.
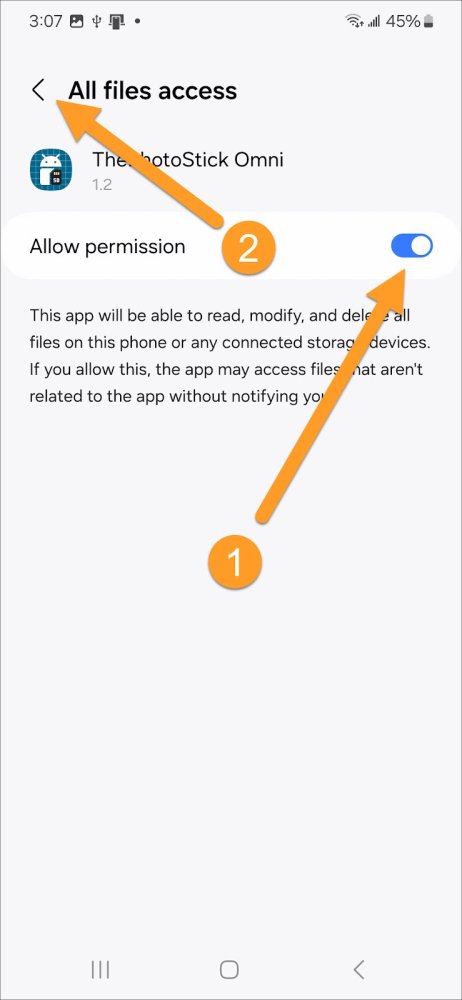
12. Enable ALL FILES ACCESS, then tap the back arrow in the upper left corner of your screen.
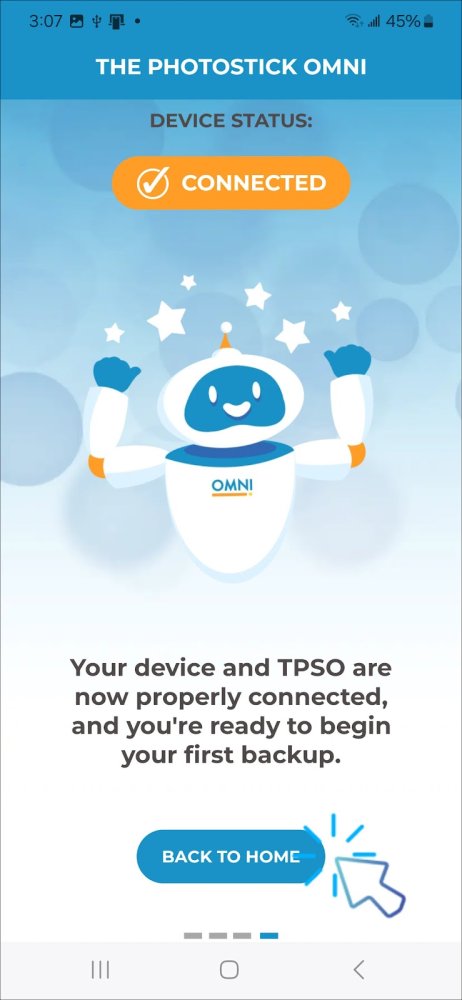
13. Tap the blue “BACK TO HOME” button when you are ready.
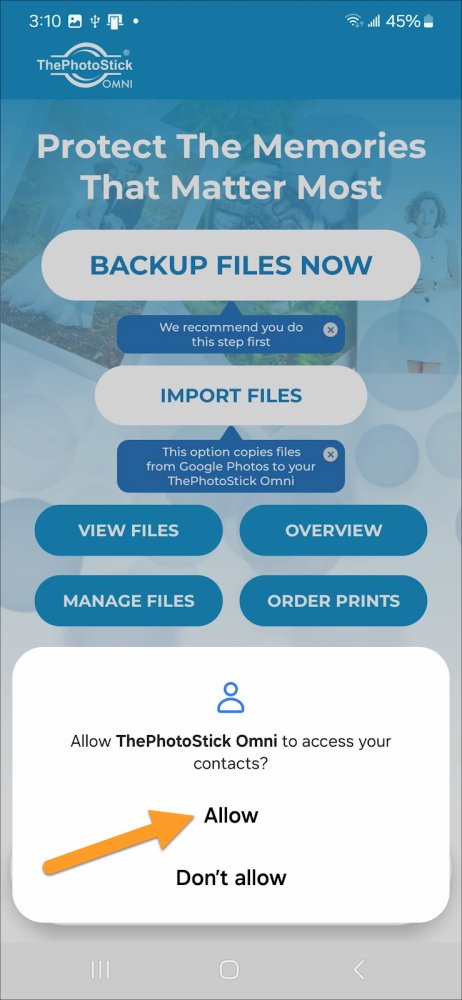
14. If prompted, tap “Allow” to allow ThePhotoStick Omni to access your contacts.
NOTE: This is needed if you would like ThePhotoStick Omni to back up your device’s contacts.
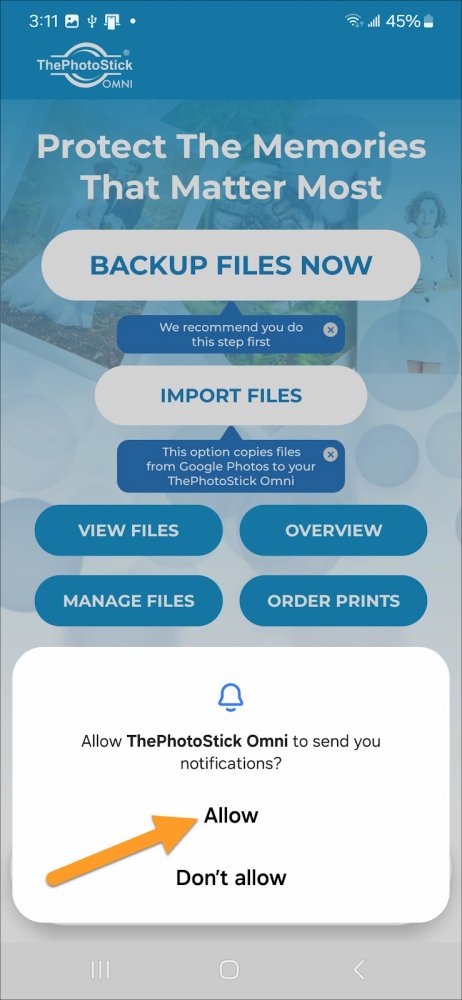
15. If prompted, tap “Allow” to allow ThePhotoStick Omni to send you notifications.
NOTE: This is needed to let you know when a backup is running.
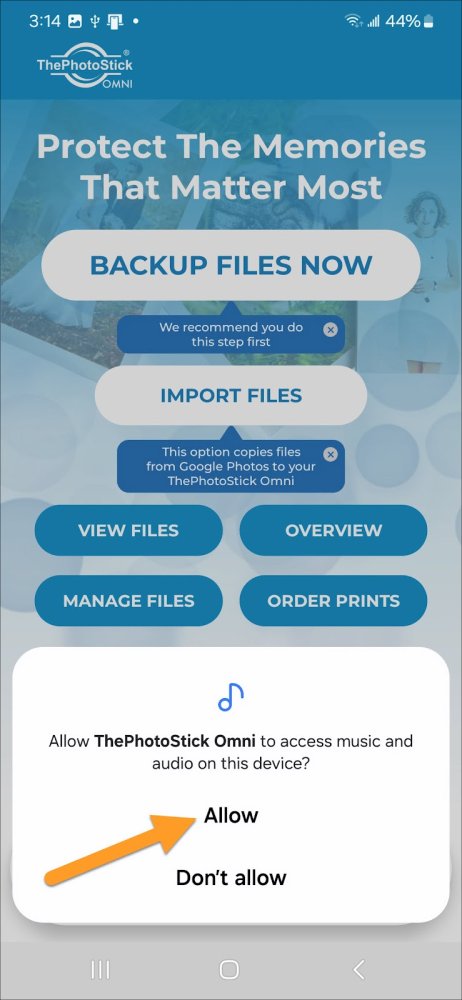
16. If prompted, tap “Allow” to allow ThePhotoStick Omni to access your music and audio files on your device.
NOTE: This is needed for ThePhotoStick Omni to back up your music and audio files that are stored on your device.
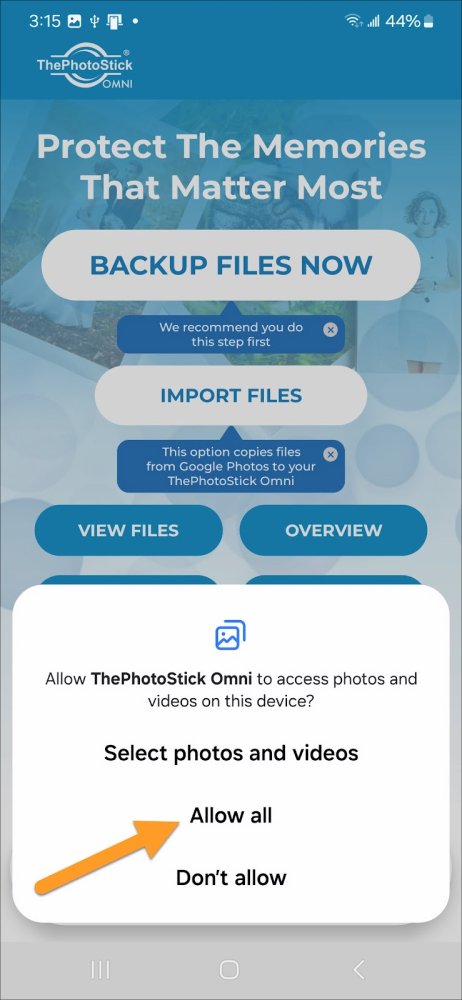
17. If prompted, tap “Allow all” to allow ThePhotoStick Omni to access your photo and video files on your device.
NOTE: This is needed for ThePhotoStick Omni to back up your photo and video files on your device.
CONGRATULATIONS! Your device is now properly connected.


Post your comment on this topic.