
In this module, you will learn:
- How to create a work schedule within Console, when Scheduling by Employee.
There are two methods by which to schedule your team:
- By Position (Recommended): Allows you to schedule team members by the Position(s) (or Job Code(s)) to which they are assigned. Your schedule will automatically be set to this option. See the General Settings training module for more detailed information about how to change this setting
- By Employee: Allows you to schedule team members individually. Note that you will still be able to attach a position (or job code) to shifts when scheduling by employee. However, the schedule’s format will be different when doing so
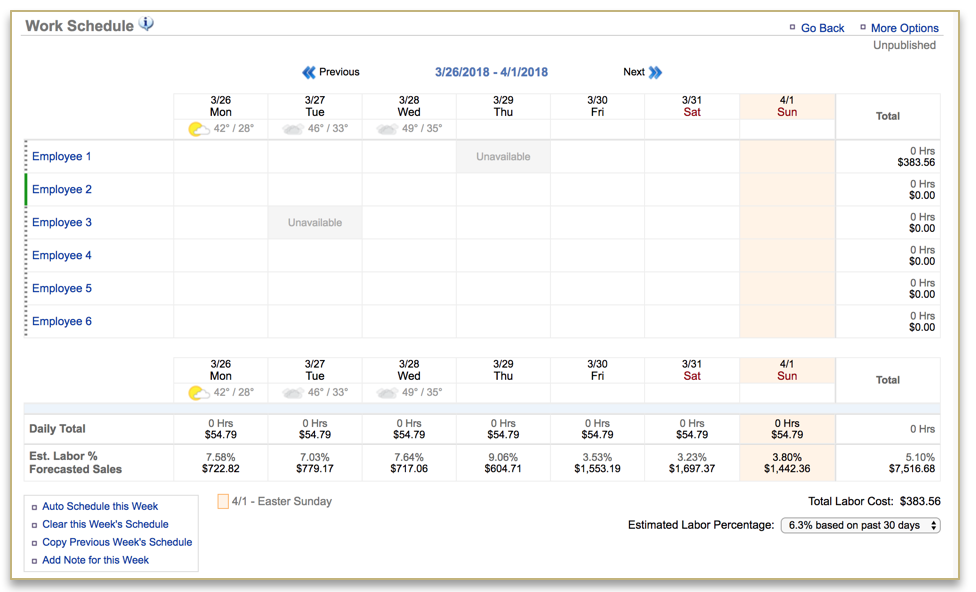
Creating a Work Schedule – By Employee
To create a schedule, you will need to navigate to the Labor Management module and click Work Schedule.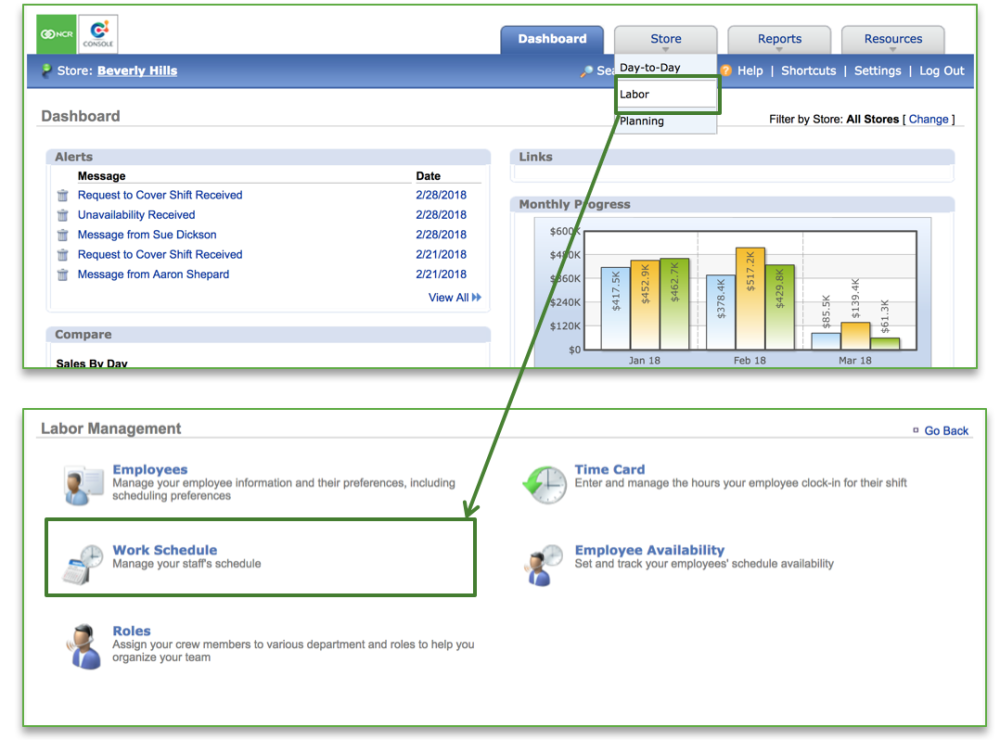
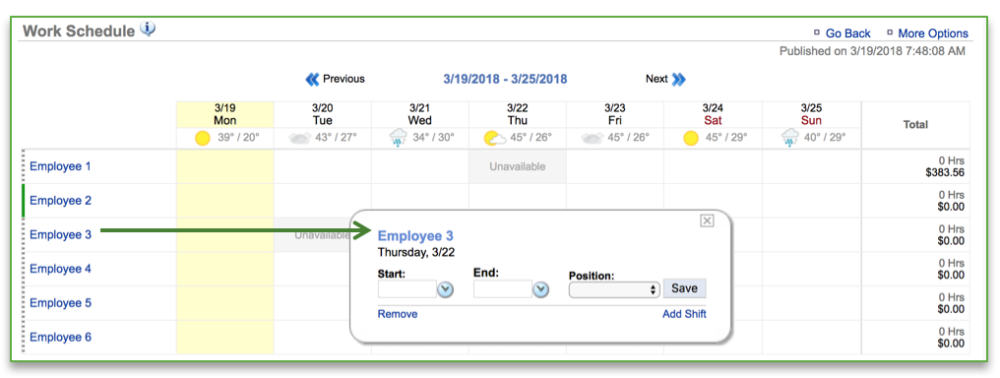
The Schedule view defaults to the current week and with any set unavailability showing. If partial unavailability has already been set, you will see it reflected in the cell for that day. It will also be highlighted in red font when you click on the applicable day to schedule around the employee’s unavailability.
You will have three options for building a schedule, when scheduling by Employee:
- Manual entry (required for the first schedule)
- Copy Previous Week’s Schedule (requires that a schedule for the prior week exists)
- Auto Schedule the Week (requires at least four previously scheduled consecutive weeks)
![]()

Manually Creating a Schedule
- Toggle to the week you want to set the schedule for by clicking Previous or Next at the top of the page near the date range
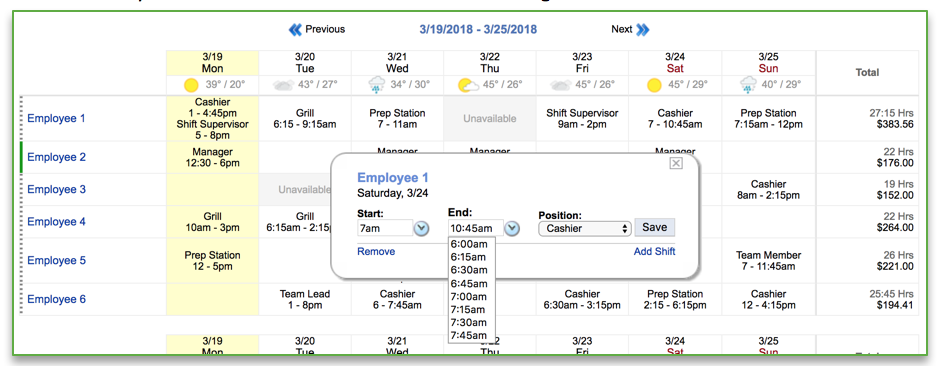
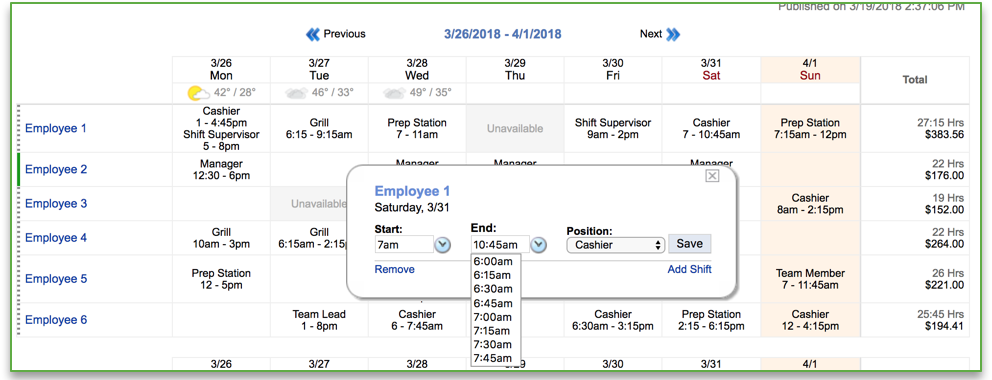
- Click the cell under the day and to the right of the employee that you want to schedule a shift for
- Click the dropdown arrow to select the Start time of the shift
- Click the dropdown arrow to select the End time of the shift
- The employee’s assigned position should be automatically populated in the field below Position
- To change the position, click the dropdown arrow to the right of the position name to select a different position
- Note that a position must be assigned to every shift in order for Schedule Enforcement to work
- Click Save
- Repeat steps 2 through 5 for each employee and for each day they are to be scheduled
![]()
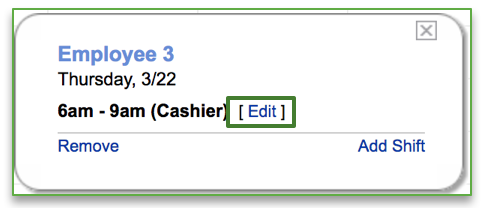
- Click on any shift again to modify it. This includes adding additional shifts for the day, and editing or deleting existing shifts
- Click Edit to edit start and/or end times
![]()
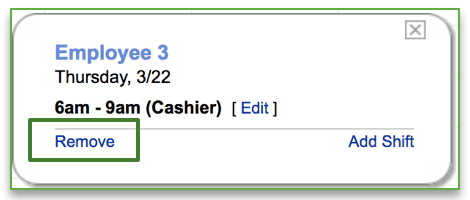
- Click Remove to delete a shift
![]()
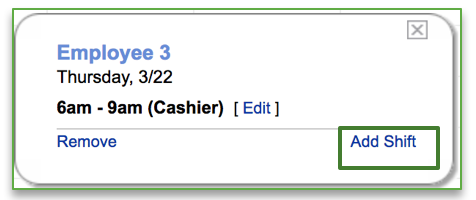
- Click Add Shift to add a shift to an employee’s schedule for the day
![]()
Copying the Prior Week’s Schedule
- Toggle to the week you want to set the schedule for by clicking Previous or Next at the top of the page near the date range
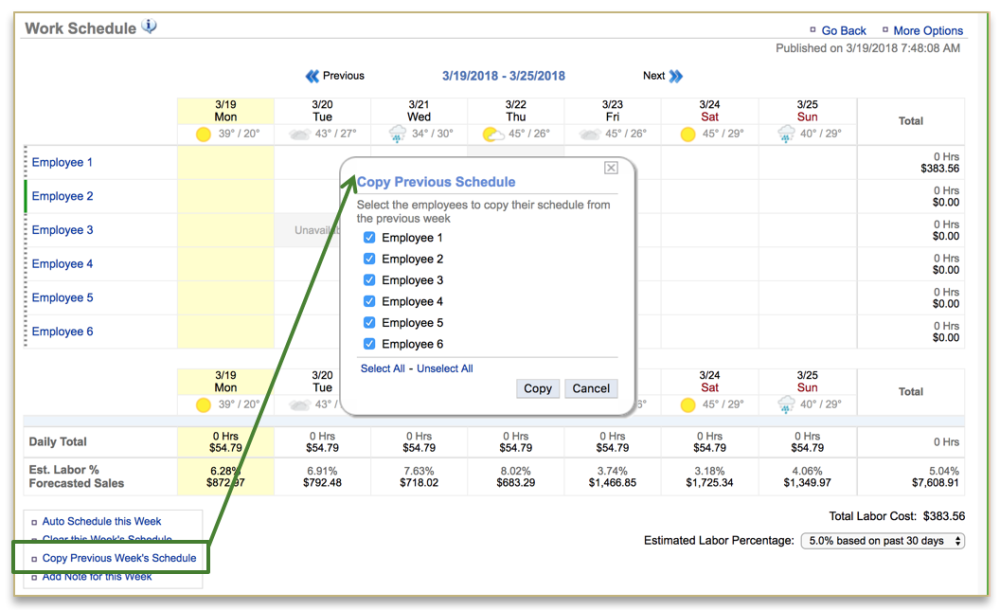
- Click the Copy Previous Week’s Schedule link at the bottom left corner of the page
![]()
- Select those employees you wish to copy the schedule for by checking the box to the left of the employee’s name
- Click Copy
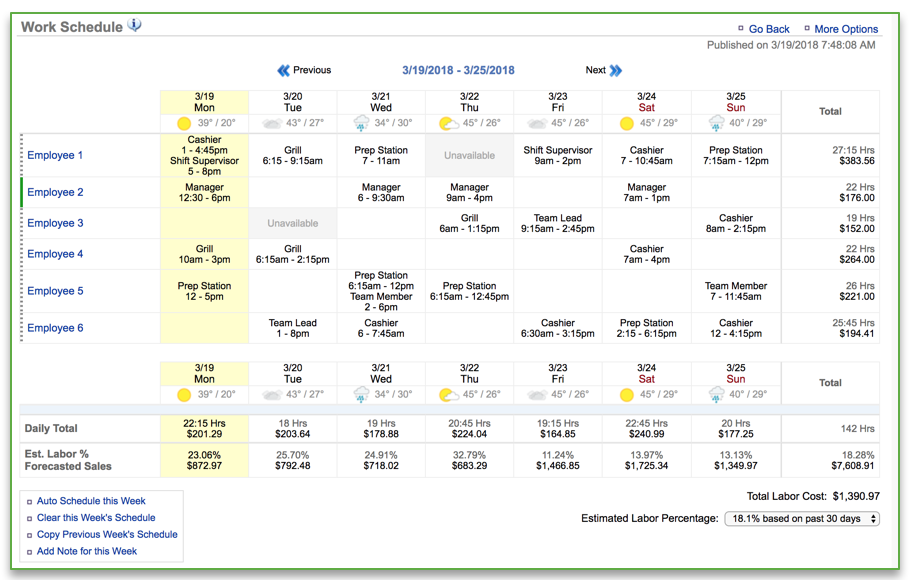
- The schedule will be copied over for each employee, from the prior week
- Note that any set unavailability will be overridden when copying a schedule from the prior week. Therefore, if an employee was scheduled to work the prior week but are unavailable to work the current week, a copy will override that unavailability
![]()
- From here you can make additional edits before finalizing* the schedule
![]()
See the Communicating Schedules training module for more detailed information about how to share a finalized schedule.
Auto Schedule a Week
- Toggle to the week you want to set the schedule for by clicking Previous or Next at the top of the page near the date range
- Click the Auto Schedule this Week link at the bottom left corner of the page
- Keep in mind that you must have a least four schedules in the system before it will allow you to auto schedule
![]()
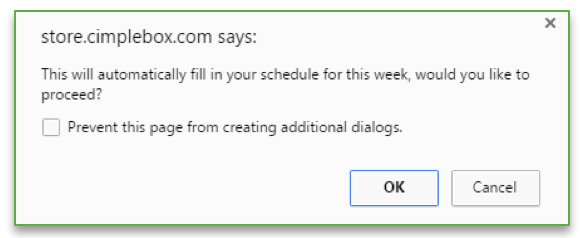
- You will be asked to confirm your choice. Click OK
![]()
- From here you can make additional edits before finalizing the schedule
![]()

See the Communicating Schedules training module for more detailed information about how to share a finalized schedule.
Clearing a Schedule
You can clear a schedule at any time before it has been finalized. To clear a schedule:
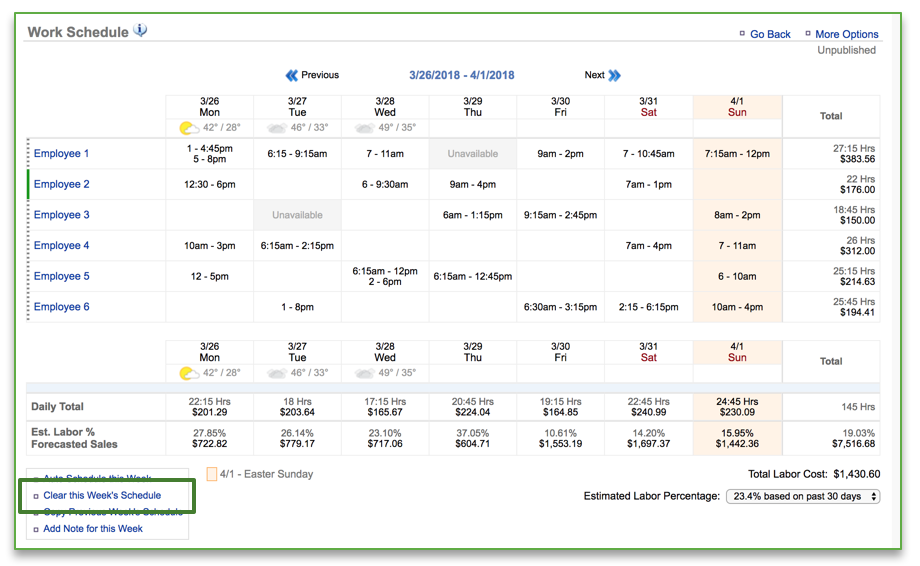
- Click the Clear this Week’s Schedule link at the bottom left corner of the page
![]()
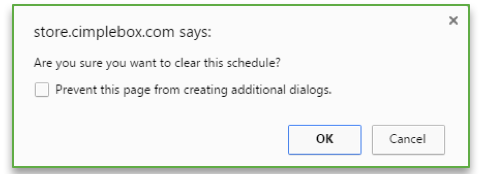
- You will be asked to confirm your choice. Click OK
![]()
- The schedule will be reset to a blank schedule reflecting only set unavailability
![]()
Related Topics:
Create a Work Schedule – By Position
Add a Note for Current Week
Communicating Work Schedules