

Manula is a generic tool for creating online manuals, help files, handbooks, etc.. of any kind.
However, being software developers ourselves, we initially created the Manula application with commercial product manuals in mind, either for software or for physical products.
Public access or restricted access?
 In general, if you’re making a manual for a commercial product, you want your manual to be publicly accessible for all users of your product. So that is what the first version of Manula did: make your manual publicly accessible online. That is, accessible for anyone on the internet.
But for many types of manuals, that is not desirable. For instance, if you’re using Manula to create an employee handbook, you probably want this handbook accessible for your employees only. The same holds for all kinds of policy and procedure manuals. You don’t want these readable by anyone online. You want to provide restricted access to those manuals, that is, only to the people who need to see them.
After we heard about the need for “restricted access” from several of our customers and trial users, we got to work and introduced “Private Manuals”.
New in Manula: Private Manuals
Private Manuals work as follows: You first set your manual to be “Private”, which basically blocks public access to your manual. Then after that you can provide username/password access to that manual for specific people only.
Here’s how to do that:
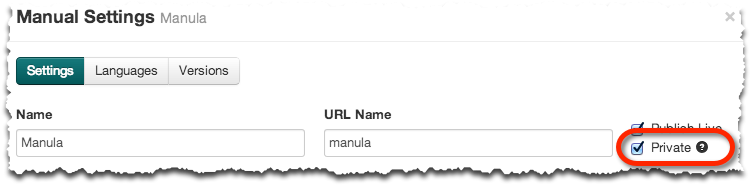
Setting a manual to be “Private”
Making a manual Private is done in the Manual Settings screen. Just check the Private checkbox on the top right and click Save Changes. From that moment on, nobody can access your manual anymore without logging in.
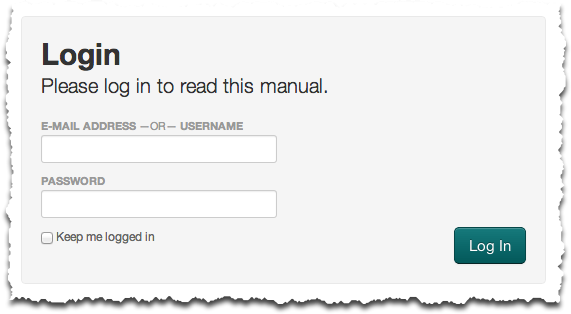
Anyone who goes to the URL of your live manual, will see this login prompt:
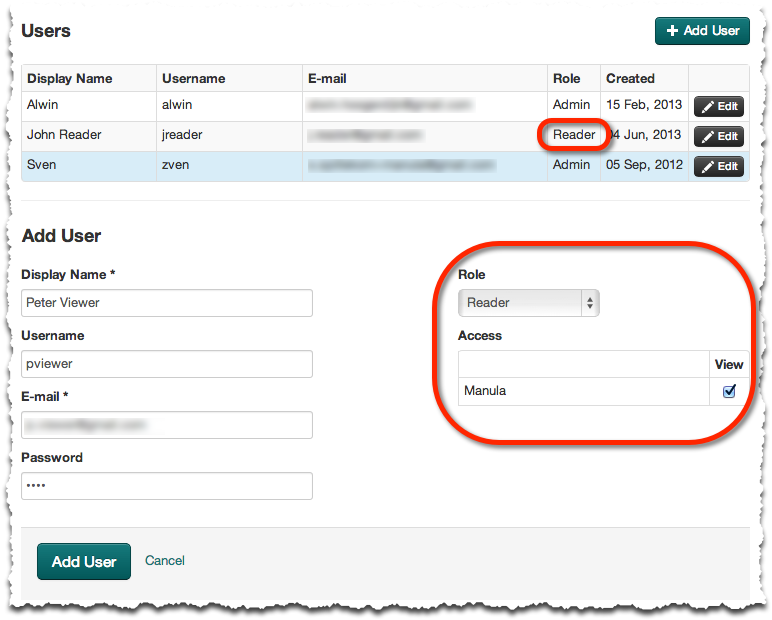
Creating “Reader” users
The next step is to create user accounts for the people who need access to your manual, each with their own username and password.
This is done on the Users tab of the Account Settings screen:
- Click the Add User button
- Fill in his/her Display Name, Username, Email address and Password.
- Set his/her Role to “Reader”.
- Then use the checkboxes under Access to indicate which manuals this user can access.
- Now click the Add User button at the bottom to save the new user account.
Depending on your situation, you can create one generic username and password for all users who need to access your manual, OR you can create a specific separate login account for each and everyone of them. The number of Reader users you can create is unlimited so it’s completely up to you.