
The Guided Setup makes setting up your new RoundhousePM account easy and straightforward. Start by creating your account in the following URL:
https://www.roundhousepm.com/welcome/
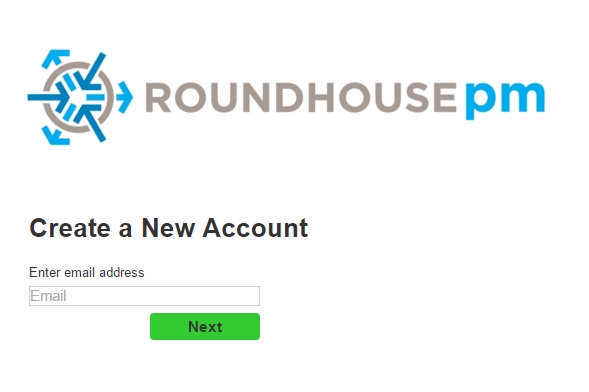
When the following screen appears, enter your email address.
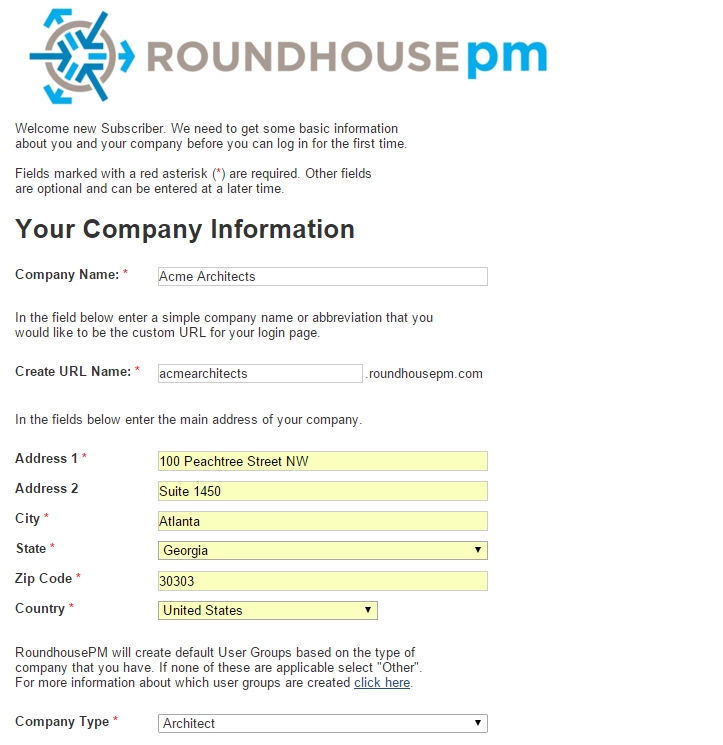
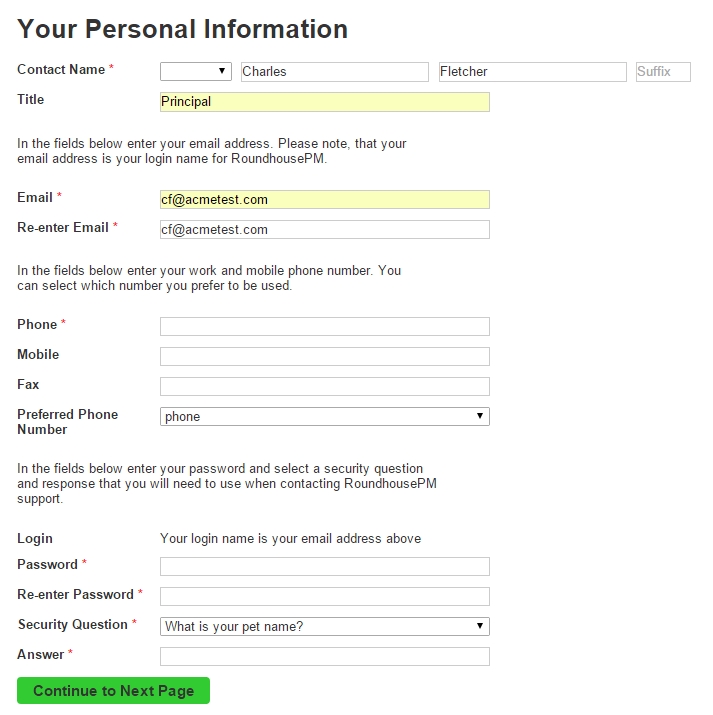
New Subscriber Setup – Personal and Company Information
Enter here the Personal and Company Information requested.
New Subscriber Setup – Guided Setup or Manual Setup?
You are now given the option to continue with the Guided Setup or go to Manual Setup. We *strongly * recommend using the Guided Setup if you are new to RoundhousePM.

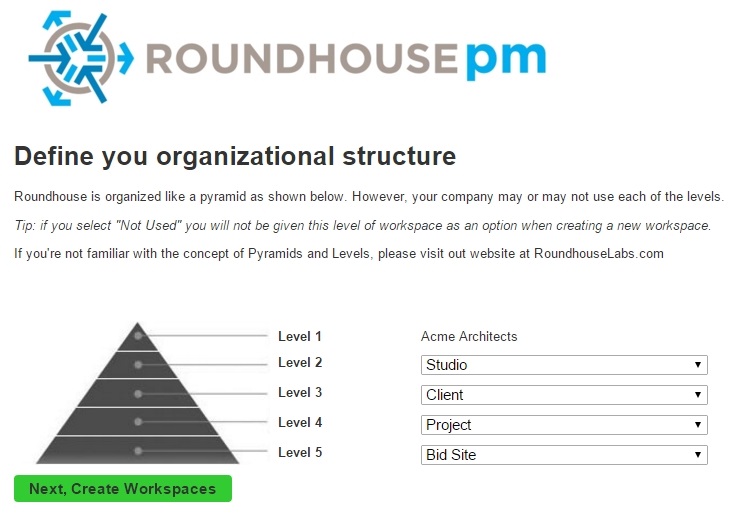
New Subscriber Setup – Nomenclature
Define the nomenclature of your company structure here. These can be changed later if needed.
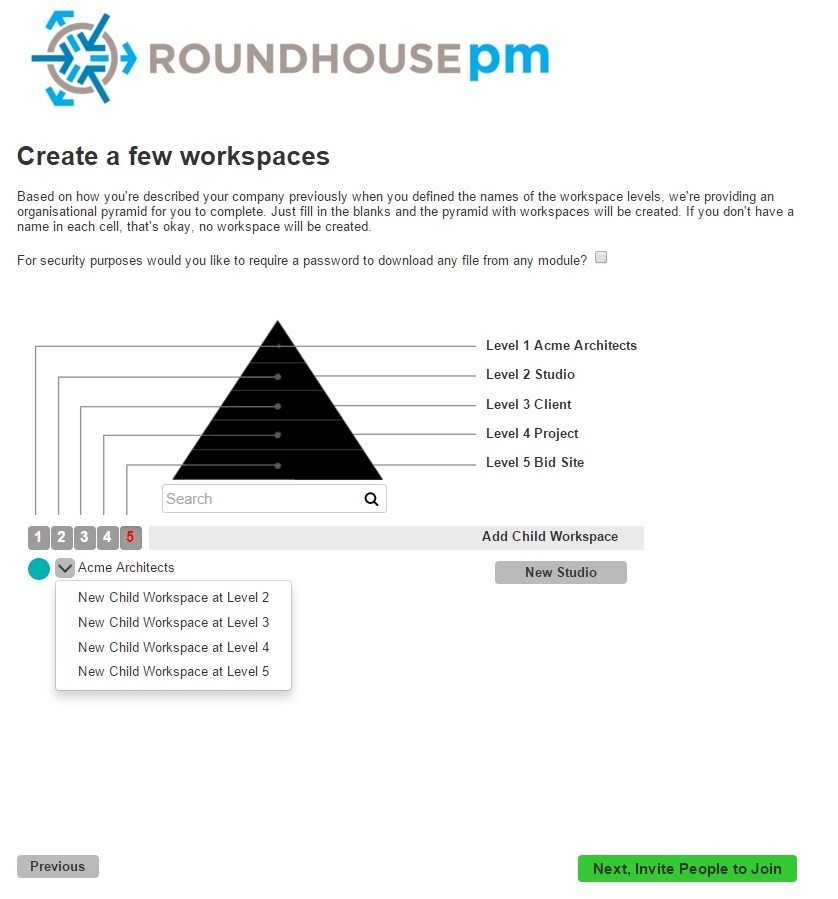
New Subscriber Setup – Adding Workspaces
On this page you start to define the workspaces that make up your pyramid. There are two ways of adding workspaces:
1) click on the button at the right that will add a workspace at the next lowest level of the pyramid. You’ll note that RoundhousePM is using the terminology that you defined in the previous step.
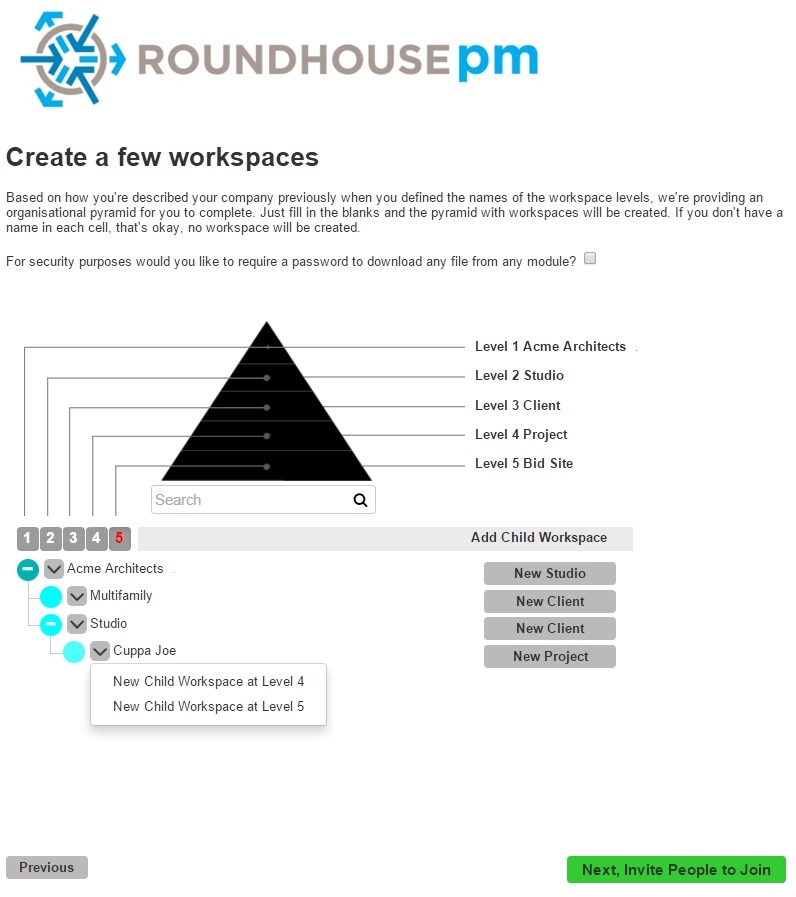
2) click on the small triangle next to the Level1 workspace name. A drop down will appear allowing you to create a workspace at any lower level of the pyramid.
Continue to build your pyramid by adding workspaces. You can always add workspaces as you need them. Workspaces can also be edited at any time if you need to move or delete them.
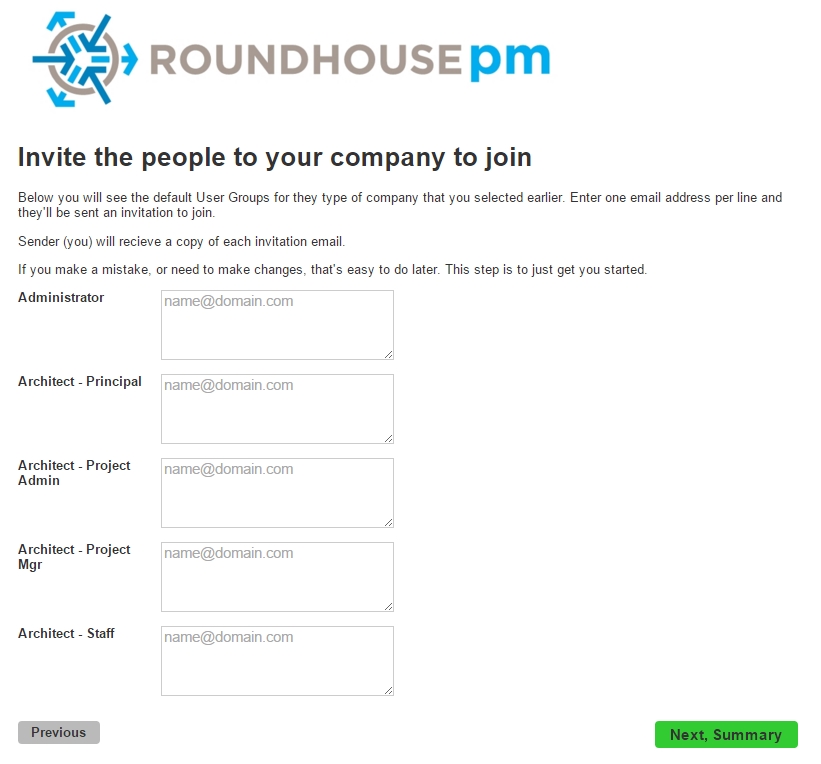
New Subscriber Setup – Invite people in your company
It is now time to invite people within your company to join RoundhousePM. On page 1 of this setup you were asked your company type. This selection determined the user groups that now appear for your company. Enter the email address of each person (one email address per line) for each user group. Don’t worry if you don’t want to add every user at this time. Users can be invited after you have finished setting up your pyramid.
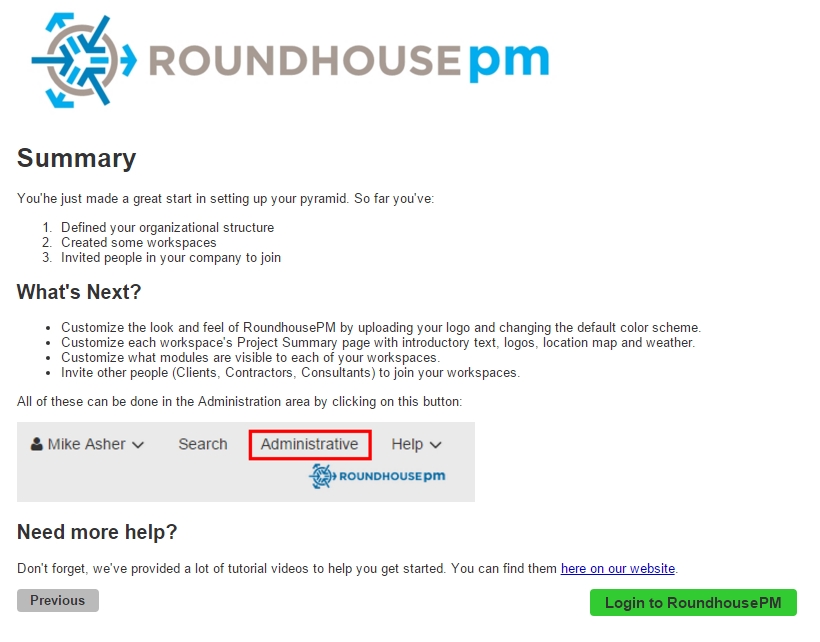
New Subscriber Setup – Next Steps
At this point you will see a summary of the steps you have completed and suggestions on what to do next.
Non-Guided Setup
If you decided to skip the Guided Setup, there’s no one-way to set up your pyramid. Generally it’s best to make a diagram or list of how your pyramid is to be structured with the levels and decide which workspaces you need to create.
Below are some steps that work well:
- Workspaces
- Customization
- User Groups
- Users
- Monitor Users
Workspaces – Once you have the pyramid structure in your head you can start by creating the workspaces. The first thing you do is to create the Level 2 workspace(s) by adding a child workspace to your Level 1 workspace. Once you have these workspaces, move on to the Level 3 and then Level 4 workspaces. See Workspaces.
Customization (optional) – If you like you can change the default color of your pyramid and upload your company logos. To do this see Look and Feel.
User Groups – Next review the User Groups to make sure that you have enough granularity between the types of users that you work with on a daily basis. In User Groups you will find examples of possible User Groups depending on whether you’re an architect, contractor, developer / owner. Keep in mind you can always add more groups and users can be moved from one group to another should you make a mistake or find that you need to control access for certain users.
Users – Next add the Users. You may do this in several ways depending on the size of your company and how much time you want to spend. From the Users screen you may Add User and fill in all of their data for each person in your company, or you may use the Invite User function and let them complete their personal information during their login.
Modules – Next add the modules to the workspaces. From the Modules administration screen edit each of the modules and set which User Group should access (see) this list and also select which workspace should contain this module. Review all the standard setting to make sure they’re as you like. Especially make sure to check and possibly adjust the roll up / roll down and notification settings to fit your needs.
Monitor Invited Users – Continue to monitor the invited users. As they join their information will appear in the Users list. Once they join you may edit them and give them access to additional workspaces if you like.
Next: General Information →
Post your comment on this topic.