
Bluebeam Revu is a PDF markup tool and much more created by Bluebeam Software Inc.
Bluebeam has numerous tools but the ones used here allow us to:
1. Combine multiple PDFs into a single PDF file.
2. Rename the pages by using Bluebeams OCR tools.
3. Extract each page into individual files ready to upload to RoundhousePM.
Step 1 – Combining Files
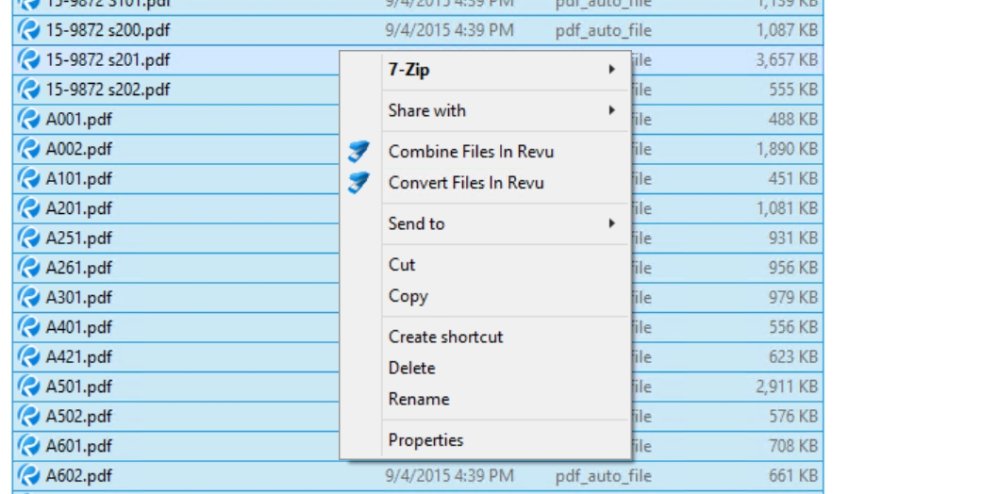
Before you release a set of files to the world you create PDF files from the CAD / BIM software that you use and you receive files from consultants. These files are probably named using different naming conventions as shown below.

Select all files, right mouse and select Combine Files in Revu.
Name the file and select the location for saving and press OK.

On the following dialog press Staple.
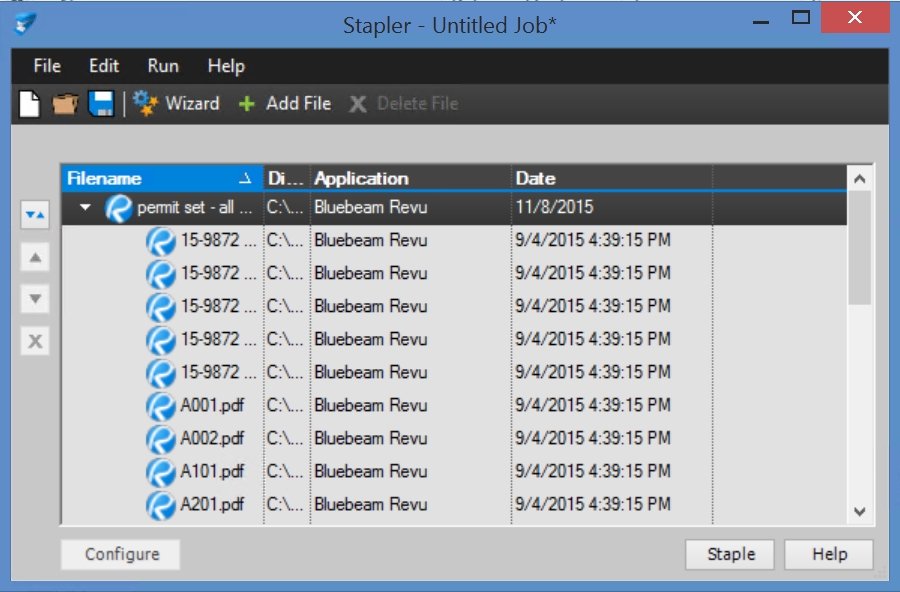
Bluebeam then processes the files and opens with all of the individual files combined as shown below, but as as you can see the sheets are numbered, 1,2,3 etc.
Save this combined file to your computer.

Step 2 – Renaming the Pages to match the Sheet Number and Title
In this step we will use Bluebeams OCR tools to rename the page number to that of the information found in the title block of each sheet. In order to do this we first have to tell Bluebeam which area of the sheet contains the sheet number and which area contains the sheet title.
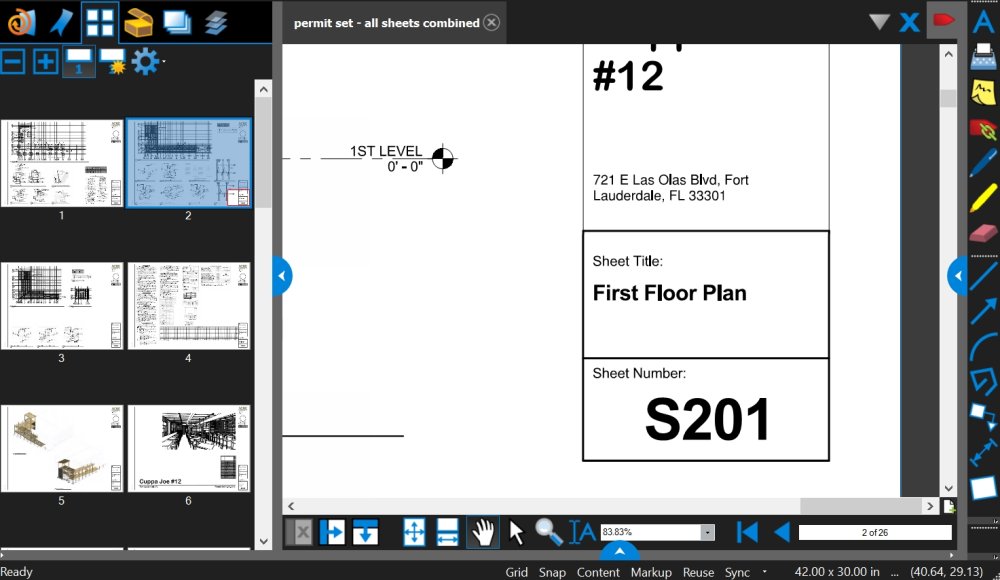
Select the Create Page Labels tool circled below.

The following dialog will open. Make sure that All Pages are selected and then click on the *Add *button.

The dialog will disappear and draw a rectangle around the sheet number.

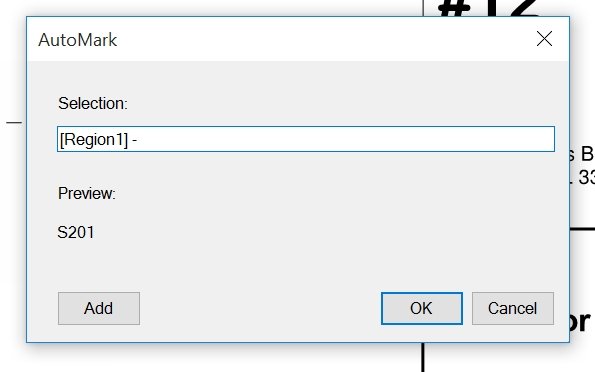
The AutoMark dialog now appears. You can see that [Region1] is entered and a preview of what it has scanned is shown below. At this time you need to manually enter a “- “ (space hyphen space” and then click the Add button again to select the text of the sheet title. Do NOT click OK.
The AutoMark dialog disappears. Draw a rectangle around the sheet title text.
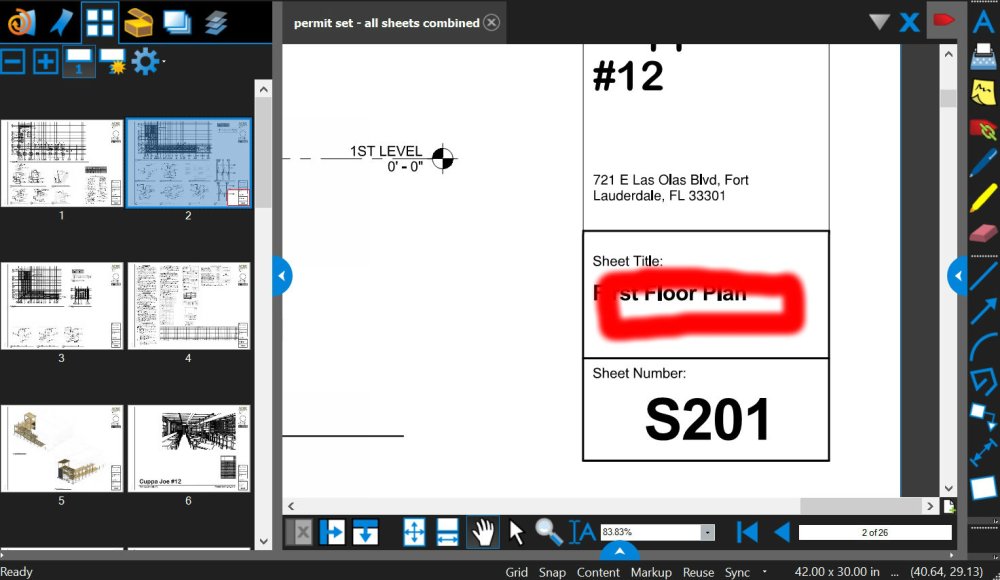
The AutoMark dialog reappears and you can see that [Region2] has been added to the field and the preview shows you the text that has been scanned.

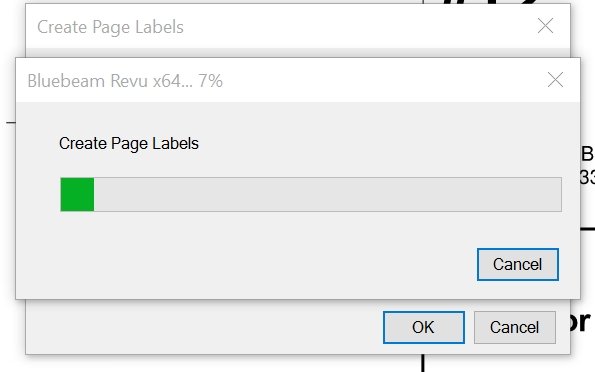
Now you can click the OK button and Revu will OCR all of your sheets. While this is happening you will see this dialog.
When the process is finished you will see that all of the page names have been changed to the new formatting. You should take a few minutes at this time and review the text that was created. While Revu does a great job it’s not 100% perfect and you may need to manually edit a few of the page names.

Step 3 – Extract each page to individual files
Now that we have all of the pages named correctly we need to extract each sheet to a separate file of their own. From the Page menu select the Extract Pages action.

You will then be prompted to select a folder on the server to contain these files. Once you select this your files will be extracted and you will have a folder that looks like this with the file names formatted correctly and ready for uploading to RoundhousePM using the SmartUpload feature.

Post your comment on this topic.