
In the previous section, we have queue and completed a build of the JMS application. Now, it’s time to go back to Windows Azure and connected to the Build machine.
The connection to the Build machine is done through Remote Desktop Connection.
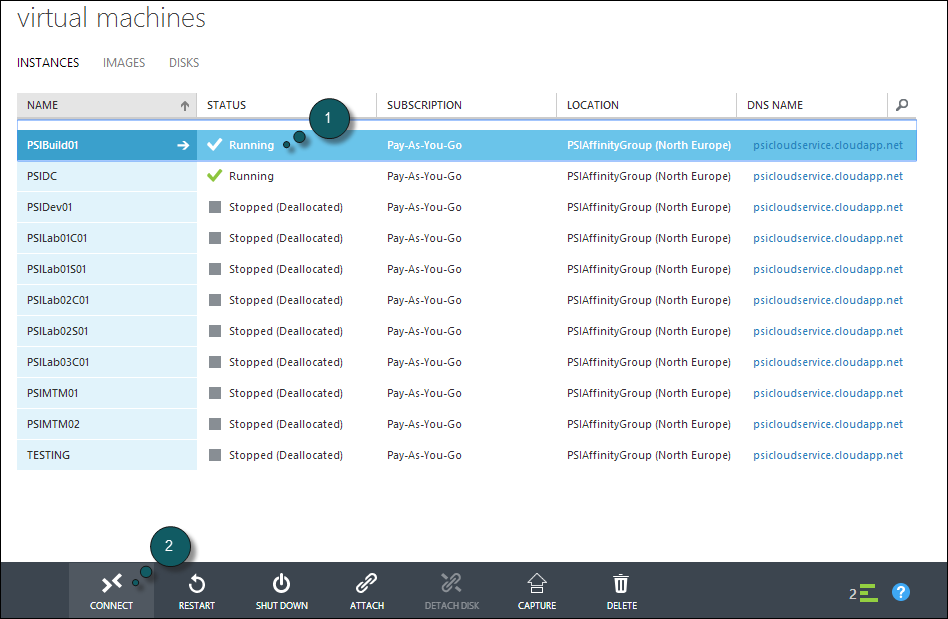
- Select PSIBuild01
- Click on Connect

- Click on the downloaded file
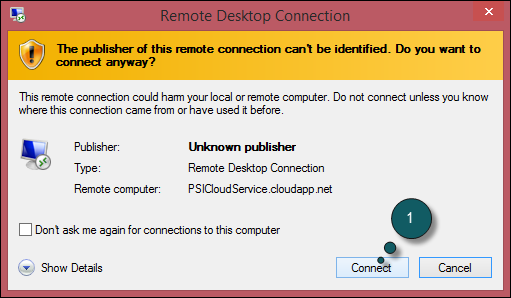
- Click on Connect

- Enter your Password
- Click OK.
Once connected to the build machine, your screen should look like this:
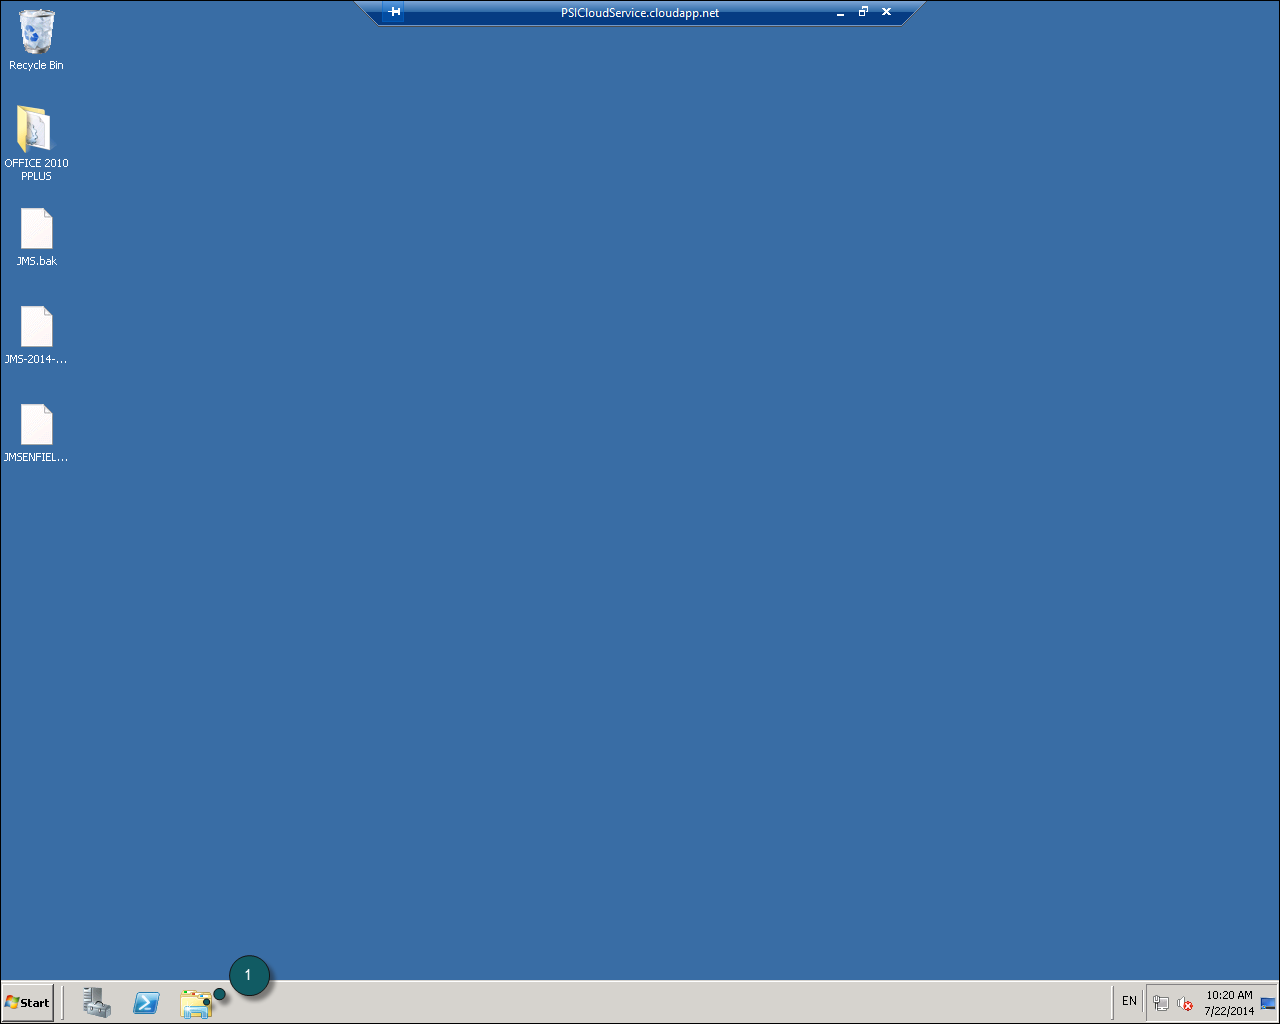
- Click on Windows Explorer
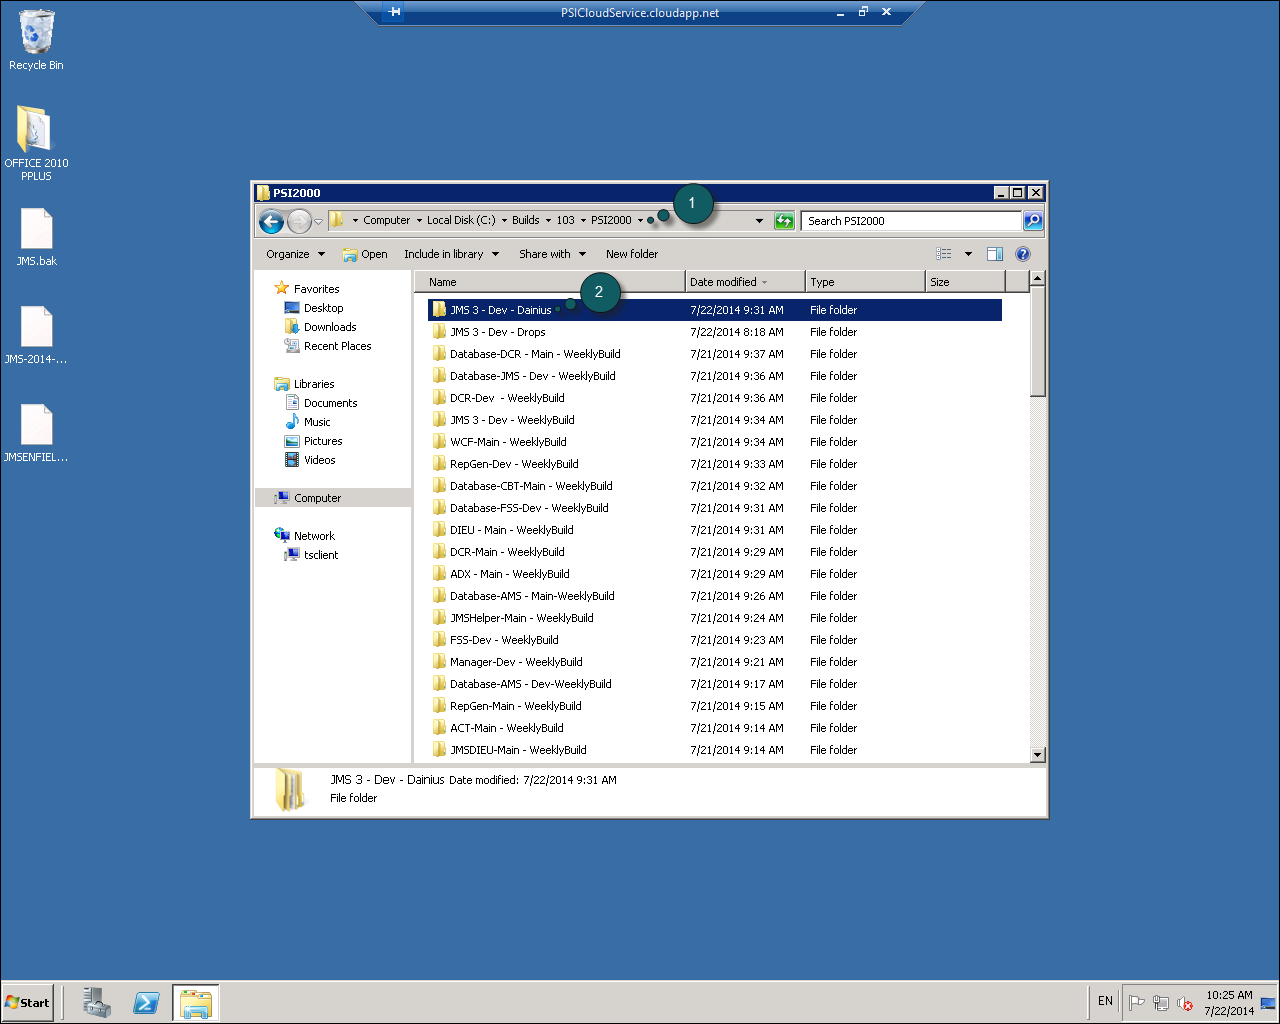
- The path to the Builds folder
- The build we generated
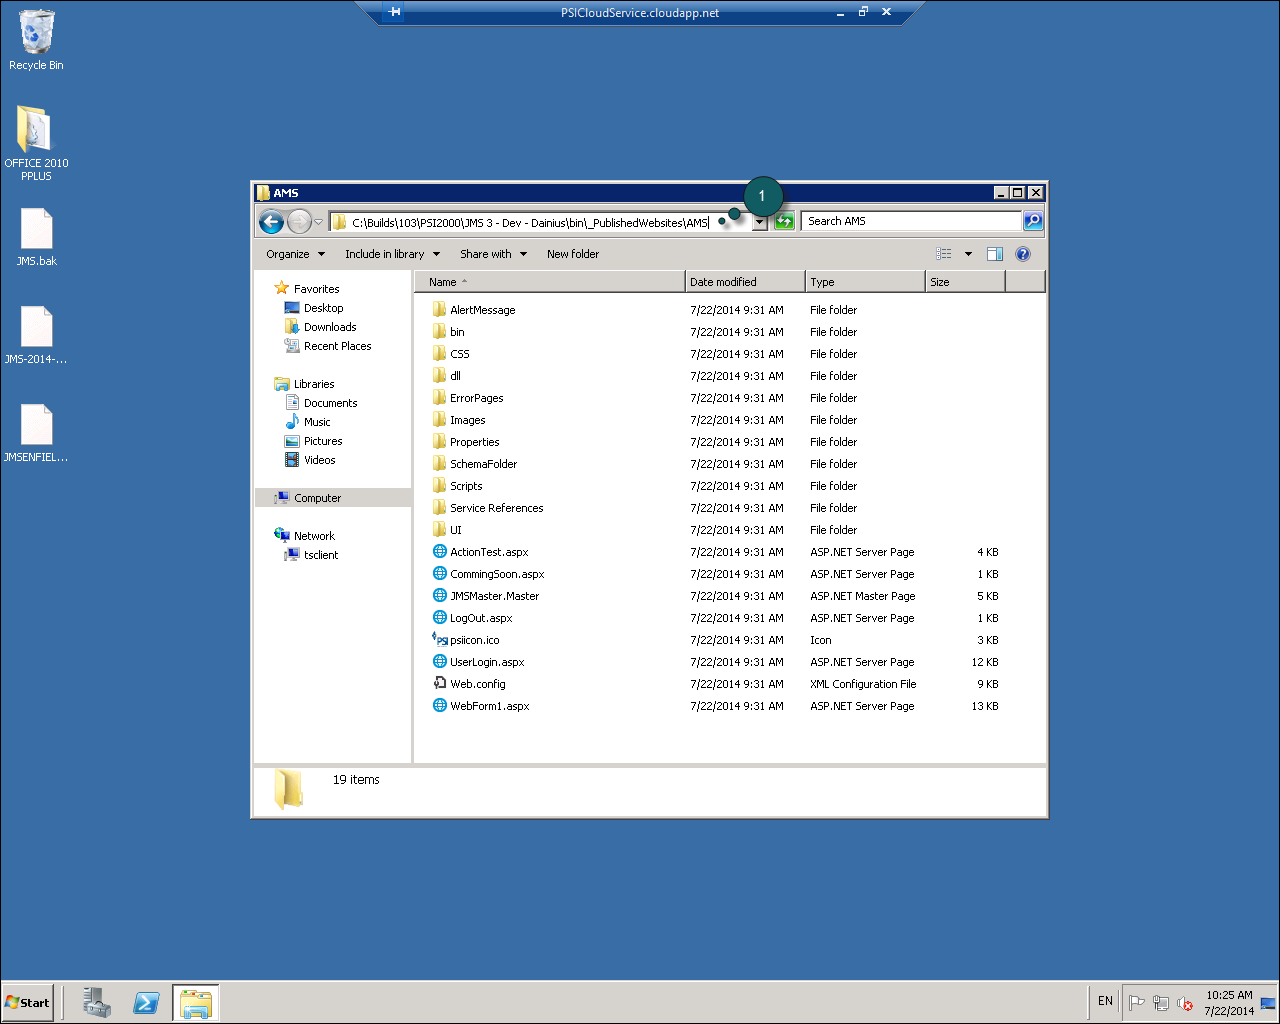
- The path to the compiled application folder of our build. This is where the compiled application is located.
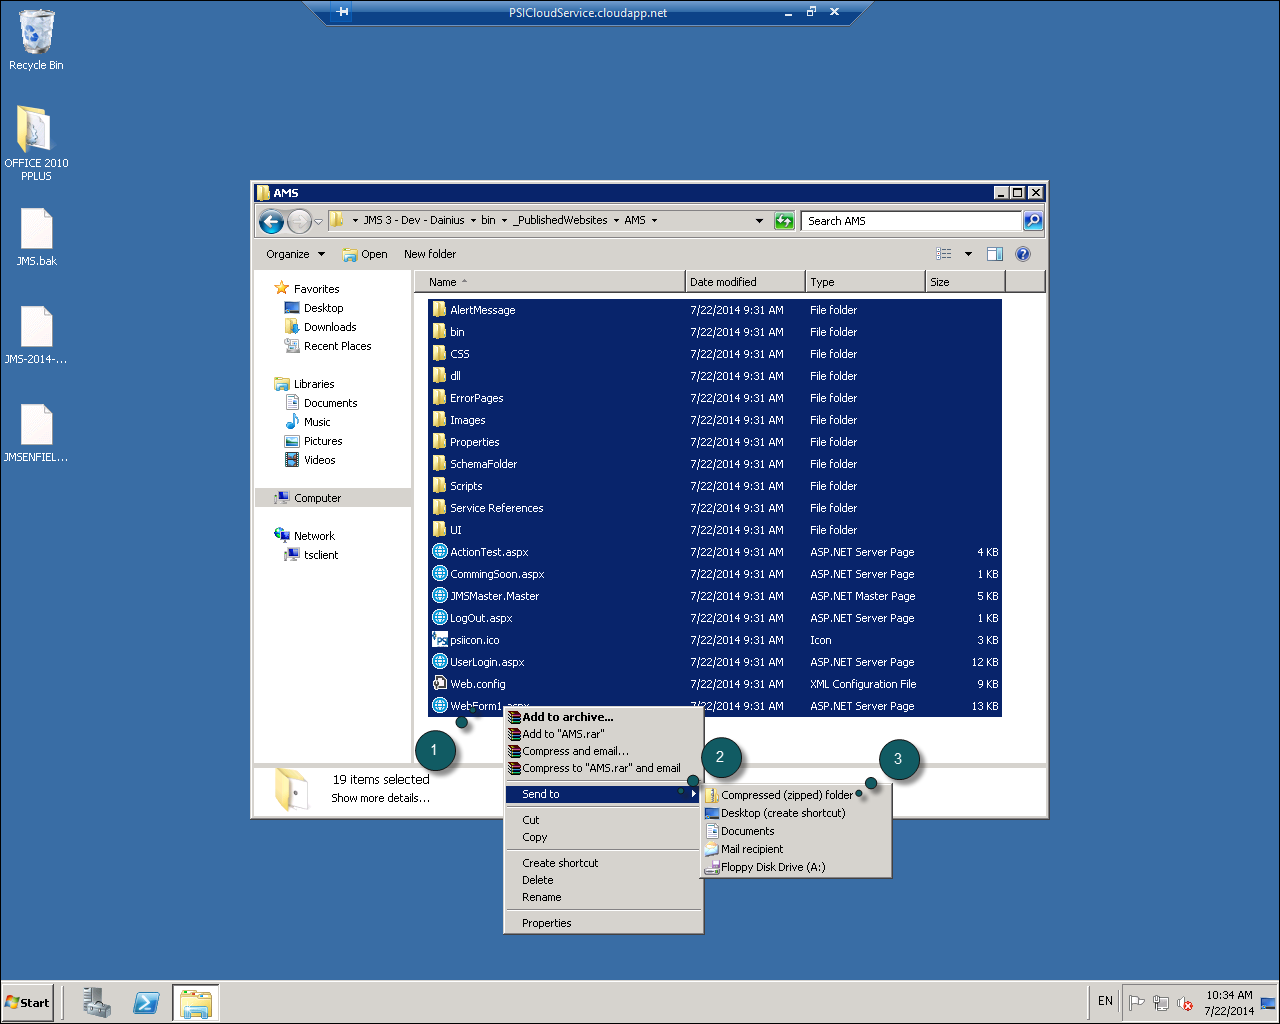
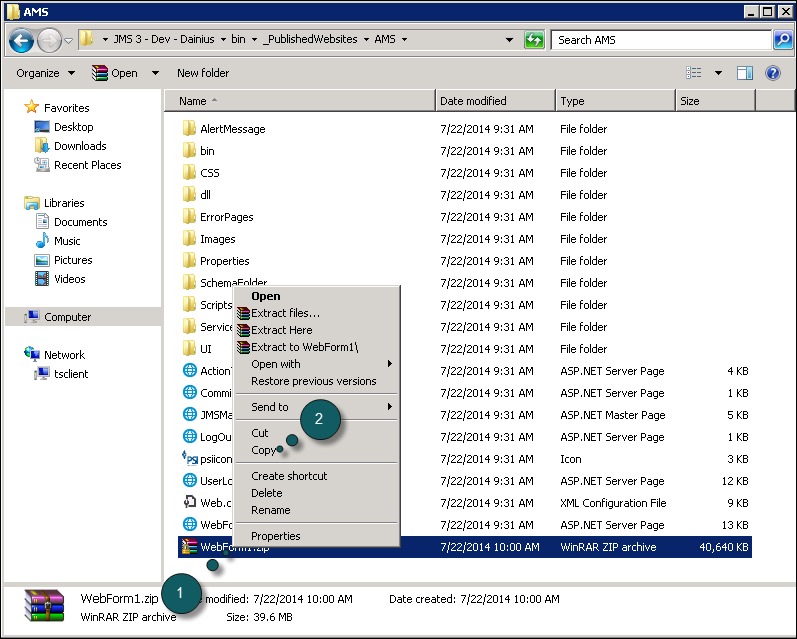
- Press CTRL + A on the keyboard to select all the items.
- Right Click and select Send To
- Select compressed (zipped) folder
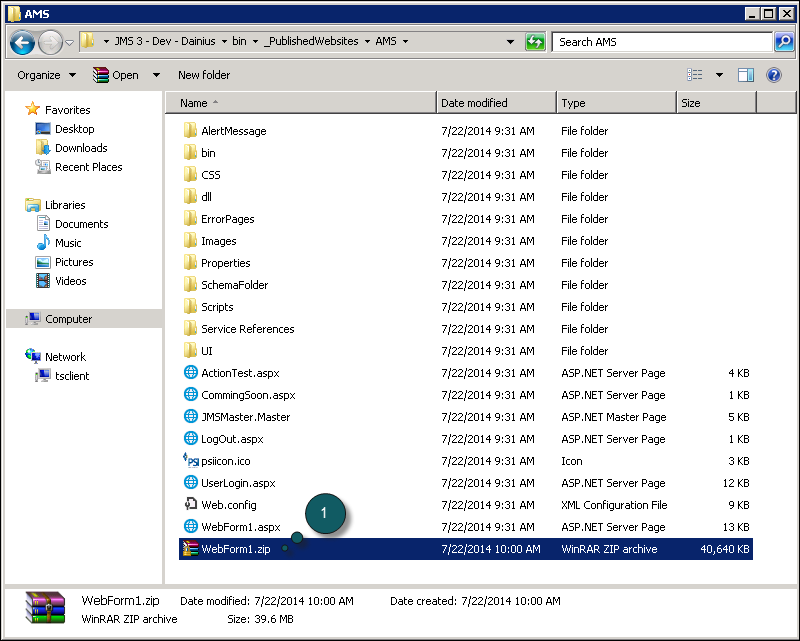
- The .zip file is created.
Now, we will remotely connect to the client server we would like to deploy the application on.
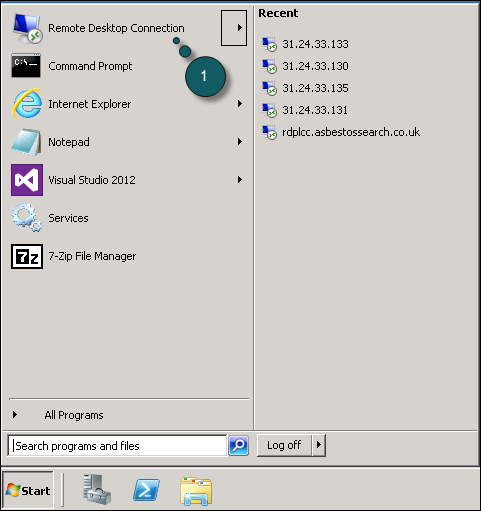
- Click Start
- Click on Remote Desktop Connection
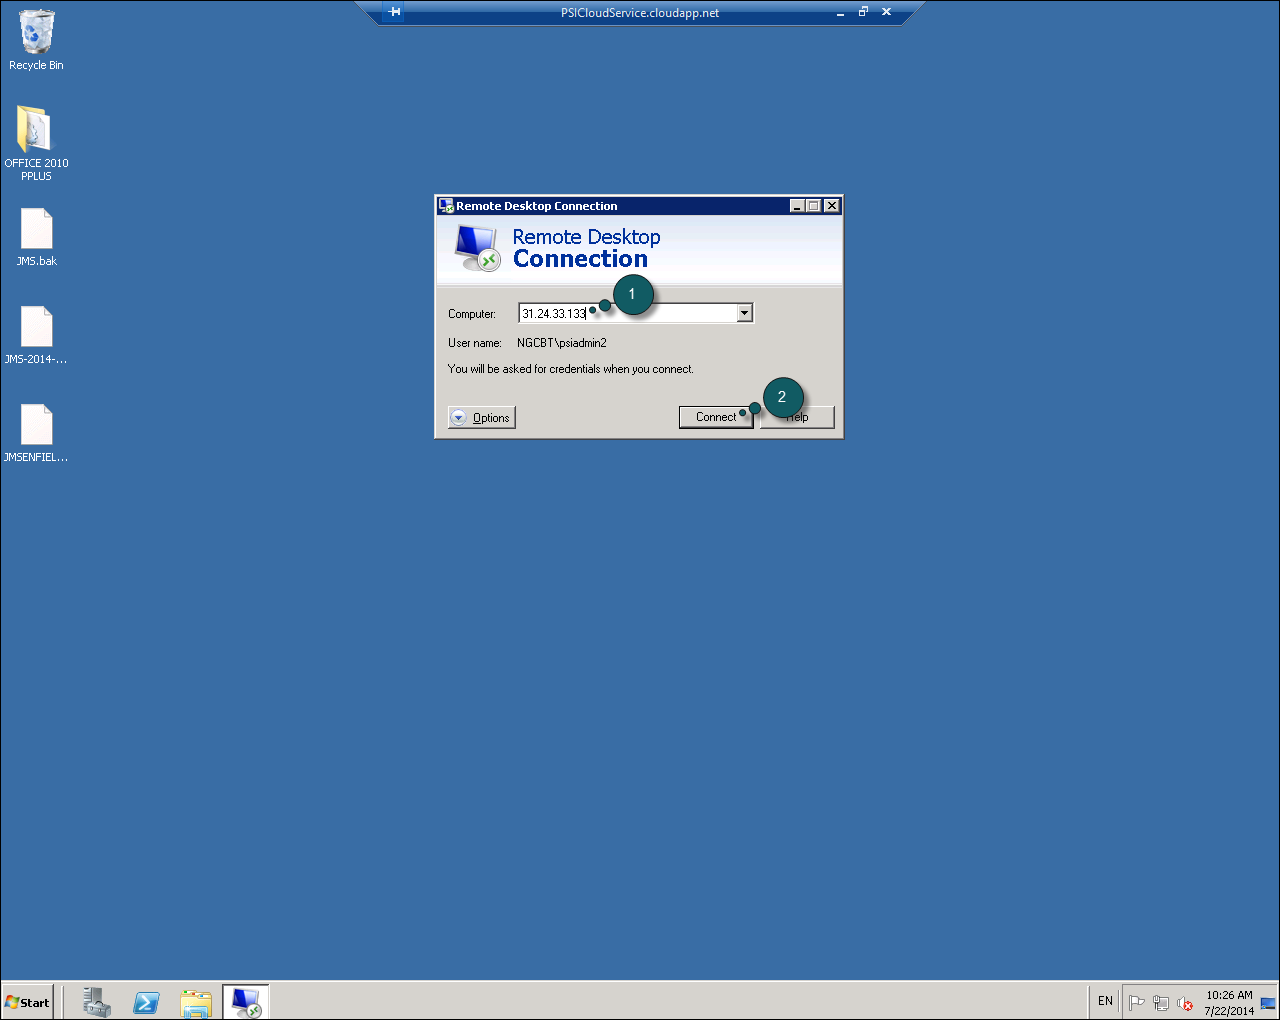
- Enter the IP number of the client server you want to connect to
- Click Connect

- Enter the password
- Click OK
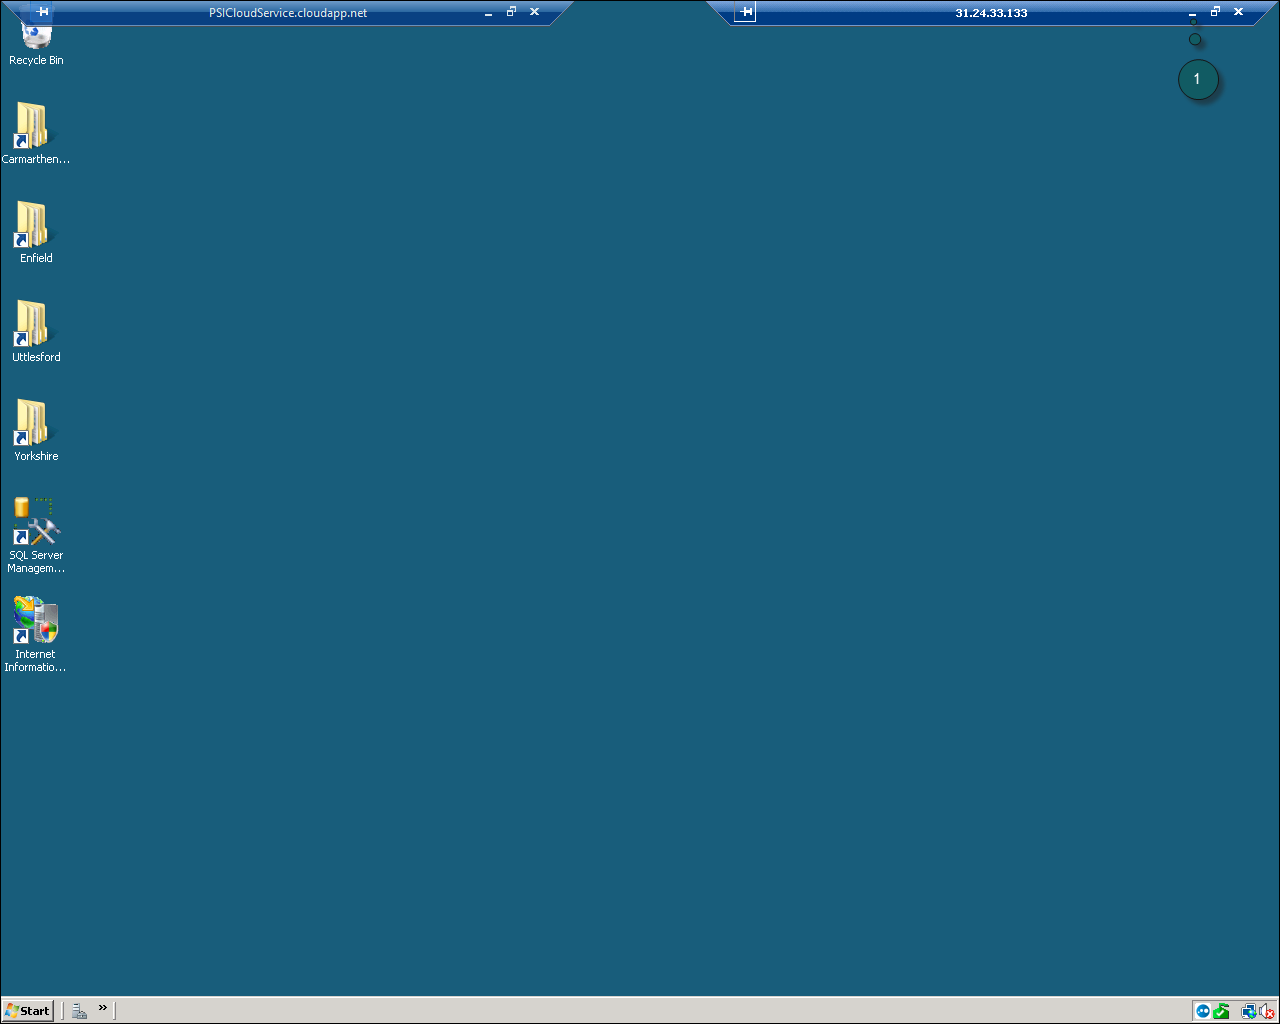
Once logged into the client server, your screen will look like this:

- The Build machine
- The Client Server
Now, we will minimize the client server remote desktop connection, and go back to the Build Machine.
- Click to minimize
- Right click on the .zip file
- Click on Copy
We will now go back to the client server

- Click on the remote desktop connection icon
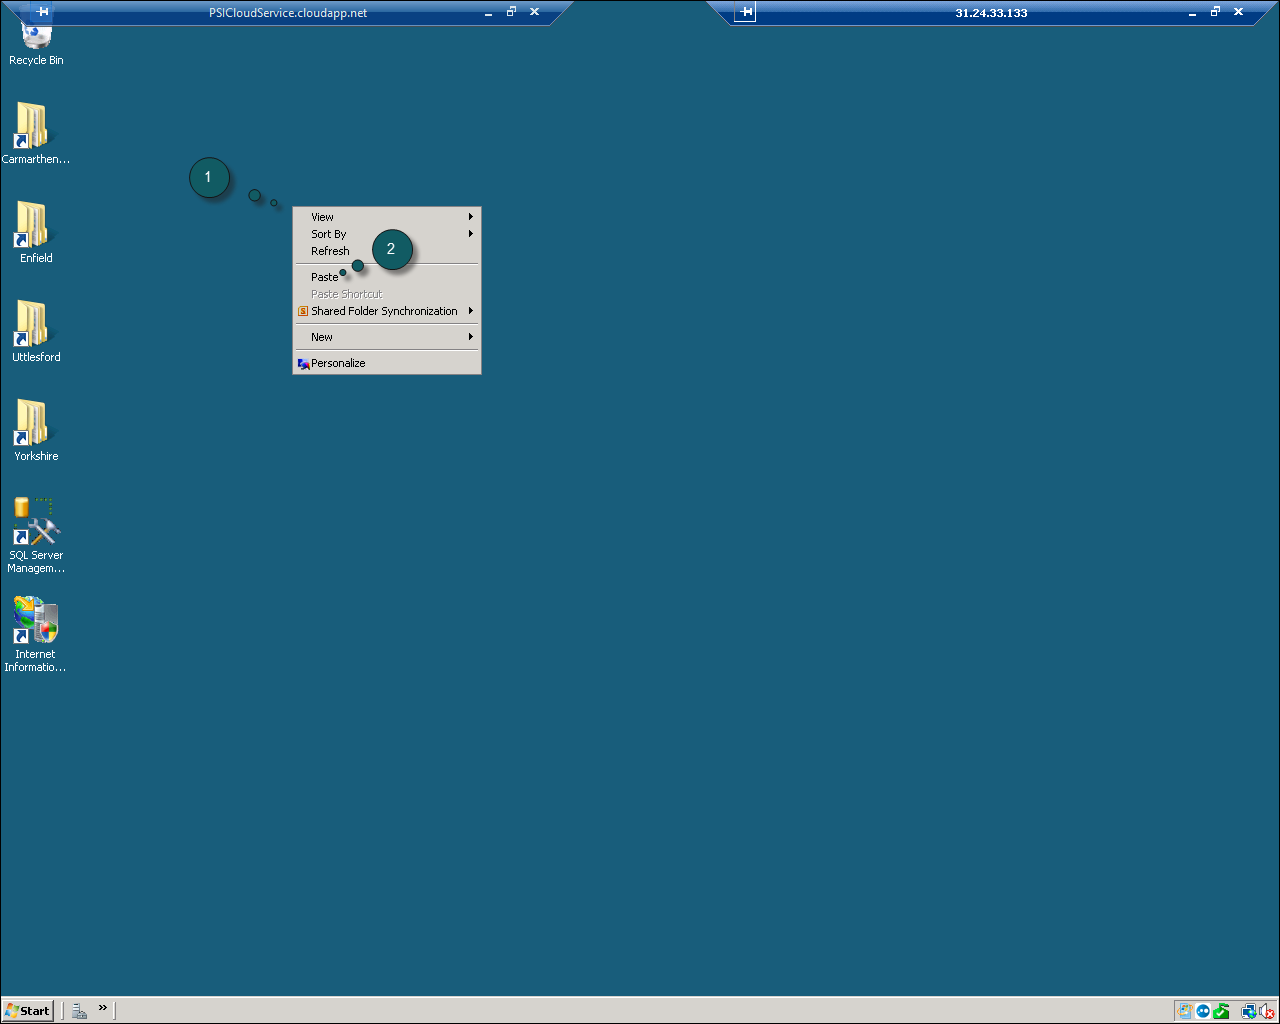
- Right click on the Desktop
- Click on Paste
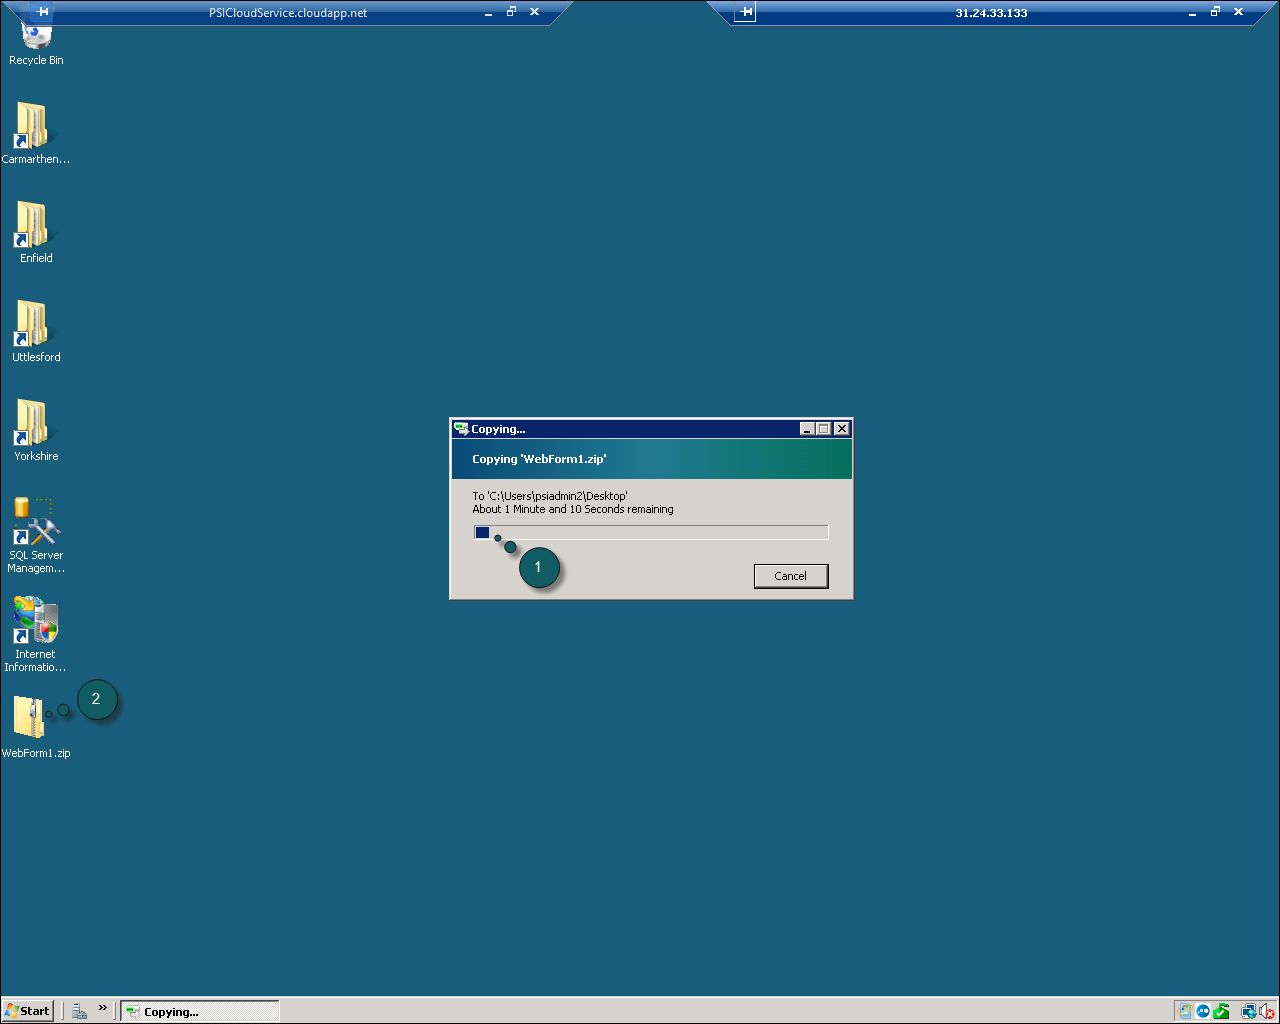
- The file is copying
- The file appears on the Desktop
Post your comment on this topic.