
Management Report shows you all the information about the property. This guide will tell you how certain fields can be populated within the report.
Report Cover Page
Property Address : This value comes from the properties tab under data management.To alter this value in your report, you must navigate to Setup -> Data Management -> Properties tab and locate your property and press edit. Dependent on your configuration, each column should represent a certain field, eg. House number, street name, post code etc.
UPRN : This is the property unique identification number. This fields gets created when a new property is added onto the system. After the property is added, you cannot change the UPRN number through the system.
Issue Date: This is the date when the report is generated. This report generates when a job is release approved in the JMS.
Introduction
Survey Complete Date: This field automatically gets set when a survey is completed.
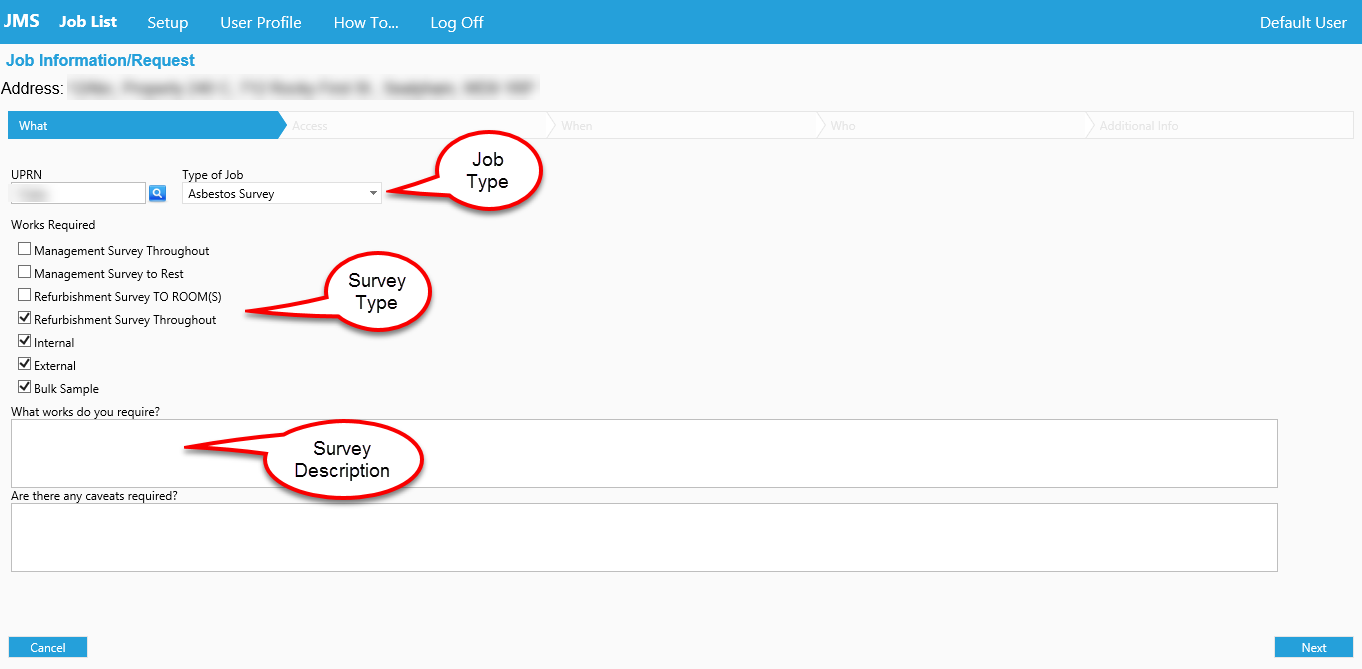
Job Type: This field can be populated upon job creation (view photo below).
Survey Type(s): This field can be populated upon job creation (view photo below).
Survey Description: This field can be populated upon job creation (view photo below).
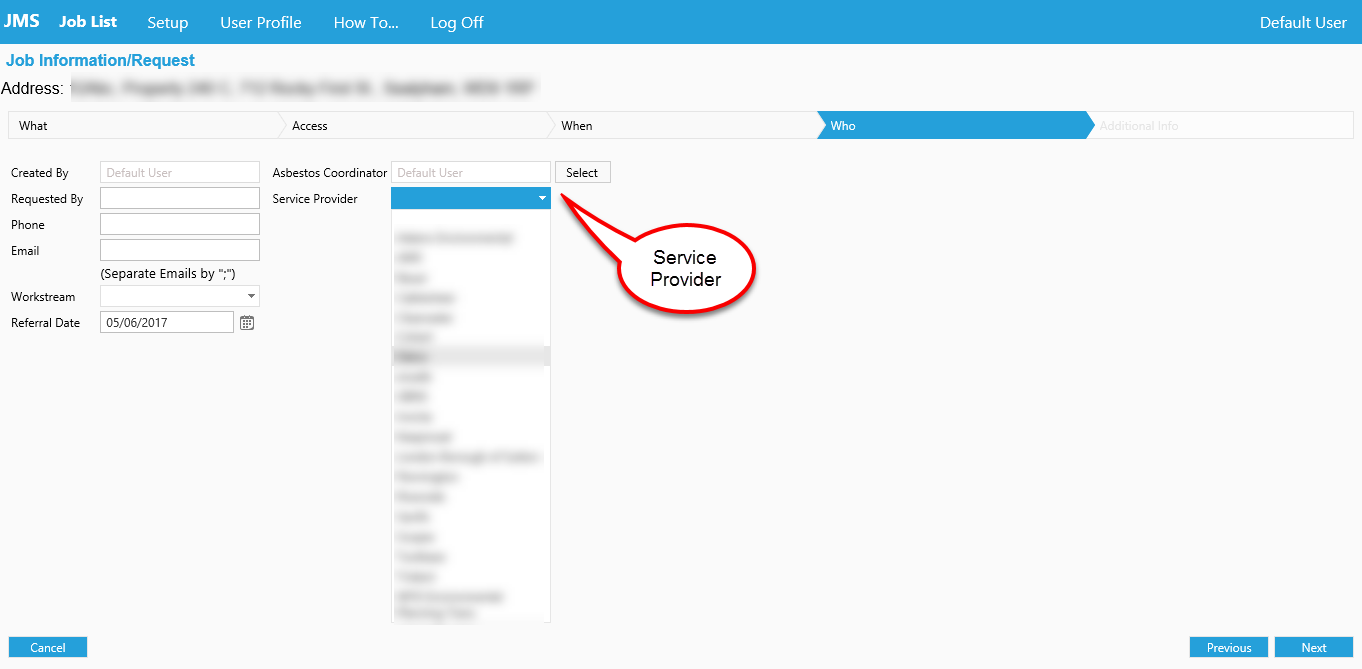
Carried Out By: This field represents the team leader of a service provider which is chosen for the survey.
Executive Summary
Number of Asbestos containing materials: This field represents the total amount of materials containing asbestos for the property. This field depends onto how many asbestos detected inspections a property has had.
High Risk Asbestos: This field represents how many high risk asbestos findings there are on the property.
Medium Risk Asbestos: This field represents how many medium risk asbestos findings there are on the property.
Low Risk Asbestos: This field represents how many low risk asbestos findings there are on the property.
Number of Non Accessed areas: This field represents how many non-accessible areas are on the property.
Asbestos Profile
Inspection Number: This field automatically populates after an inspection is created.
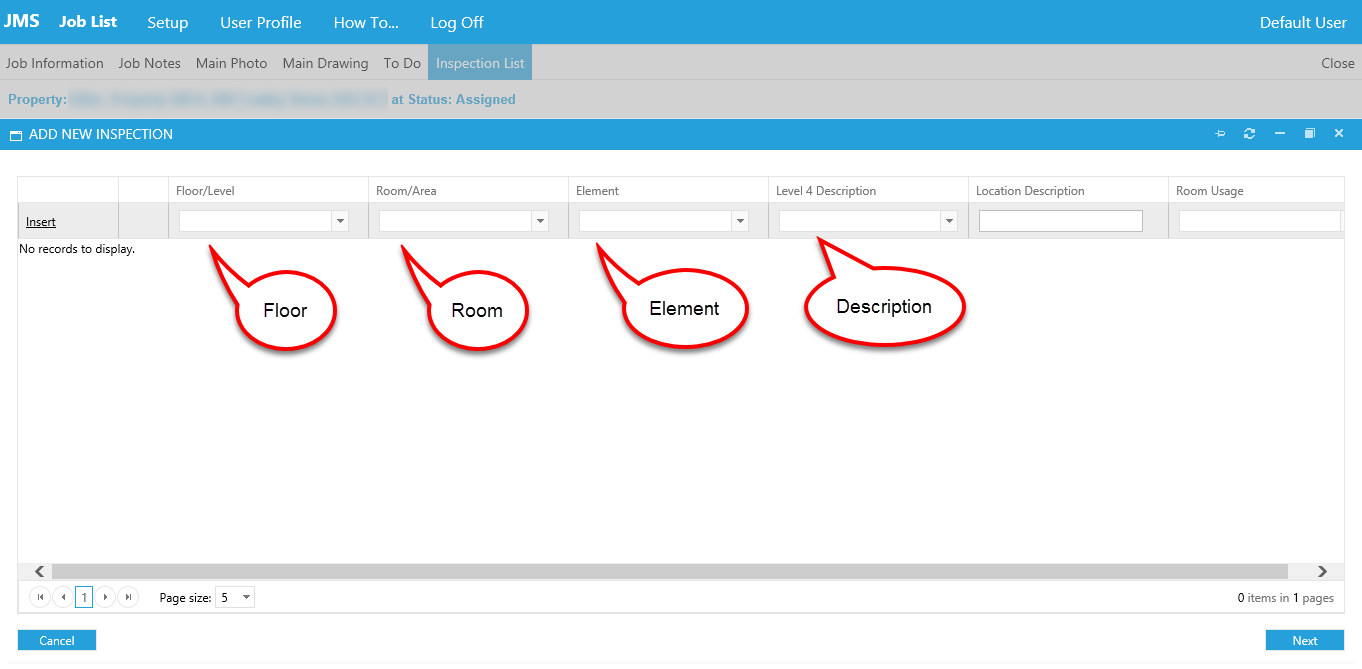
Floor/Level: This field can be edited in the inspection wizard.
Room: This field can be edited in the inspection wizard.
Element: This field can be edited in the inspection wizard.
Location Note: This field can be edited in the inspection wizard.
Material: This field can be edited in the inspection detail wizard.
Inspection Type: This field can be edited in the inspection detail wizard.
Inspection Result: This field can be edited in the inspection detail wizard.
Sample Number: This field can be edited in the inspection detail wizard.
Reffered Sample Number: This field can be edited in the inspection detail wizard.
Original Quantity: This field can be edited in the inspection detail wizard.
Unit: This field can be edited in the inspection detail wizard.
External Damage: This field can be edited in the inspection detail wizard.
Surface Treatment: This field can be edited in the inspection detail wizard.
Comment: This field can be edited in the inspection detail wizard.
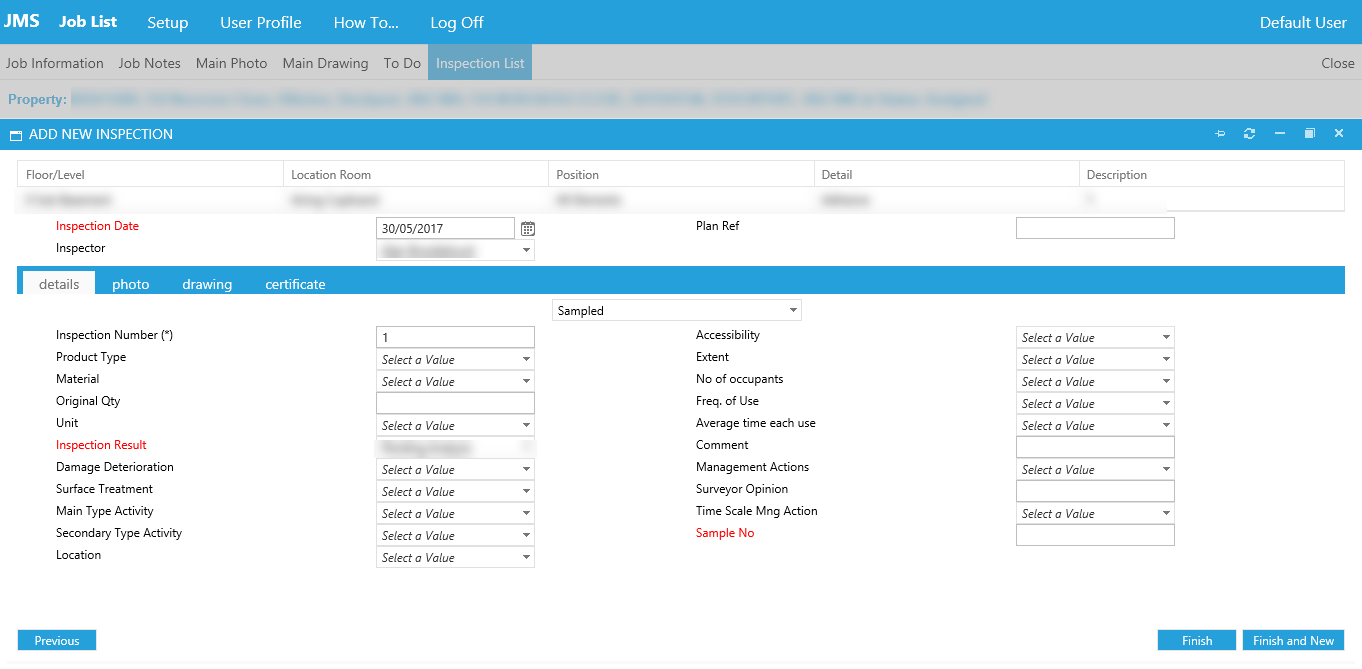
Below is an example of an inspection detail wizard configuration.
Areas of no Access
- These fields are populated in the to do wizard menu. To access the to do menu, you must sign in JMS -> Open a job -> Browse to the to do tab -> Press new.
Floor/Level: This field can be edited in the to do wizard.
Room/Area: This field can be edited in the to do wizard.
Element: This field can be edited in the to do wizard.
Description: This field can be edited in the to do wizard.
Location Note: This field can be edited in the to do wizard.
Reason: This field can be edited in the to do wizard.

Post your comment on this topic.