
Now that we’re back in Visual Studio we need to navigate to the Builds tab in Team Explorer. Follow the steps below:
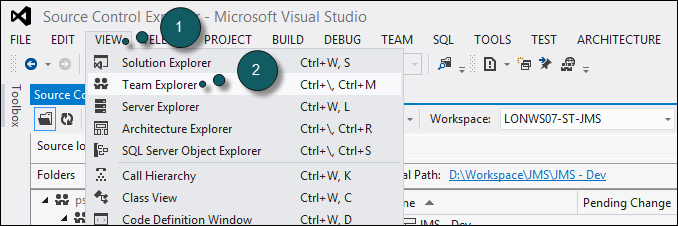
- Click on View
- Click on Team Explorer
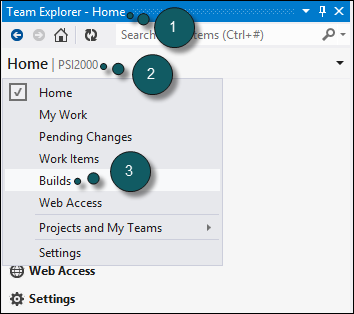
- Team Explorer is now Open
- Click on Home
- Click on Builds
You will see the following:
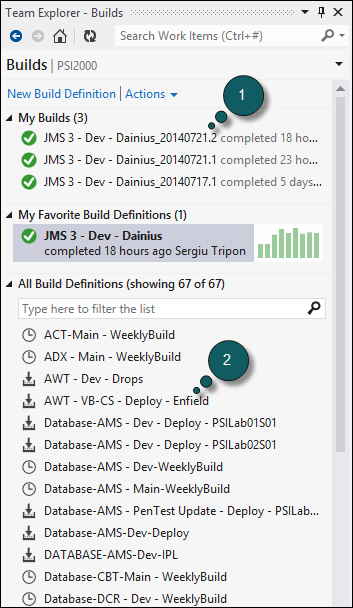
- The builds that you have ran
- The Build Definition
To queue a build of an application, you need to select a build definition. The build definitions are pre-configured. We will go ahead and select the JMS 3 – Dev – Dainius for this example.
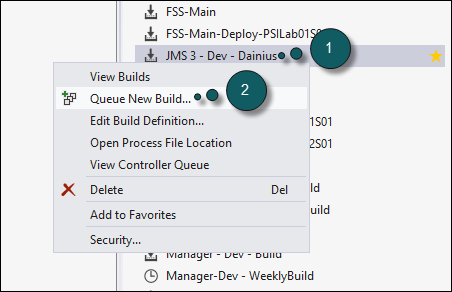
- Right click on JMS 3 – Dev – Dainius
- Click on Queue New Build
You will then see the following screen.
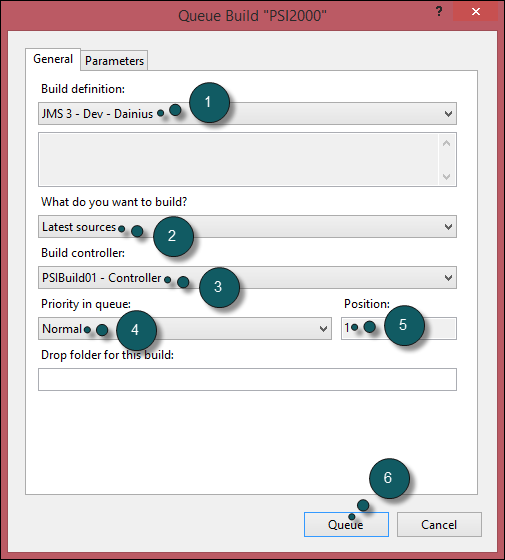
- The build definition
- Select Latest Sources
- The build machine
- The Priority of the build
- The position in the queue
- Click on Queue
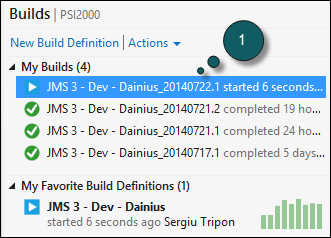
- Under My Builds, you will see that the build has started.
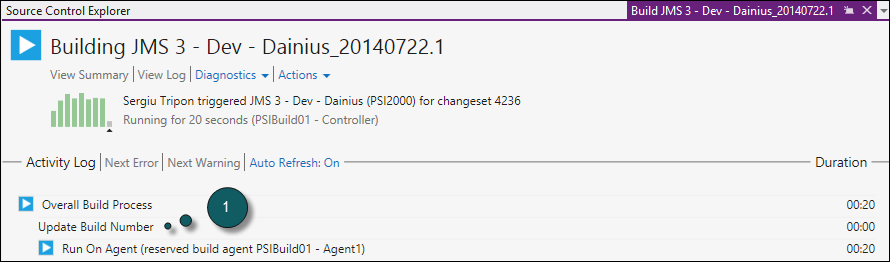
- Double clicking on it, will provide you with more detail information about its progress.

- When the build has completed, it will let you know.
The Visual Studio part of the build process is completed. In the next part, we will go back to Windows Azure.
Post your comment on this topic.