
We are going to start with deploying AWT. The first step you need to take is to extract the folder from Azure into the AWT folder on the Client Server.
1. Extracting
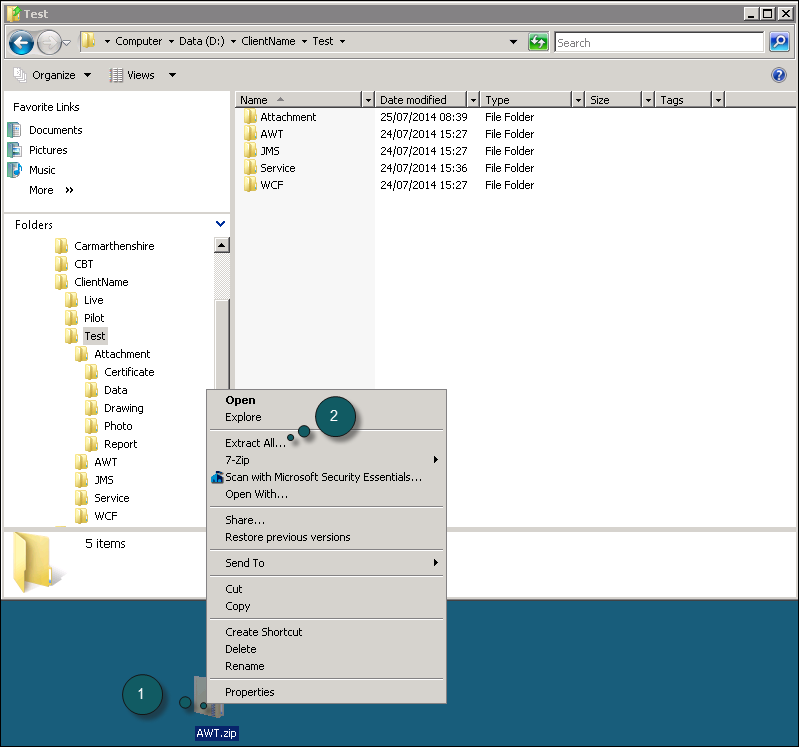
- Right click on the .zip file
- Select Extract All…
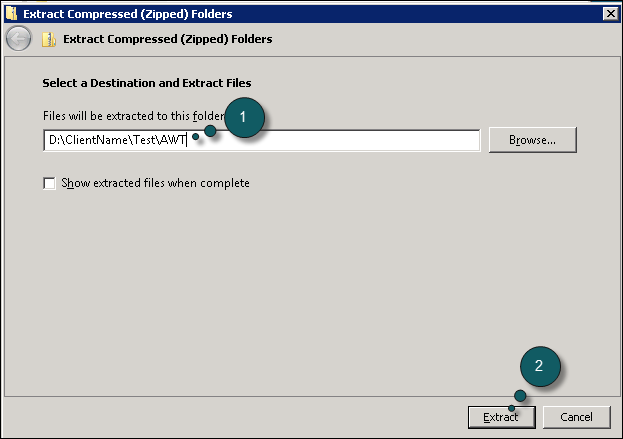
- Browse to the correct path
- Click on Extract
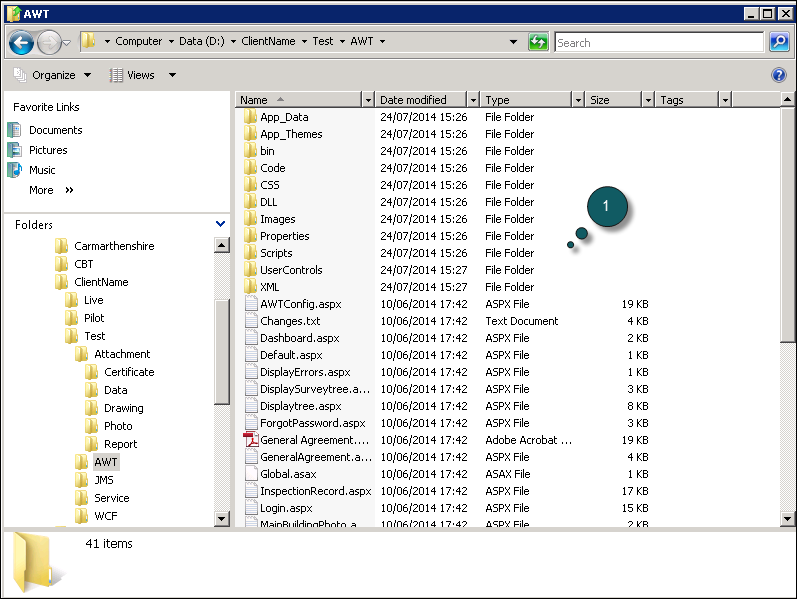
- The AWT folder with the extracted files
The extracting procedure is the same for all the other applications.
2. IIS Setup
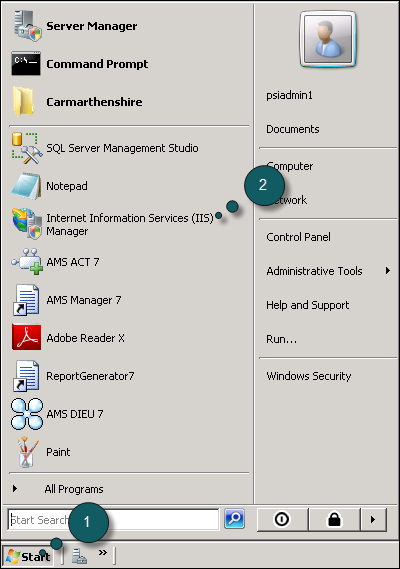
- Click on Start
- Select Internet Information Services (IIS) Manager
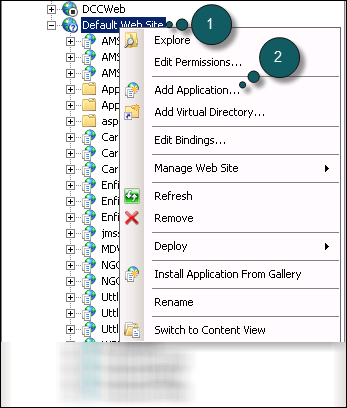
- Right click on Default Web Site
- Click on Add Application…
- Enter the application’s name
- Browse to correct path
- Click OK
You should now be able to navigate to the application in your web browser.
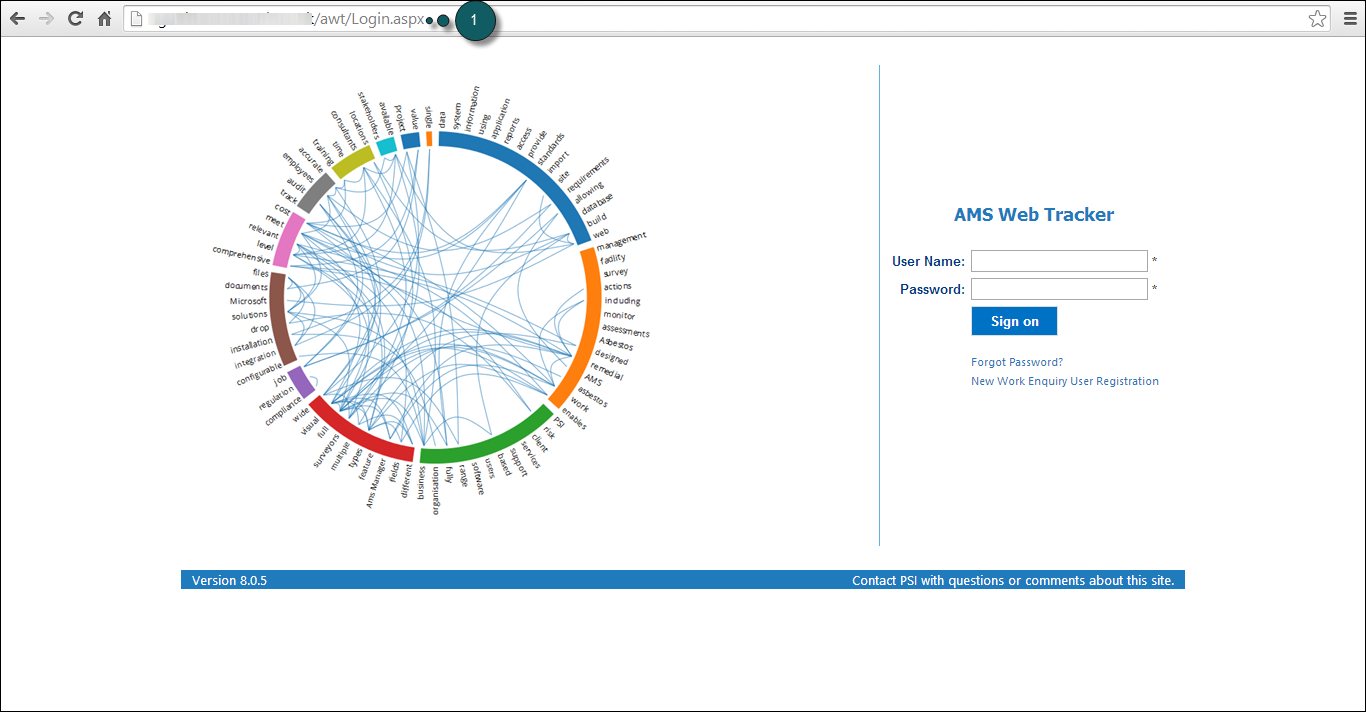
- Virtual path of the application
3. Configuration Page
Before logging into the application, we first need to navigate to the Configuration page to configure the application.
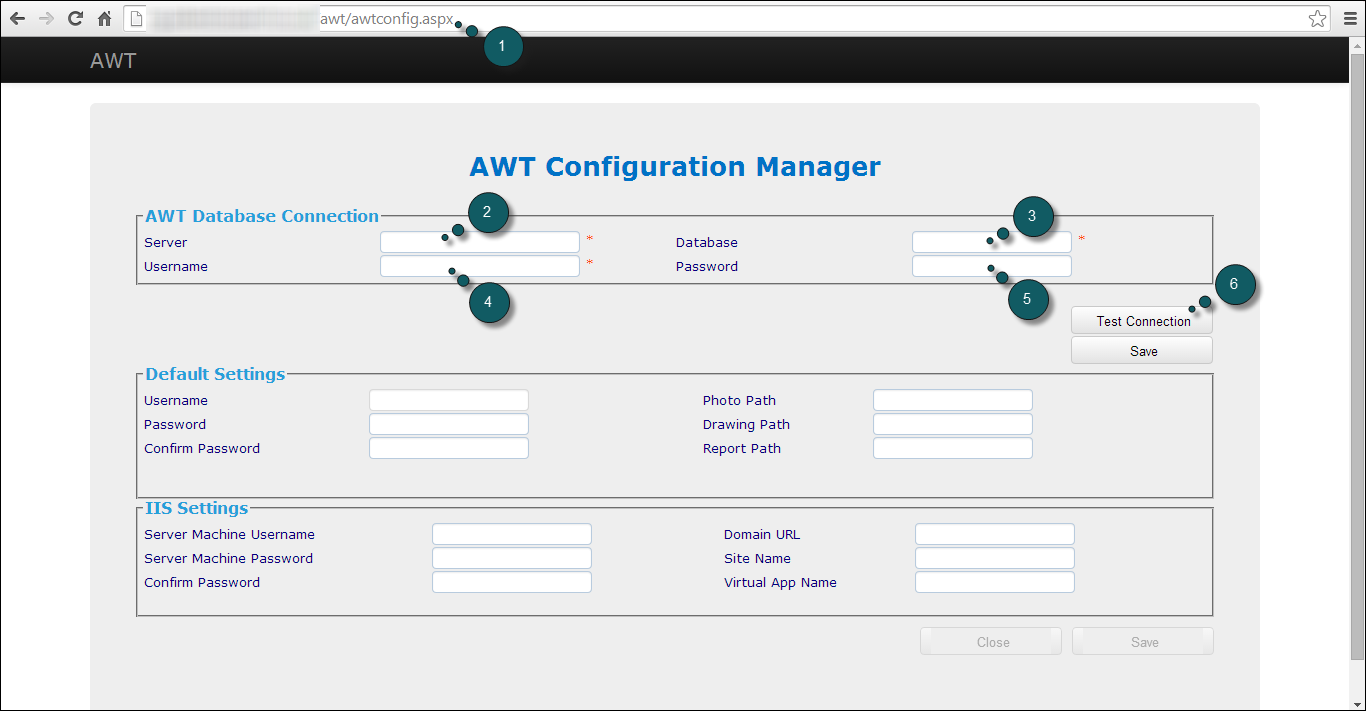
- Path to the configuration page
- Enter the SQL Server name
- Enter the database name
- Enter the username of an existing SQL user
- Enter the Password
- Click on Test Connection
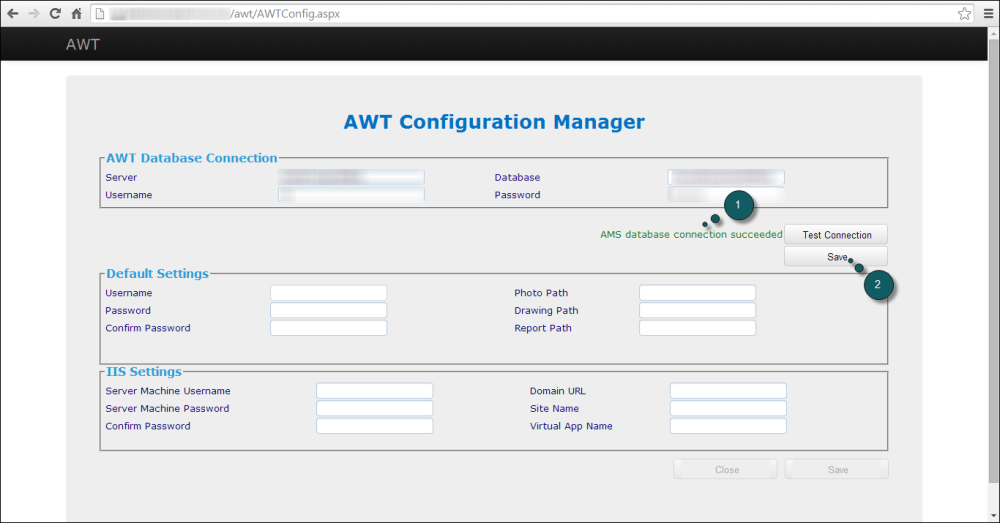
- Confirmation message
- Click on Save
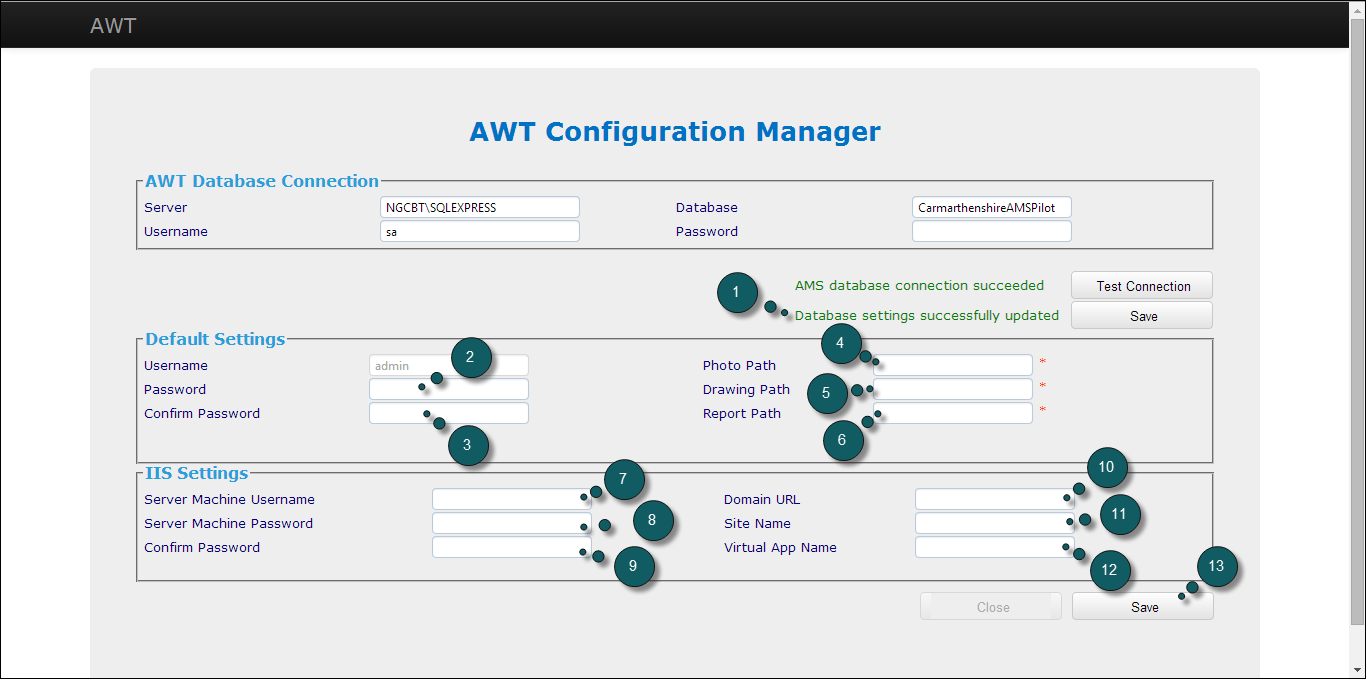
- Confirmation Message
- Enter a password for Admin
- Re-enter the password for Admin
- Enter the path to the photo folder (physical). In this example, it would be: D:\ClientName\Test\Attachment\Photo
- Enter the path to the drawing folder (physical). In this example, it would be: D:\ClientName\Test\Attachment\Drawing
- Enter the path to the report folder (physical). In this example, it would be: D:\ClientName\Test\Attachment\Report
- Enter “Administrator”
- Enter the Administrator password for the server. If you don’t know it, ask the system admin.
- Re-enter the Administrator password for the server.
- Enter the URL of the domain e.g. www.something.com
- Enter the name of the folder the AWT application is stored in. In this case, AWT
- Enter the name of application you have added in IIS. In this case awt. The part after the domain is needed here. e.g. www.something.com/awt
- Click on Save
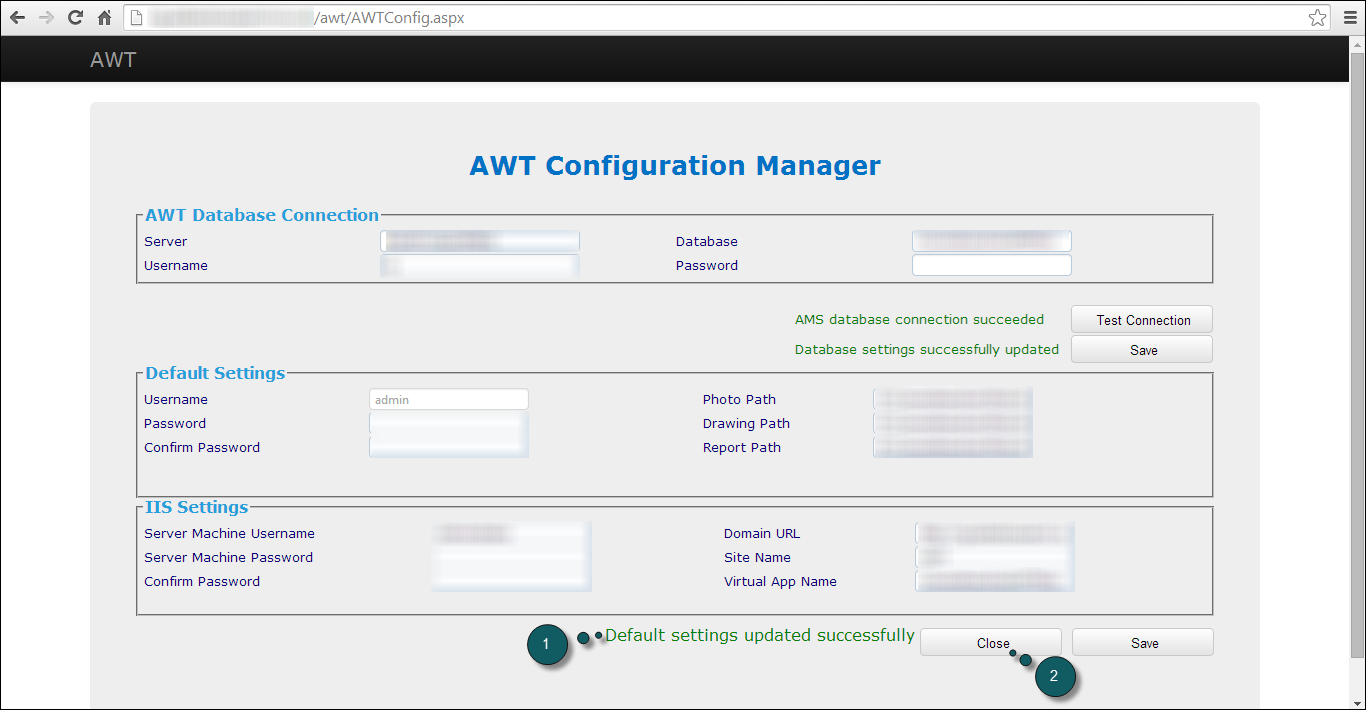
- Confirmation message
- Click on Close. It will take you back to the login screen.
Post your comment on this topic.