
The SmartMonitor SITE L includes WiFi as a communication option. To use communication via WiFi, WiFi needs to be enabled in the configuration policy in SmartView. Additionally, the WiFi needs to be setup on individual device level following the steps below.
| Step | Picture | Description |
| 1 | 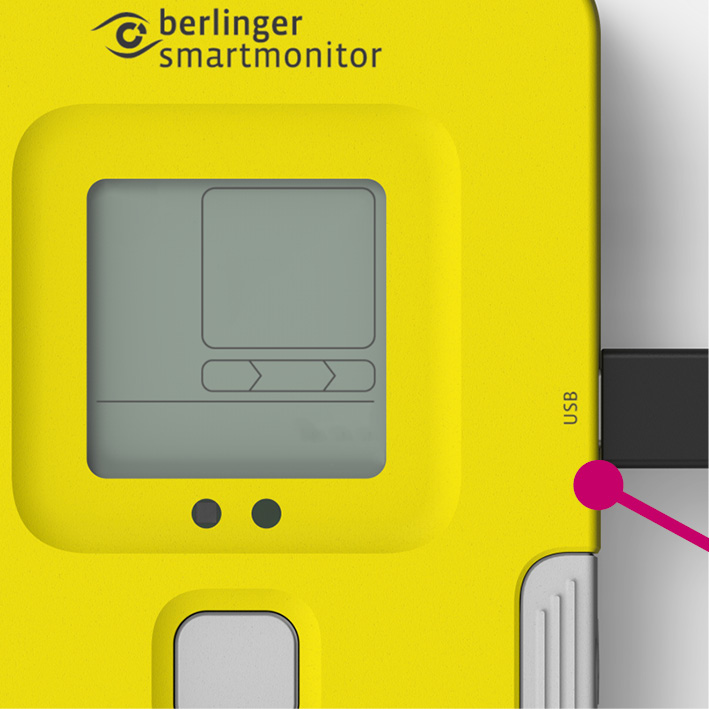 |
Plug in a USB-C cable at the right-hand side of the SmartMonitor device. |
| 2 | 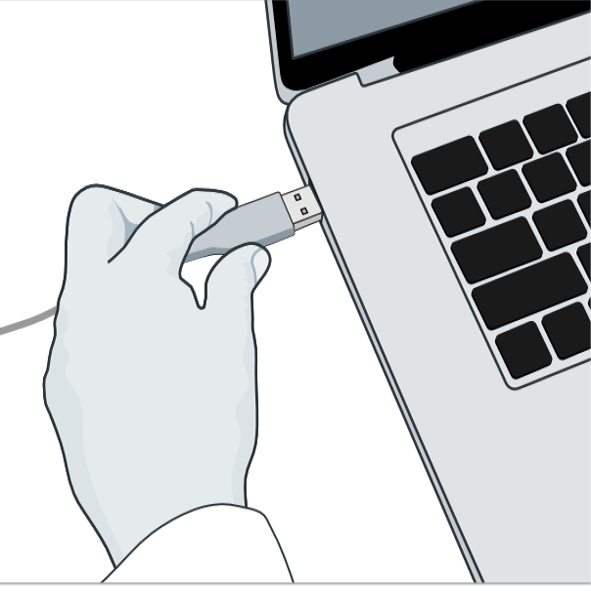 |
Connect the other end of the cable via the USB port with your computer. |
| 3 | 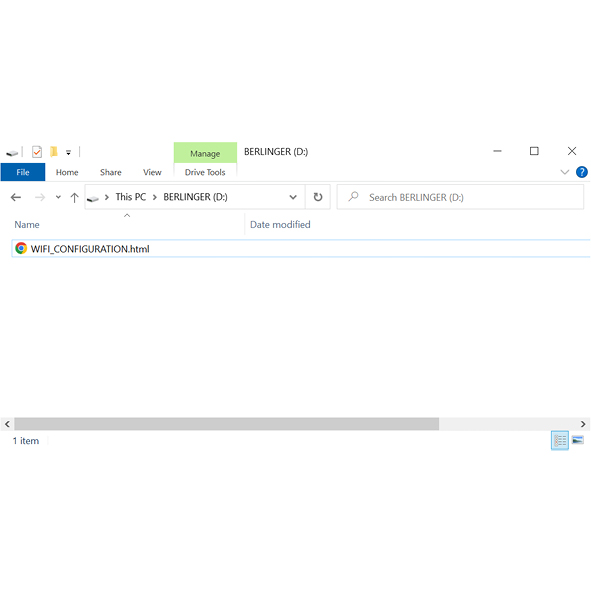 |
When connecting the SmartMonitor to your computer, a pop-up window of SmartMonitor (BERLINGER) will appear. If the pop-up window does not appear, locate the BERLINGER USB-Drive on your computer and open it. |
| 4 | |
Open the available WIFI_CONFIGURATION HTML file. |
| 5 | 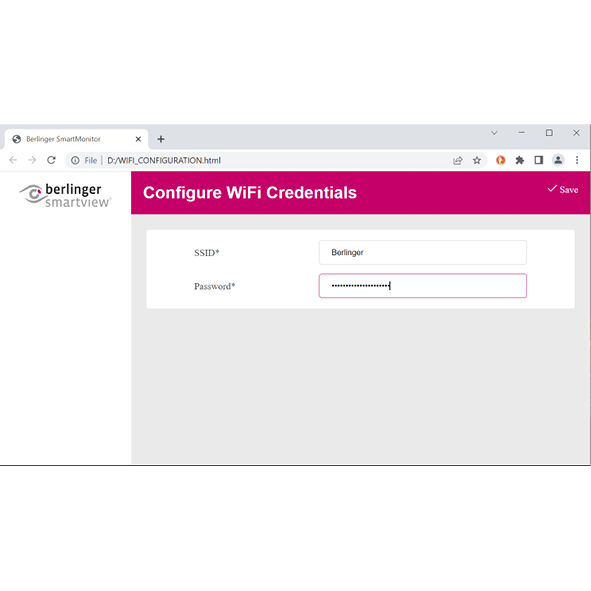 |
Enter your WiFi network credentials with the SSID and password of the WiFi that you would like to connect to the SmartMonitor and click SAVE. |
| 6 | 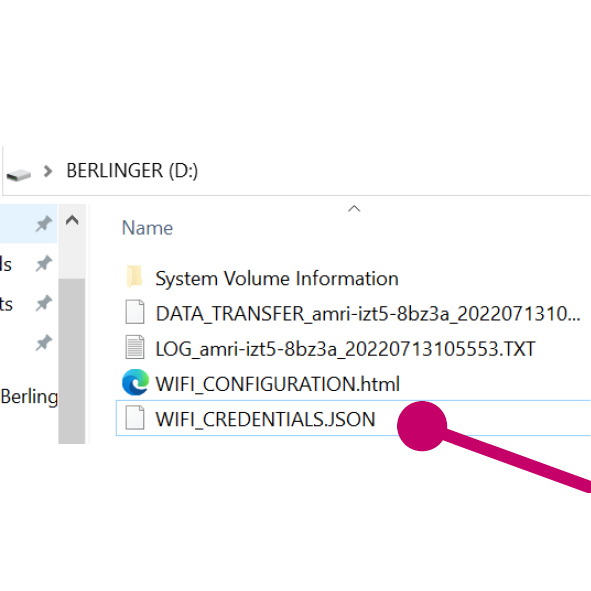 |
The WIFI_CREDENTIALS.JSON file has been downloaded to your computer. Save the file in the BERLINGER USB-Drive to apply the WiFi credentials to the SmartMonitor. The WiFi credentials file is now added to the SmartMonitor. |
| 7 | 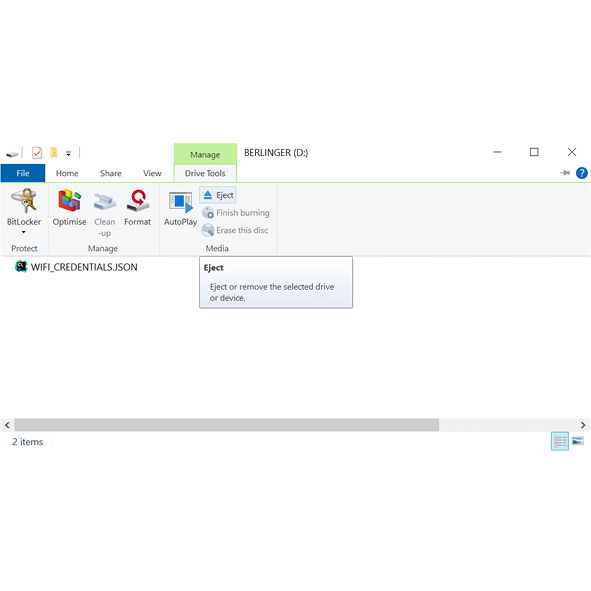 |
Eject the device from your computer. |
| 8 |  |
Check the color of the LED on the device screen for the status. Green LED – OK. Yellow LED – Device is unable to find the configured Wi-Fi network, but the Wi-Fi credentials are saved. Red LED – Device has encountered an error. |
Feedback
Copyright © 2025 Berlinger & Co. AG
—
Powered by 
Post your comment on this topic.