
Berlinger offers a range of external sensors compatible with the SmartMonitor. All sensor types are connected following the below steps.
Make sure that the sensor is properly connected to the device. Do not tighten the connector with pliers or any other tool, otherwise, the connector may be damaged.
If the SmartMonitor has been configured with a SmartSensor in SmartView, it will indicate the status accordingly on the device display upon SmartMonitor set up (SENSOR OK vs. SENSOR NOT OK). (For more information please see chapter WARNINGS).
How to place and connect the external sensor to SmartMonitor
| Step | Picture | Description |
| 1 | 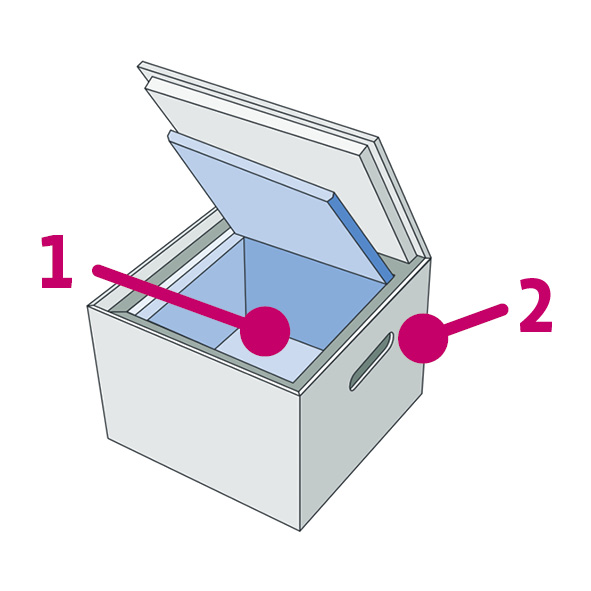 |
Place the SmartMonitor outside the temperature-controlled box/container (2) and the external sensor inside (1) and wait for it to acclimatize. ! The cable of the external sensor should be placed in such a way that it does not interfere with the daily handling, in order to avoid the risk of the external sensor to be disconnected from the device. Place it in a way: * that does not obstruct with the box/container opening * that accurate temperature monitoring is possible. The external sensor should be away from the lid or the door. |
| 2 | 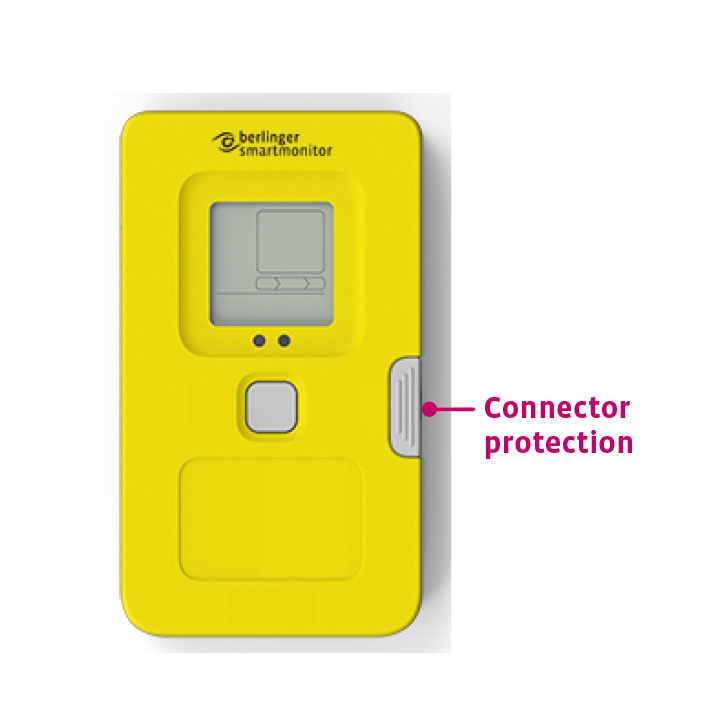 |
To connect an external sensor to the SmartMonitor, remove the grey cap at the right side of the SmartMonitor device. |
| 3 |  |
Align the sensor plug with the sensor socket. Ensure the Berlinger eye ( Warning: Do not apply force as it can damage the connector on the device and/or external sensor. |
| 4 | 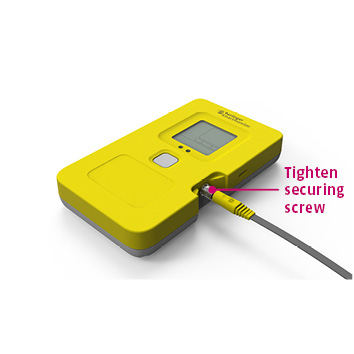 |
Once correctly applied, tighten the connector by screwing clockwise. |
Next step: start your device.
Feedback
Copyright © 2025 Berlinger & Co. AG
—
Powered by 
Post your comment on this topic.