
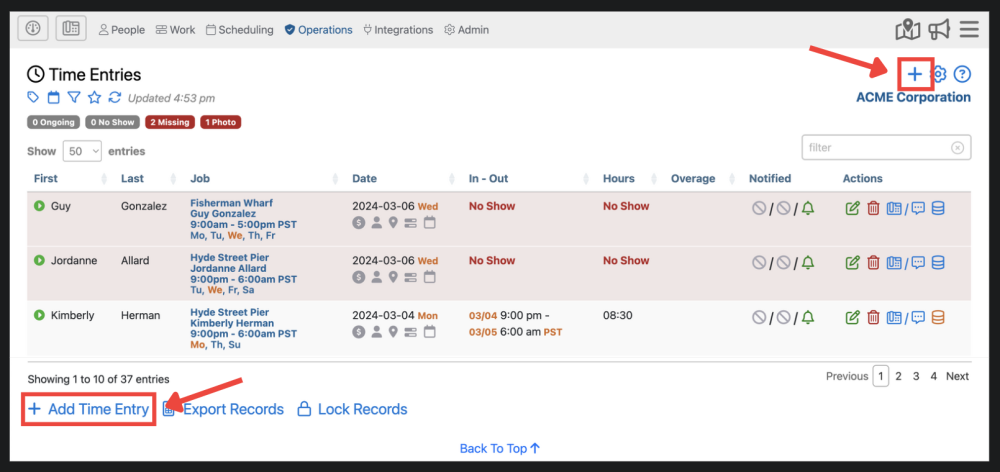
You can create a new time entry by either using the ![]() icon in the upper right corner or use the
icon in the upper right corner or use the  in the lower left corner of the Time Entries section of the portal.
This will bring you to the Add Time Entry form where you can enter all of the elements of a timesheet entry. This is useful if an employee was not able to check in or out. As an administrator of the portal, you can create that time entry for them exactly as if they had checked in and out themselves.
Highlights of This Form:
Employee
Time entries are made on a per employee basis. Jobs with multiple assigned employees will give each employee their own time entry. When creating a time entry, you can only select one employee.
Unscheduled Job
Here, you are able to select any job for the time entry.
Job Date
Here, you select the start date for the time entry. This most often is the same start date as selected in the Start/End Time fields of the form.
Select Shift
Here, you can select a scheduled shift for the time entry. You must have a job already scheduled for that employee to use this feature.
Start/End Time
Select the start/ end time for the schedule entry. You also have the ability to adjust the date of the start and end time for multi-day shifts.
Admin Notes
Here you will put any notes you wish to have attached to the time entry.
Employee Notes
This will typically say “No employee notes submitted” as you are manually creating the time entry.
Check In/Out photos
Here, you can upload an employees check in/out photos if they have them
Bill/Pay Rates
Here, you can adjust time entries bill or pay rates to employees, clients, and vendors.
![]()
Need more help with this?
Telephone Timesheets Support