
To create a new location package, follow the steps below.
1. View List of Projects
Click the Project module > Browse to view the list of client projects.
2. Locate Project
Locate the project that has made the request for film locations. See Searching for an Existing Project for more information on finding a specific contact. Each project name will appear underlined when you hover over or cursor over the record. By clicking on the project name, the project view page will open.
3. Create a New Package
Click the packages tab to begin creating a new package. Enter a title for the package in the title field. This will be used to reference the package and will also be displayed to client. Avoid the temptation to name the Package the same as the Project name/production title.

a. Date Prepared
The date prepared automatically defaults to the current date but can be modified as needed. Note that this field must be a date field (MM/DD/YYYY) and not a text value such as ‘Spring 04’.
b. The Requested By Field
Enter a name in the requested by field. This can be the contact name or the contact title/position; the person making the request will vary by project.
c. The Package Description Field
The package description field allows you 4000 characters to describe in free-form text the specific request. Again, this will vary by project.
d. The Create Package Button
Once you’ve completed the information, click the create package button.
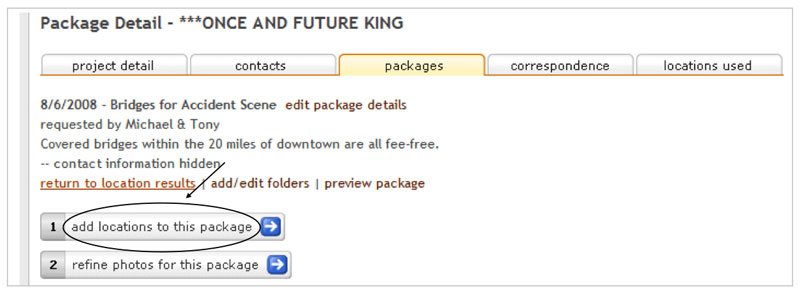
4. Add Locations to This Package
The system will automatically move you to the package detail page listing the data that you just entered. Click the link to add a location to this package.
a. Location Component
You are now moved to the location component of Reel-Scout™, where you can begin your search to add the appropriate locations to this package.

b. Begin Search
Now begin your search for the appropriate locations to send to the client. If you need reminders on various search options for locations, go to the Finding a Specific Location of this manual.
c. Location Package
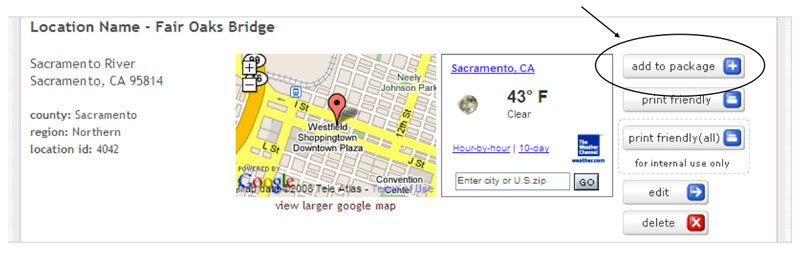
Once you’ve identified a specific location(s) that you want to send to the client, click into the location record. You will notice that new button appears in the location record – add to package. It’s that simple.
d. Add Location to Package
Click the ADD TO PACKAGE button. You will be returned to the package detail page with the location listed, indicating the location is now part of the package.
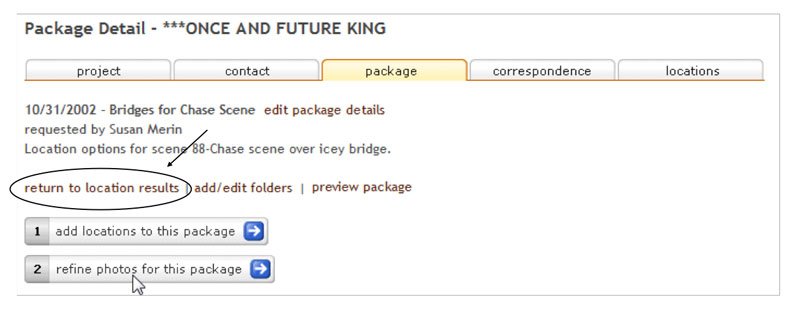
You can continue to add locations to the package by clicking on add location to this package button or the return to location results link. The first action takes you back to the location component to browse for more locations. The second takes you to the search results from your last location search request.
4. Add Note
You can add a customized “yellow sticky note” to each location to assist your client in understanding your thoughts of each location. To do so, click on the add note button next to the location in the package listing.

a. The Note Field
A pop-up window will appear to allow you to enter the desired customized “yellow sticky note”. There will be a single free-form text field labeled ‘note’ for you to enter your message. Once completed, click save to store the note with the location package. Click cancel, if you don’t want your note saved.

5. Refine Photos For This Package
At any given time during package creation, you can choose to refine the photos to be displayed to the client specifically within this package.
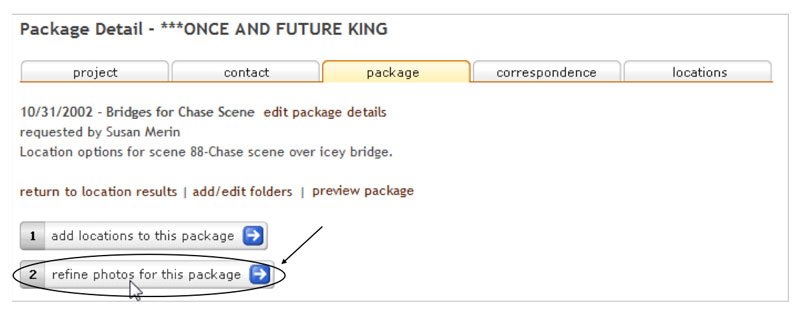
Show Option
When you click the refine photos for this package link, ALL photo images from the package from ALL locations will be displayed in thumbnail format. You will then have the option to click the check-box to show or not show a specific image.

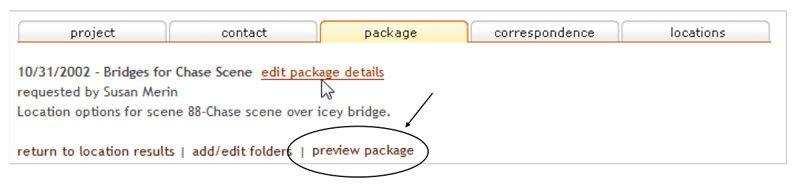
6. Preview Package
You can preview the package prior to sending it by clicking the preview package link. Clicking the link will open a new browser window and display the package exactly as seen by your client.
7. Edit Package Details
If you need to change any of the package text information, click the edit package details link at the top of the package page.
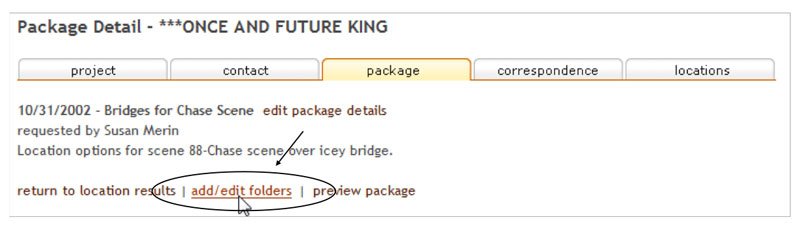
8. Create Folders for a Package
There may be cases where a package requires grouping of locations for ease of review by your end client. In such cases, you can create folders, organize locations within those folders, and sort the final listing. To create new folders, click on the add/edit folders link within a package.
a. Folder Title
A window will be opened that will allow you to add new folders as needed. It is recommended that the folder titles be brief yet intuitive to aid the viewer on the grouping intended. (See example below.)

b. Organize Sorting Order of Folders
Once folders are added, be sure to organize the sorting order of the folders by entering whole numbers in the boxes to the left of the folder titles. Click save order and then close. Failing to click save order prior to closing the window results in folder titles that are created but not yet sorted.
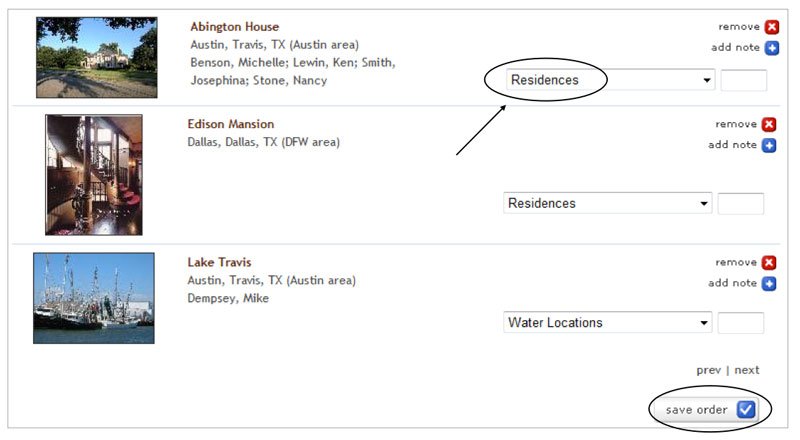
c. Save Order
Once folders are created, they will appear in a drop-down field beside each location added to the package. A location can only be allocated to a single folder grouping. Within folders, locations can also be sorted in a particular order as well.
9. Add Specific Notes & Preview Package
Once you have completed adding all the locations that you want sent for this package, adding specific notes (if desired), and previewed the package, you should now be ready to send the location package.
10. Send Package
To send your location package, enter the email address of the recipient. You can also include a personalized message with the email in the message to accompany package field.

11. The “cc” & “bcc” Fields
The ‘cc’ and ‘bcc’ fields work similarly – using the yellow address book icon will ensure the most accurate and current email addresses are applied.
12. Standard Email Text Option
You can also elect to include the standard email text (simply by clicking the check-box). If you prefer not to write a personal message with the email and/or to include the standard text if it is the first time a location package is sent and the recipient will need some directional assistance.
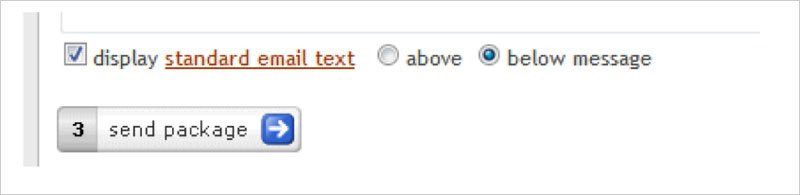
13. Send Package
Click the SEND PACKAGE button. Congratulations! You have just created and sent to your client a customized on-line locations package.

14. Confirmation
A message box will prompt with ‘OK’ to inform you that your email package has been sent. Click the ‘OK’ button to proceed. The package detail page will blink once to show that it’s been processed and will return you to the package detail page.
15. View All Packages in Project
Click the yellow package tab to view all the packages sent for this project. The client’s most recent request will be displayed with date and time stamp of the emails sent. You can verify the listing to ensure that that package was sent.

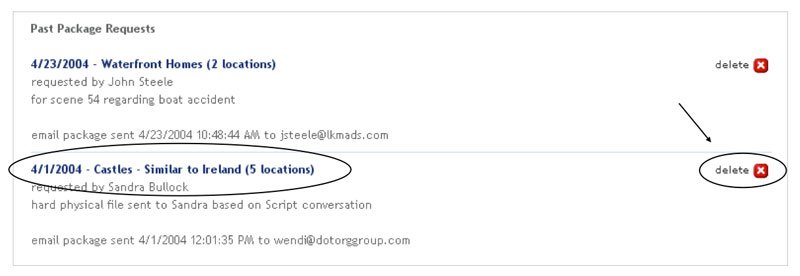
16. Delete Package
Clicking the delete button with the red ‘X’ (see above image) will delete the package of locations. However, the actual location record in the Reel-Scout™ system will not be affected. This delete button will delete the entire package upon confirming the message.

Post your comment on this topic.