
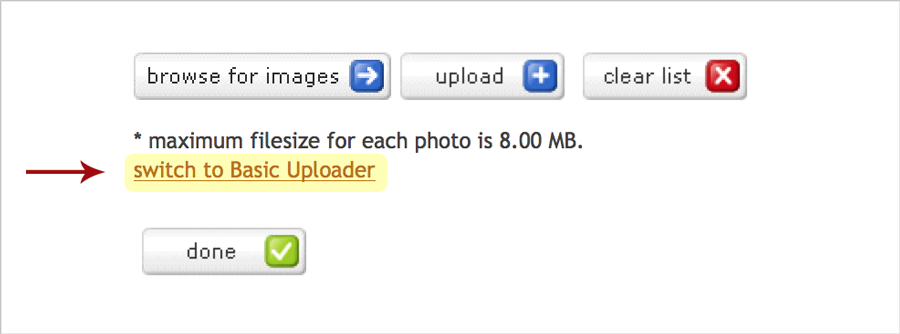
The Basic Uploader is best when selecting specific individual images from multiple sources or if Adobe Flash is not available on your device.
1. The Filename Field
In the filename field, click on browse. This will open the ‘Choose File’ window where you will see the folders and drives of the computer you are working on. By expanding or collapsing the directory tree, find the file and click on it. Click Open. The window will close and the file name will appear in the file box.

2. The Date Field
Enter a date for the image in the date taken field. This field is date formatted and will only accept MM/DD/YYYY and automatically defaults to the current date. For ease of upload, the date taken value entered is stored until changed so that the user does not need to reenter the date each time.
3. Photo Credit
Enter the photo credit (or source) of the image and add appropriate photo notes if needed.
4. Upload
At this point the user can click upload. However, if he/she wishes to upload multiple images with similar, a series of nine other filename fields are available. To add more image files, the user simply clicks the browse button by each field to locate the others.


Post your comment on this topic.