In order for a LINKtouchscreen to be able to connect to your LINKbridge, it first has to be assigned an Access Token. This provides LINK with a unique identifier for your touchscreen and provides the ability for you to customise what appears on each screen. This process must be undertaken for every touchscreen connected to your LINK system.
First navigate to your LINKbridge by opening a web browser and going to http://mylink.local and log on with your username and password.
From the Vessel Dashboard, select the Access tab on the top of the screen:
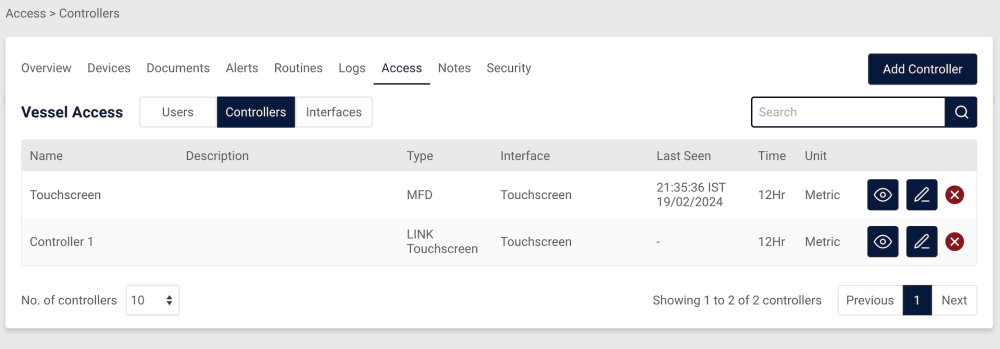
Next select Controllers. Controllers is where you handle any user interfaces or smart home control systems.
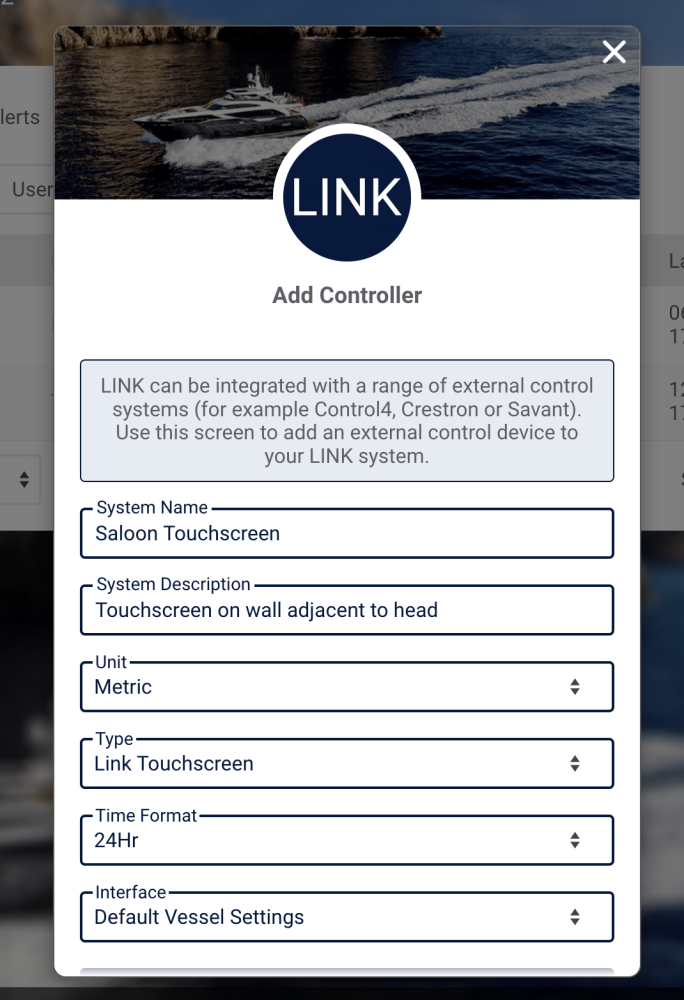
Select Add Controller to add a new touchscreen to your system. Fill out the empty fields with the details and preferences for this screen and click Add once you’re done:
The bottom option of interfaces determines which interface settings to make a available on the touchscreen. You can use the same or default interface for all touchscreens, or you can create unique interfaces.
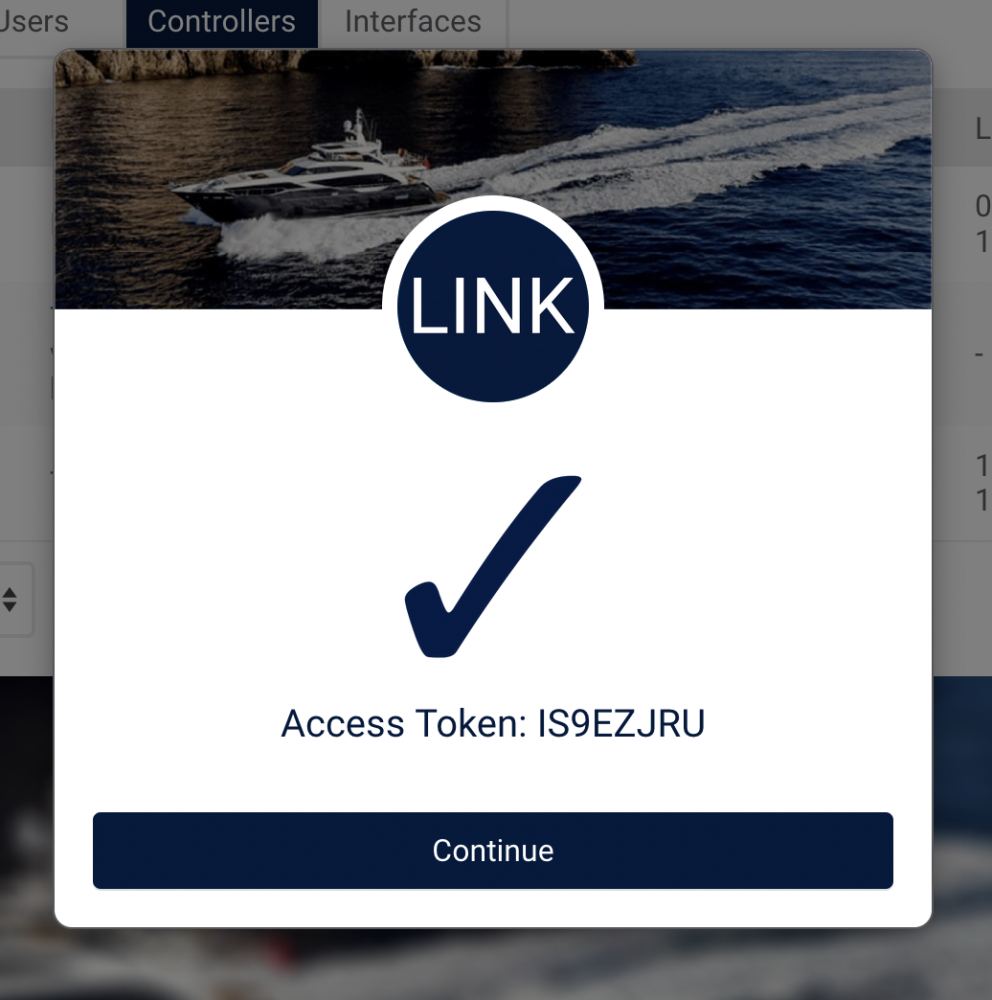
Your newly created touchscreen now appears in the table of controllers. Select the Eye Symbol to view the Access Token.
The rest of the setup of your LINKtouchscreen takes place directly on the touchscreen itself. When you first start up the LINKtouchscreen app you are requested to enter three details:
1) Access Token – to identify this touchscreen;
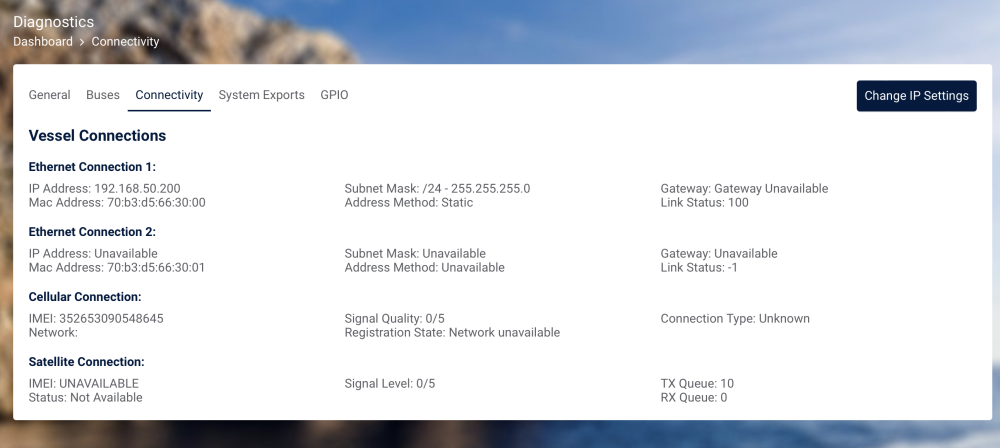
2) IP address of the LINKbridge
3) The Port that is being used for communication
Type the Access Token you have just received in to the field on the LINKtouchscreen.
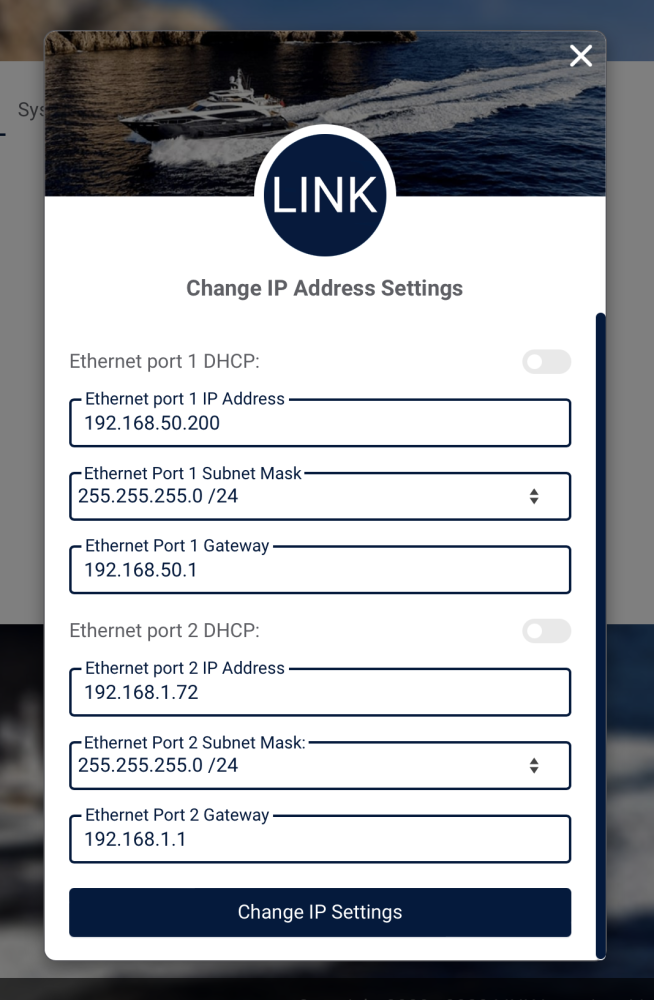
Enter the IP address of your LINKbridge and the port for communication (by default this is port 80).
Once you’ve done that, it’s good to go.


Post your comment on this topic.