
| |
This is the Edit pencil icon. |
 |
This is the Copy icon. |

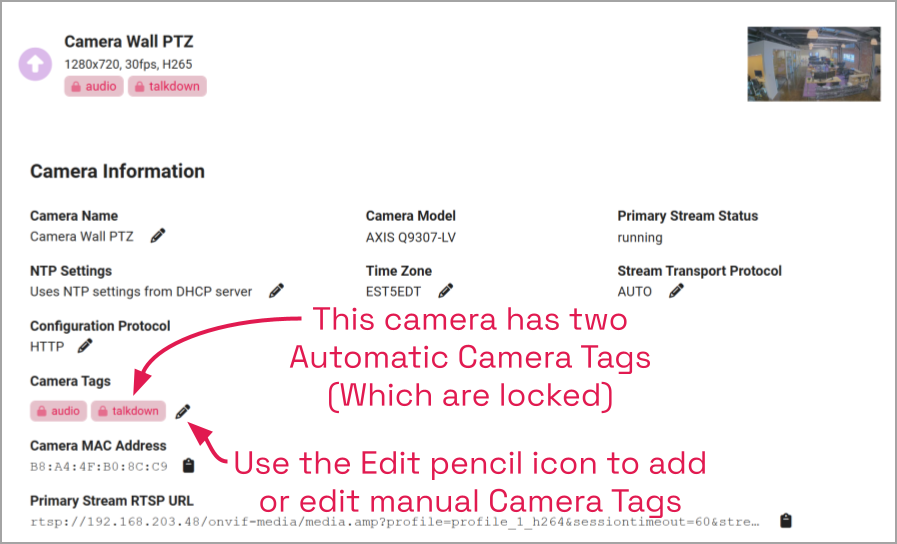
- To change the camera name, click the Edit pencil to the right of the camera name. Enter a new name in the Camera Name field and press the Update Camera button.
This screen also displays the camera model and the status of the Primary camera stream. These settings are informational and cannot be altered here. (Please refer to the System Status section for status descriptions.)
NTP Settings
Orchid Recorder will display the NTP settings and the Time Zone setting next. (If the camera was installed while using an old version of Orchid, you may not see these settings. To remedy this, you need to recover your camera.)
- To change the NTP settings, click the Edit pencil to the right of the NTP settings.
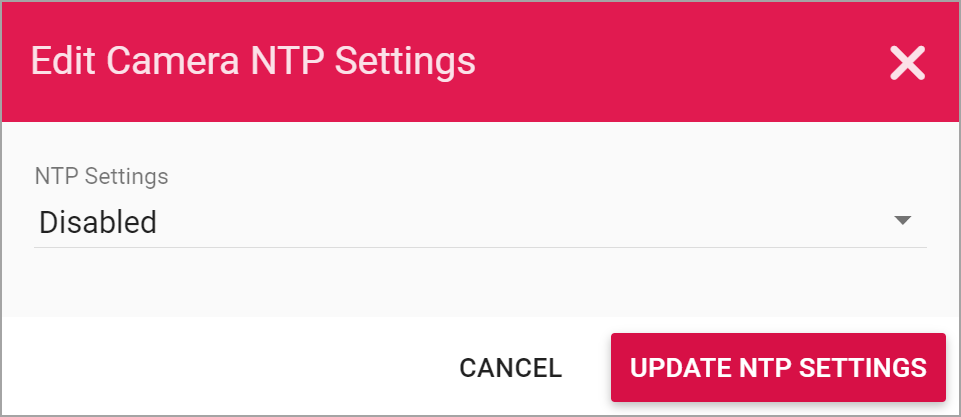
By default, the system will pull the Network Time Protocol (NTP) from the Dynamic Host Configuration Protocol (DHCP) server; this helps to ensure that all of the cameras on the network are using the same system clock.
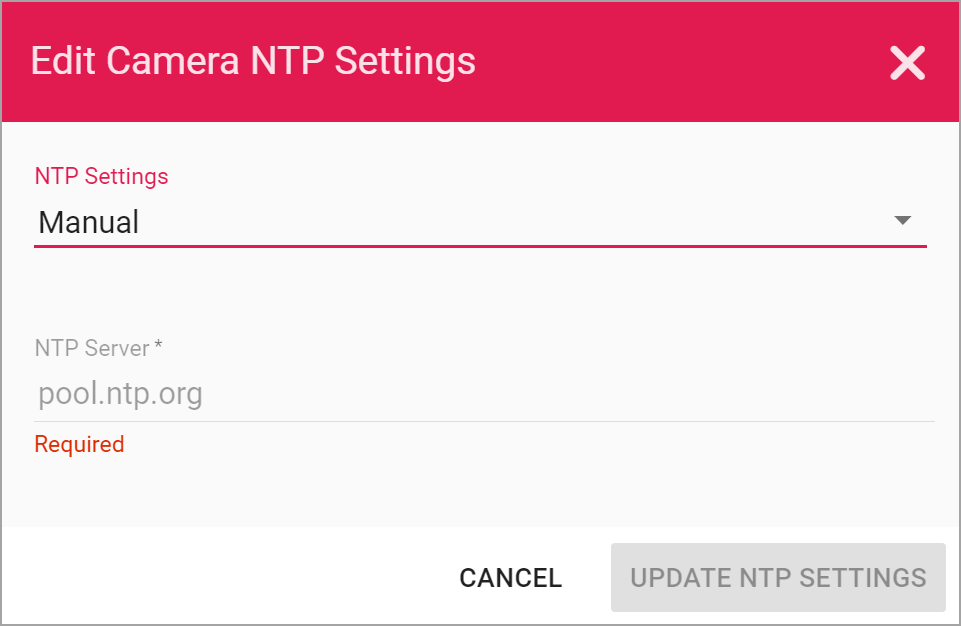
- If you need to use a different server, do the following:
- Use the NTP Settings drop-down list to select Manual.
- Enter the name of the server you want to use.
- When all settings are complete, click the Update NTP Settings button.
Time Zone
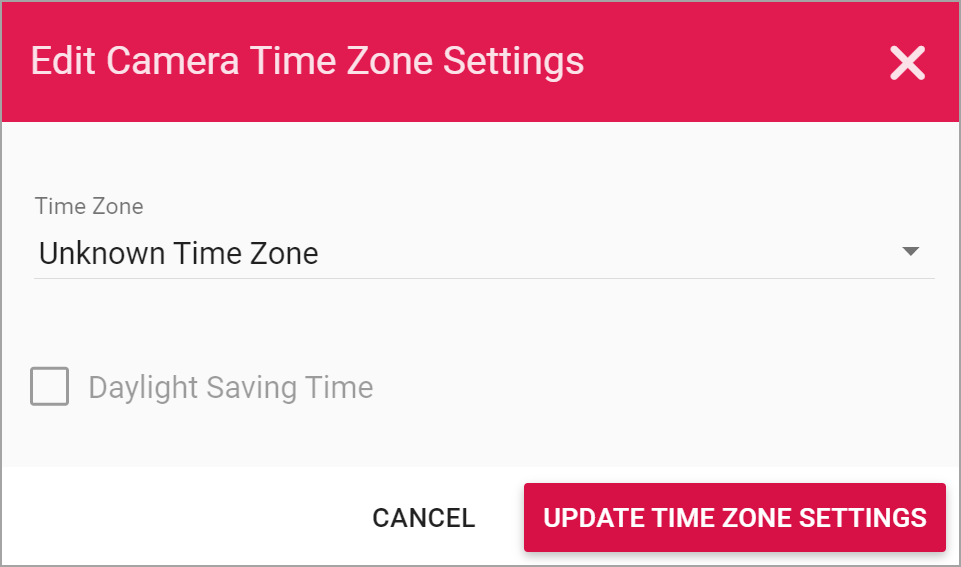
- If you need to change the time zone for the camera, do the following:
- Click the Edit pencil to the right of the Time Zone.
- Use the Time Zone drop-down list to select the appropriate time zone.
- Mark the Daylight Saving Time checkbox if your region observes daylight saving time.
- When all settings are complete, click the Update Time Zone Settings button.
Transport Protocol
Beginning in version 22.3, the system will display the Transport Protocol setting. This gives you a chance to specify how the video will be transported from the camera to the Orchid Recorder.
- To change the Transport Protocol setting, click the Edit pencil to the right of the Transport Protocol setting.
The Edit Camera Transport Protocol screen will appear. By default, the system will use the AUTO setting. This means that the system will attempt to connect using UDP and will automatically rollover to TCP if it cannot establish a connection.
- If you want to select a different setting, do the following:
- Use the drop-down list to find the setting you want to use. Available settings include: AUTO, UDP, UDP_MCAST, HTTP, AND TCP.
- After you make your selection, click the Update Transport Protocol button.
Configuration Protocol
Beginning in version 24.9, Orchid Hybrid/Fusion will display the Configuration Protocol setting (for Orchid Recorders running version 24.9 and later). This gives you the option to communicate with a camera over an encrypted (HTTPS) configuration channel.
- To change the Configuration Protocol setting, click the Edit pencil to the right of the Configuration Protocol setting.
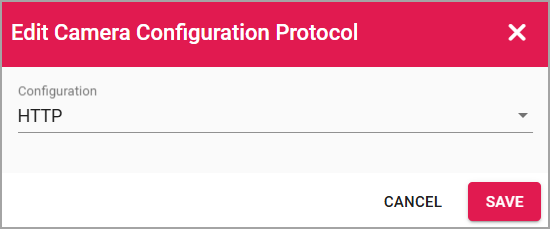
The Edit Camera Configuration Protocol screen will appear. By default, the system will use the HTTP setting. This means that the system will communicate with the camera over an unencrypted channel.
- If you want to select a different setting, do the following:
- Use the drop-down list to select either HTTP (unencrypted) or HTTPS (encrypted).
- After you make your selection, click the Save button.
Camera Tags
Beginning in version 24.9, Orchid Hybrid/Fusion supports the creation of Camera Tags (on Orchid Recorders running version 24.9 or greater). (These tags are part of foundational work for a future Orchid release. They are currently of limited use at the user interface level, however, API users may use the configured tags.)
Automatic Camera Tags
With the release of version 25.3, Orchid Hybrid/Fusion supports Automatic Camera Tags (on Orchid Recorders version 25.3 and greater). These tags are generated automatically when you add a new camera to the system. For existing system cameras, these tags will be generated when you upgrade to version 25.3 (or greater). These tags will appear with a lock icon, indicating that they cannot be edited.
Automatic Camera Tags include the following:
- audio
- dewarp
- disabled
- ptz
- talkdown
These tag names are now reserved for Automatic Camera Tags and can no longer be used when creating manual Camera Tags.
Adding Camera Tags (Manually)
- To add or edit Camera Tags, click the Edit pencil to the right of the Camera Tags.
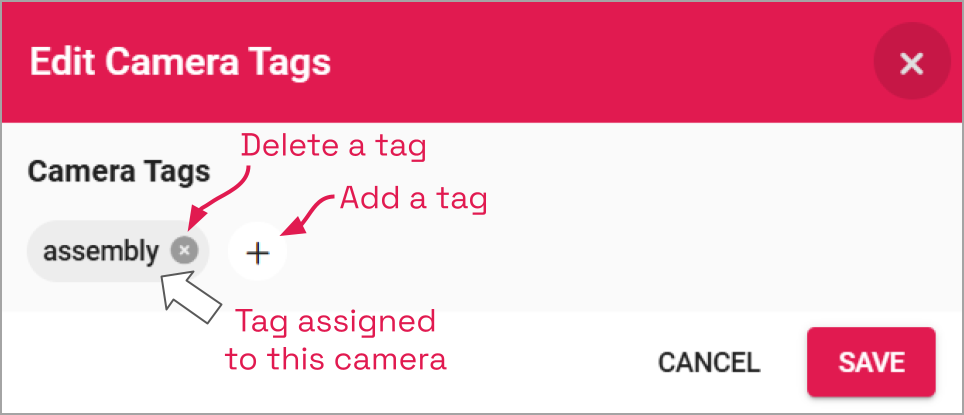
The Edit Camera Tags screen will appear. This screen will list any tags that have already been assigned to this camera. From here you may add and remove tags.
- If you want to add a tag for this camera, click the + icon under Camera Tags. When the New Camera Tags section appears, you will have the ability to assign a new or existing tag to this camera. (All of the camera tags that have been created on this Orchid Recorder will appear in a list for easy selection.)
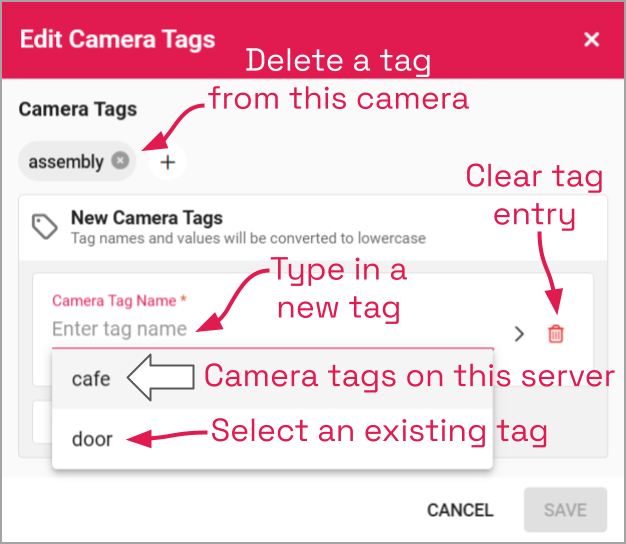
- To add a new tag to the system, click into the Camera tag name field.
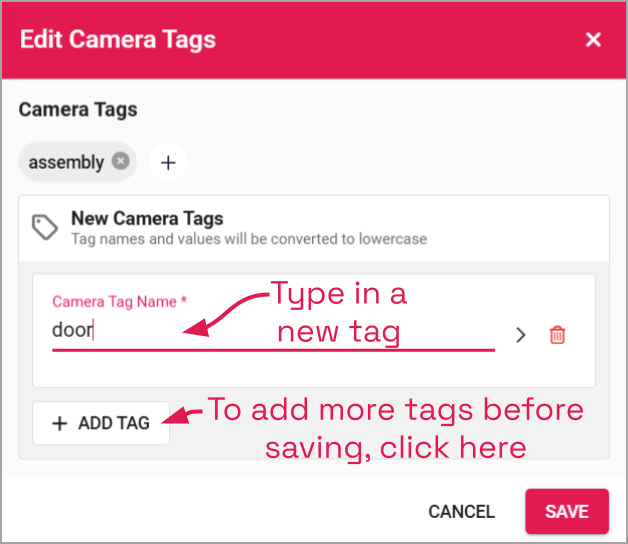
- Type the new tag name into the field.
- Click on it to select it.
- If you want to add a value to this tag (which will further define the tag), click the expand icon to the right of the Camera Tag Name field.
- Then type the value in the Camera Tag Value field.
- If this is the only tag you need to add, click Save.
- If you want to add another tag to this camera, click the Add Tag button (as shown in the image below).
- To select an existing tag, click on one of the tags in the list.
- If you want to add a value to this tag (which will further define the tag), click the expand icon to the right of the Camera Tag Name field.
- Then type the value in the Camera Tag Value field.
- If this is the only tag you need to add, click Save.
- If you want to add another tag to this camera, click the Add Tag button.
- If you want to add a value to this tag (which will further define the tag), click the expand icon to the right of the Camera Tag Name field.
- To remove a tag from the selected camera, click the X to the right of the tag.
- To clear a tag from the list, select the tag, then click the Trash Can icon to the right side of the list.
- When you are done making changes, click the Save button.
Camera MAC Address
Beginning in version 24.12, the Camera Settings screen will display the camera MAC address (for Orchid Recorders version 24.12 and greater).
- Click the Copy icon if you need to copy the MAC address.
Primary Stream URLs
The Primary Stream RTSP URL status fields are typically used for troubleshooting. These allow for a comparison of the video coming from the camera and the video as received by Orchid Recorder to determine where a problem might be occurring.
- The Primary Stream Camera RTSP URL (which contains the camera’s IP address) represents the video stream that Orchid Recorder is recording.
- The Primary Stream Proxy RTSP URL represents the video that Orchid Recorder is showing on the Stage. (For more details, please refer to the section titled How Orchid Hybrid/Fusion VMS’s Proxy Works, and the two topics that follow it.)
Recording Statistics
| |
This is the Expand icon (used to view the list of Recording Statistics). |
| |
This is the Condense icon (used to close the list of Recording Statistics). |
The Recording Statistics section can be expanded to show the average percentage of packet loss and the average bit rates for the Primary recording stream. These values are typically used for troubleshooting. The Recording Statistics also provide some information about camera metadata that is received by Orchid. (For more details, please refer to the Orchid Recorder Administrator Guide.)
Post your comment on this topic.