
| |
This is the Add icon. |
Orchid Hybrid/Fusion VMS supports custom applications through the Apps feature. When the Apps feature is activated, you will have the ability to create a Permission Group to define who will have access to one or all of your custom applications. Any users that are in an Administrator Group will automatically have access to the Apps. All other users will need to be given specific access.
- Click the Add Permission Group button in the top-right corner of the Permission Groups list. A New Permission Group screen will open.
The General Settings Tab
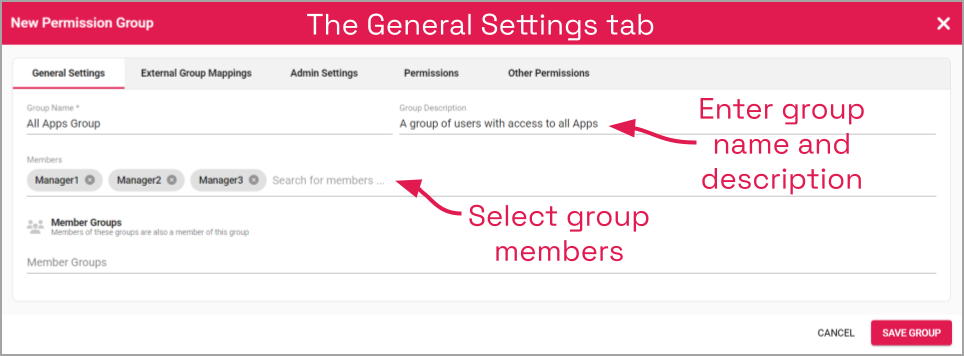
- Enter a name and a description for the new Permission Group in the Group Name and Group Description fields.
- Select members for the new Permission Group by clicking on the Search for members field; this will open a drop-down list of Orchid Hybrid/Fusion VMS users. Find and click on a user. As soon as you select a member, a list will appear so you can make another selection (if needed).
- Press Esc if you don’t need to select another member.
- To remove a member, click the X to the right of the member name.
- Use the Member Groups section if you want to add member groups to this group. (If you need to pull one or more users from an external system, use the External Group Mappings tab for that.)
- Once all of your members are selected, click the Other Permissions tab to continue configuring this group.
The Other Permissions Tab
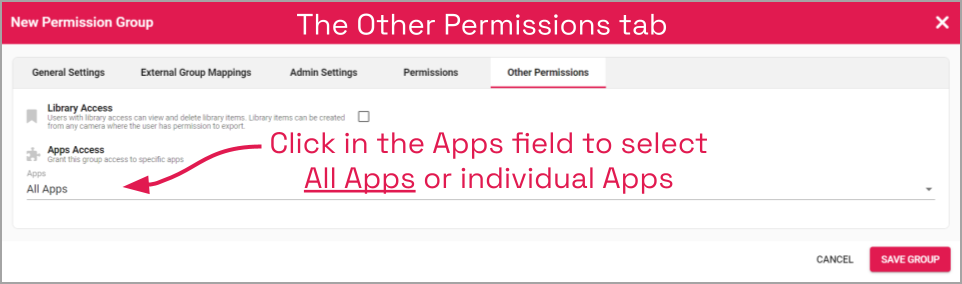
With the Other Permissions tab, you have the option of granting access to all of your custom applications, or specific applications.
- To configure Apps for this Permission Group, click in the Apps field.
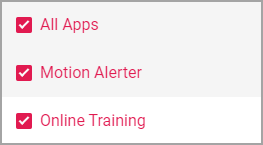
- If this Permission Group is going to have access to all of your custom applications, mark the All Apps checkbox. (When you do this, all of the other boxes will be marked automatically.)
- Hit Escape to exit the Apps list.
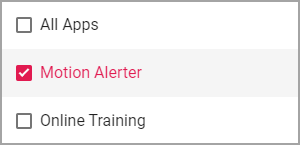
- You may also use the Apps field to grant access to specific custom applications.
- For each of the applications the group needs to access, mark the corresponding checkbox.
- Press Escape when you finish selecting Apps.
- To remove an application, click on the Apps field, then unmark the App you wish to eliminate from the group. (Click Escape to exit the Apps field.)
Finalizing the Permission Group
- After all of the permissions are set, press the Save Group button.
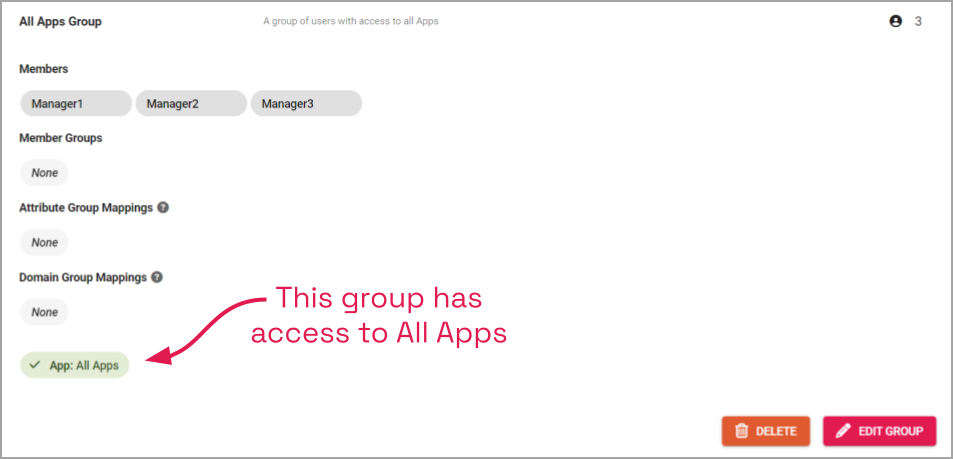
Here is a view of the new Permission Group once it has been saved.
Post your comment on this topic.