
You have just received your Yetitablet with YetiCare. These first few steps will guide you in how to set it up.
Stand
If you have ordered a stand with your Yetitablet, please build the stand up according to the manual provided by the stand manufacturer. It is usually added to the box of the stand.
Yetitablet
Getting the tablet onto the stand
- The easiest way to get the tablet onto the stand is by putting your stand into a horizontal table-mode. Please note that not all stands support that function.
- Once the stand is in the table-mode, lift the tablet out of its box and lift it on top of the stand with the glass pointing to the ceiling.
- Move the tablet around on the stand till the holes for the screws overlap and fasten all screws to secure the tablet onto the stand. Please make sure to not install the tablet upside down onto the stand.
Turning on the tablet
- Connect the power cable to a power outlet and the Yetitablet.
- Turn on the Yetitablet with the red power switch
![]() located in the back or on the bottom of the device.
located in the back or on the bottom of the device.
 located in the back or on the bottom of the device.
!Please note that this is not the power button on the side of the device! The button on the side puts the device into sleep mode. 
Connecting to Wi-Fi
You can connect your Yetitablet to the internet via Wi-Fi.
- Swipe down from anywhere on the upper edge of the screen to access the Quick settings menu.
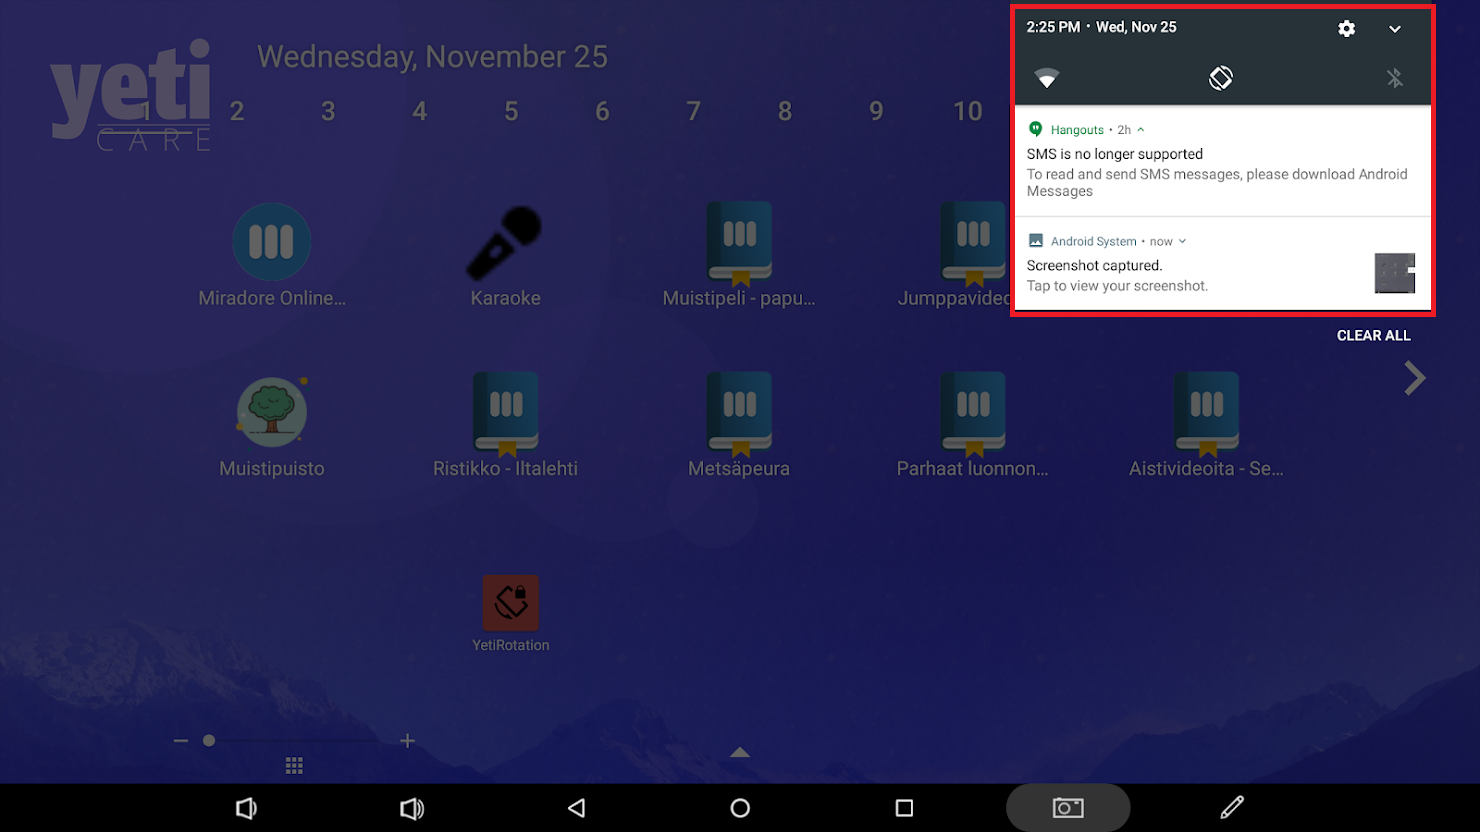
- Tap on the Settings icon
![]() in the top right corner of the Quick settings menu.
in the top right corner of the Quick settings menu.

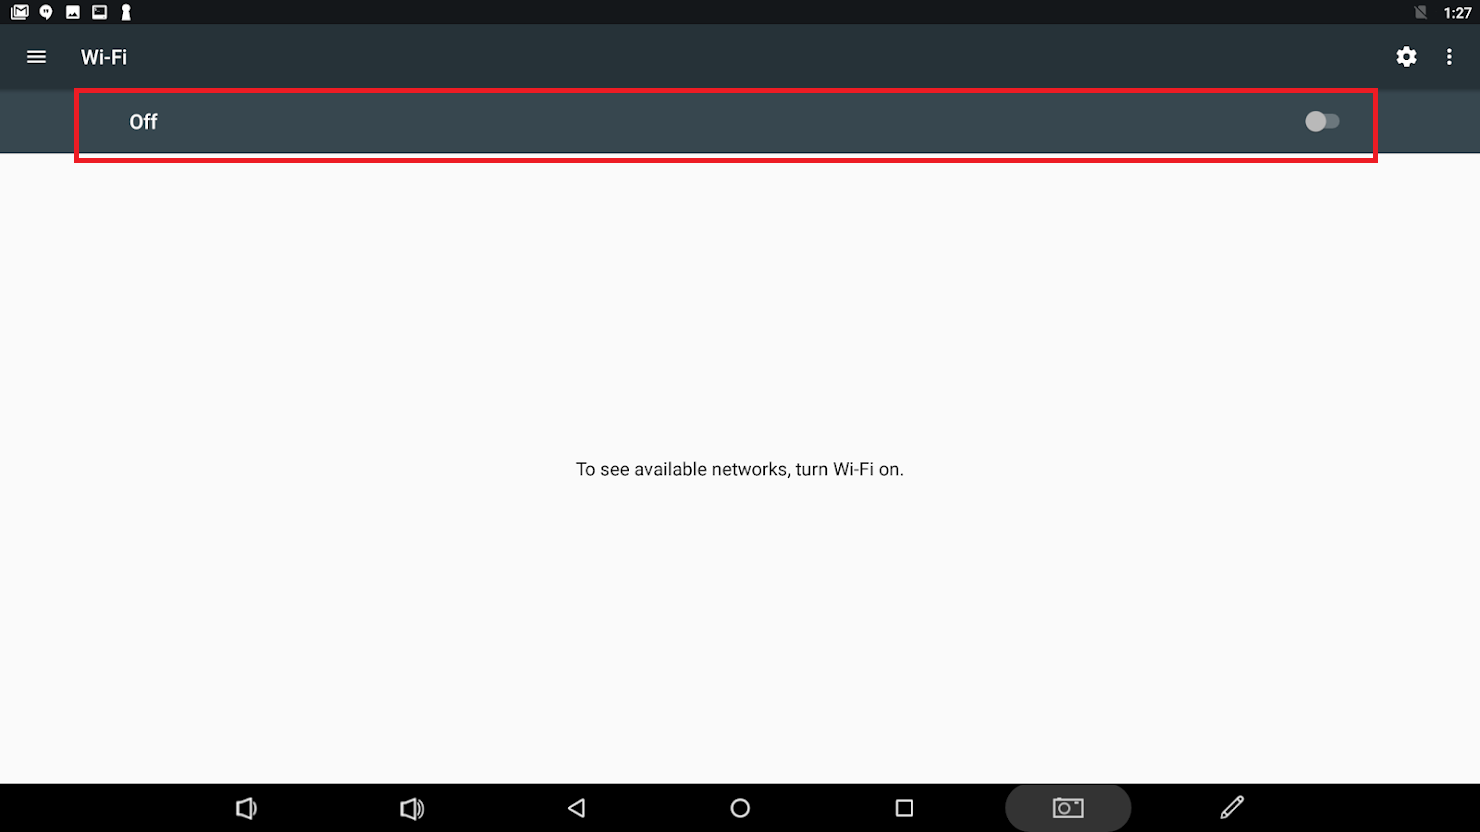
- Tap on the Wi-Fi symbol and turn Wi-Fi on.
 |
 |
- Tap on your Wi-Fi’s name.
- Type in the Wi-Fi password if required and press CONNECT.
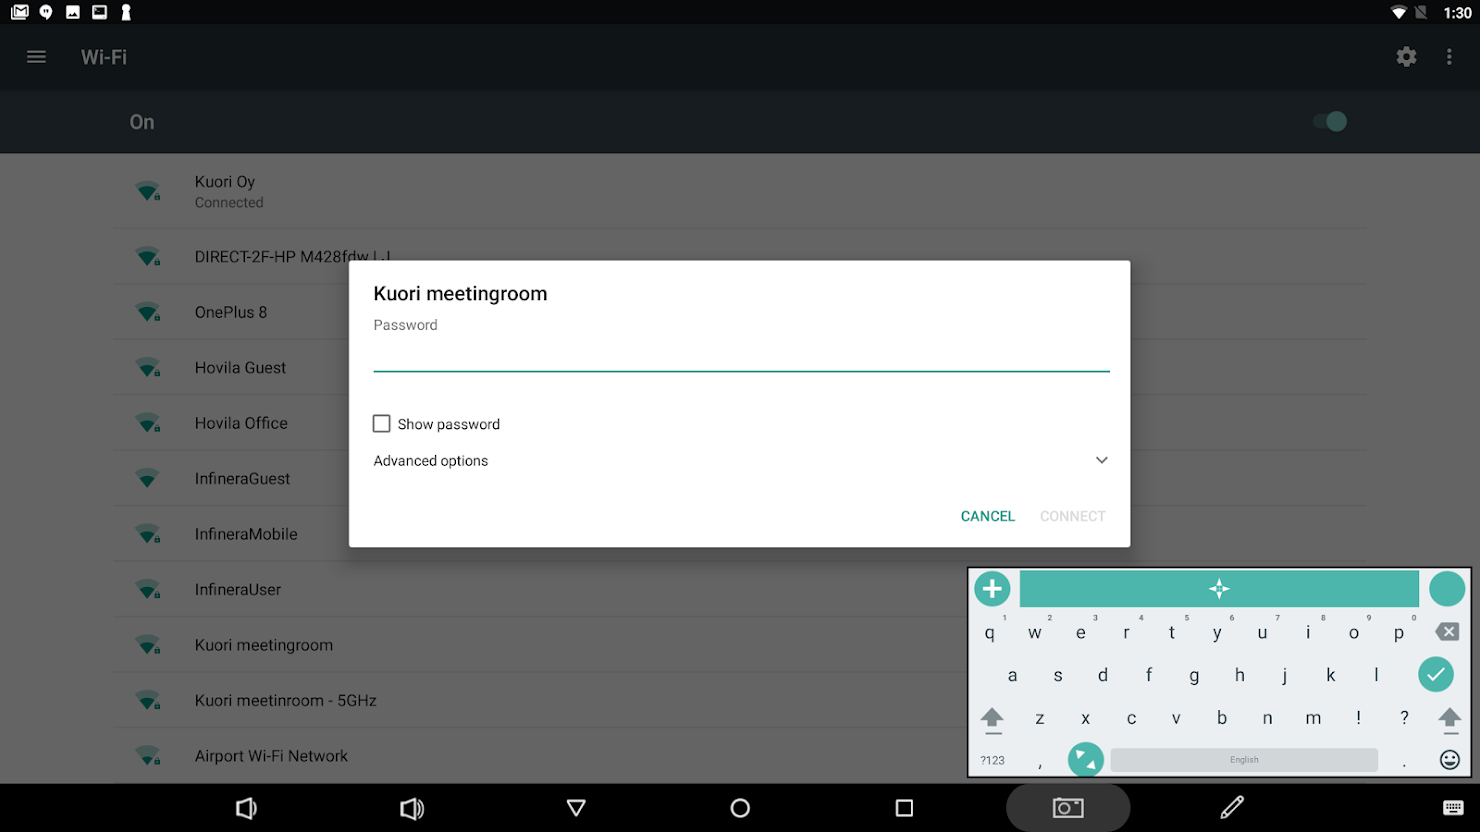
- You can set the device to connect to Wi-Fi automatically in the future.
*Alternatively, you can access the Wi-Fi settings with a shortcut: by long-pressing the Wi-Fi symbol in the Quick settings menu.
Please note: One tap on the Wi-Fi symbol in the Quick settings menu enables you to turn Wi-Fi on and off. The icon ![]() shows that you are connected to a Wi-Fi network. The icon
shows that you are connected to a Wi-Fi network. The icon  shows that Wi-Fi is turned off. If the icon looks like an icon with a question mark
  , the tablet is not connected to Wi-Fi but there are networks available.
OTA update
An OTA update is a software system update. If an update is available it will pop up automatically when the Yetitablet is connected to Wi-Fi and when the device will be powered on from the red power switch. You can learn more about it from OTA Updates.
Creating a Google Account
You are able to create a Google Account from the Quick Settings menu on the Yetitablet.
- Open the Quick Settings menu by swiping the screen from top to bottom with your fingers.
- Tap on the Settings icon
![]() in the top right corner of the Quick settings menu.
in the top right corner of the Quick settings menu. - Search for “Accounts” in the list and click on it.

- Tap on ‘‘Add account’‘.

- Choose ‘‘Google’‘ in the list of accounts.

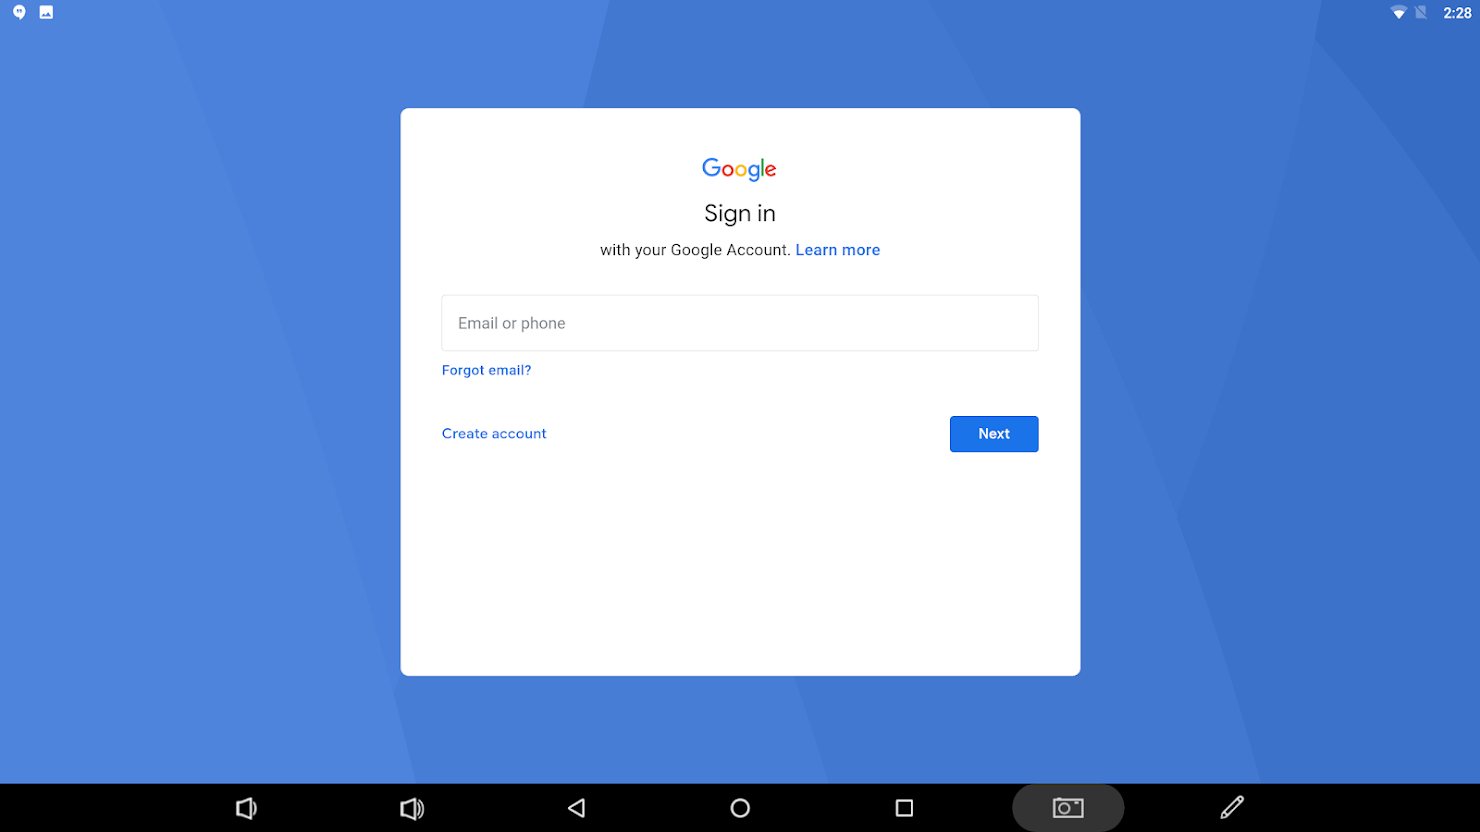
- You can tap on “Create account” to create a Google Account for yourself. Please follow the step-by-step instructions.
![]()
- General steps for creating an account include choosing your username/email address, and creating and confirming your password.
- Add additional information and press “Next step”.
- Complete the setup as instructed on the screen, and you are ready to go.
Google account in the PlayStore
Default account
By default, the access to the Google PlayStore is linked to an account that is used for setting up the device. This can be utilized to limit the amount of people knowing how to download applications.
- You can open the app drawer
![]() from the home screen by swiping from the bottom up, and search for ‘‘Play Store’‘. Tap on either the shortcut icon
from the home screen by swiping from the bottom up, and search for ‘‘Play Store’‘. Tap on either the shortcut icon ![]() or the Play Store icon
or the Play Store icon ![]() .
.
 from the home screen by swiping from the bottom up, and search for ‘‘Play Store’‘. Tap on either the shortcut icon
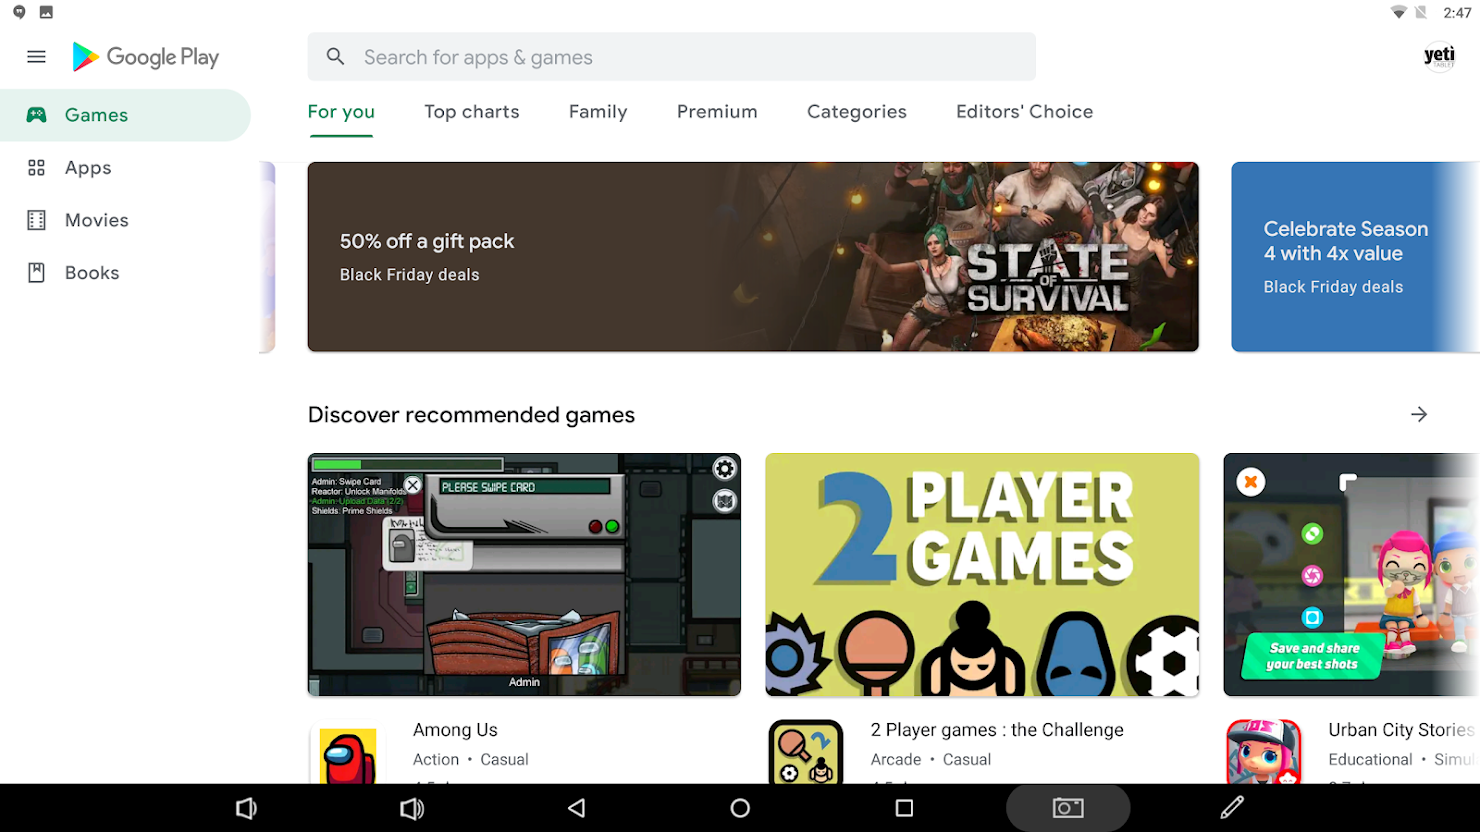
 - In the Google PlayStore you are initially notified that ‘No results found’, because it relates to a default user account that can not access any Apps. Please see below how to change the default account to your own Google account

Change the default account
You can choose to sign in with another Google account for accessing the Google PlayStore Apps.
- Tap on the user symbol in the top right corner and switch to your own account which usually appears under the default account.
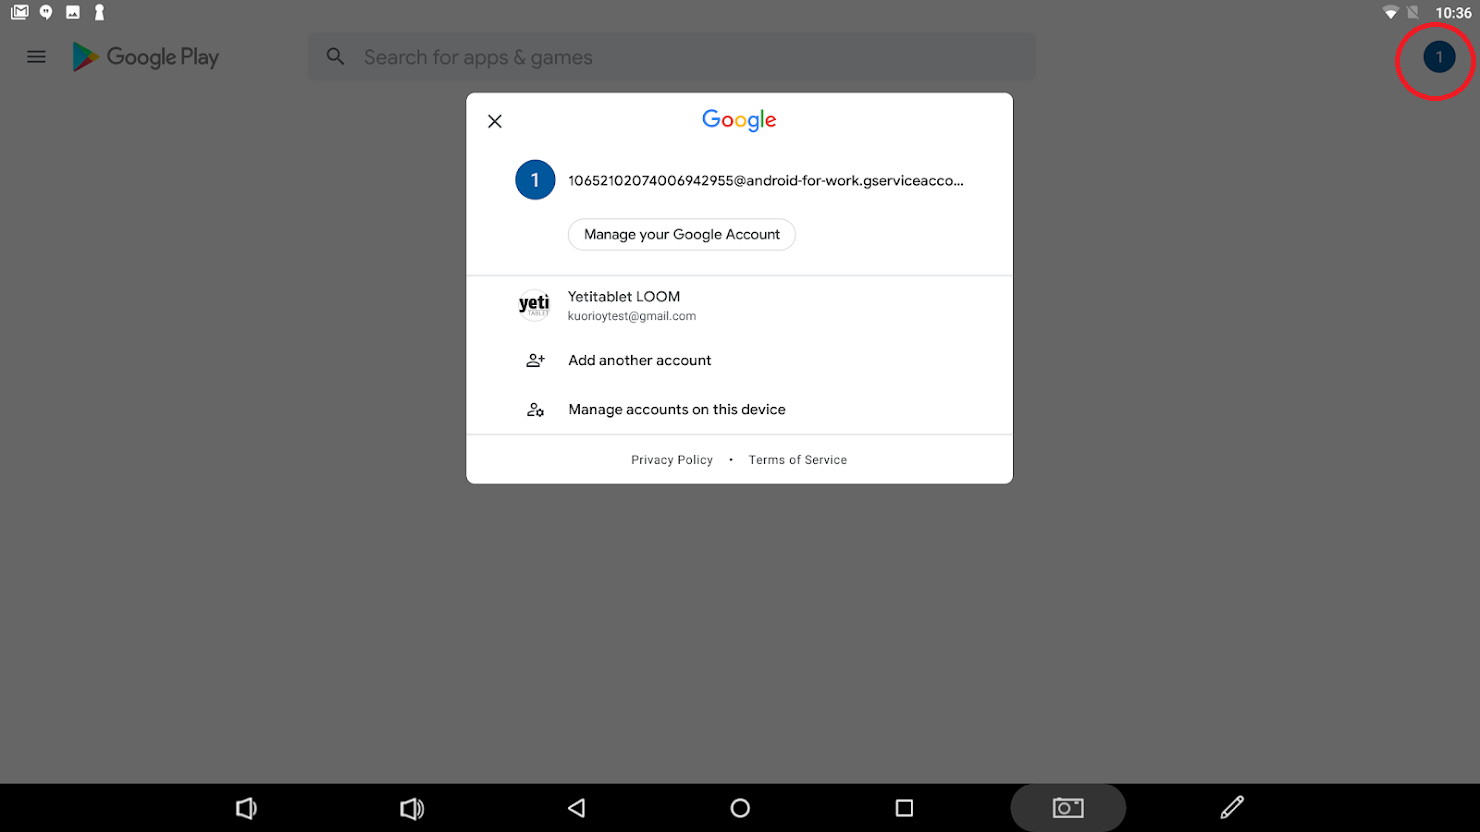
- Now you are able to download applications from the Google PlayStore.
Post your comment on this topic.