
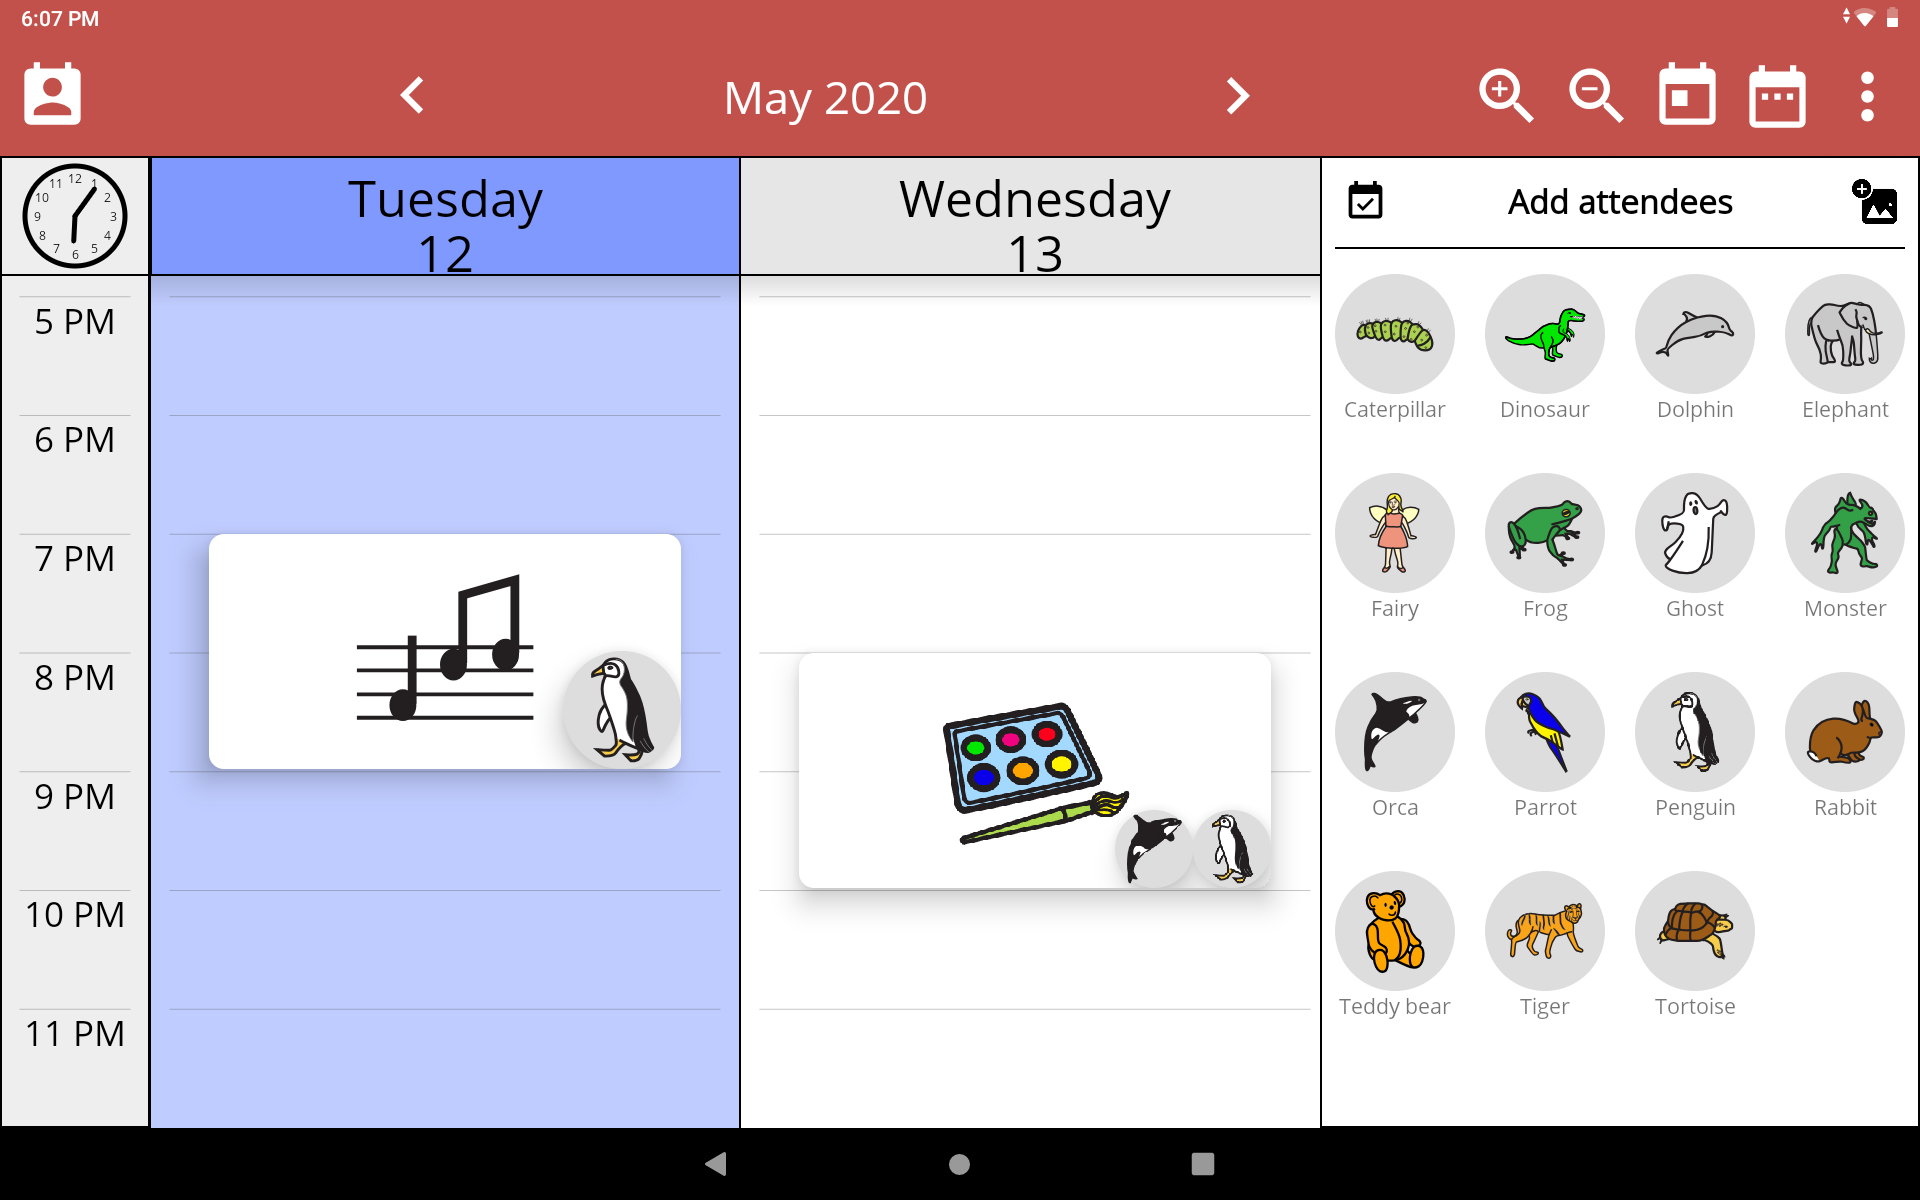
Adding attendees
Adding attendees to your events can visualize well who will be participating in an event. You can add up to twelve attendees to an event, of which a maximum of nine will show on the event without opening it. Those additional three attendees will only appear once you open the event by tapping onto it.
You can add multiple attendees to an event via drag-and-drop from the event menu.
To open up the event menu, please press the ![]() icon. Next, click onto the
icon. Next, click onto the ![]() icon in the top left corner of the event menu, to open up the attendees. Some avatars have been added as presets to the attendee menu. You can add those to an event by long-pressing onto an avatar and dragging it on top of an event.
icon in the top left corner of the event menu, to open up the attendees. Some avatars have been added as presets to the attendee menu. You can add those to an event by long-pressing onto an avatar and dragging it on top of an event.
It is also possible to add your own pictures or a photo of a person as an attendee. All your own images that you have added to the event menu will also appear in the attendee menu. Hence, using your own pictures for attendees works similarly to adding your own pictures for an event. Instructions for this can be found in the section Adding own pictures.
Lock the calendar
You can lock the calendar and prevent changes like the drag-and-drop movement of events by clicking on the ![]() settings icon in the top right corner. It opens up a menu in which you can choose to “Lock Calendar” if it is currently unlocked or to “Unlock Calendar” if it is currently locked.
settings icon in the top right corner. It opens up a menu in which you can choose to “Lock Calendar” if it is currently unlocked or to “Unlock Calendar” if it is currently locked. 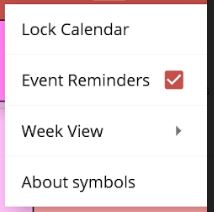
!If the calendar is currently locked, you can see the ![]() lock icon in the left top corner. Please note that the
lock icon in the left top corner. Please note that the ![]() plus icon to open up the event menu and to add events will disappear when the calendar is locked to prevent accidental adding of events. Unlocking is possible via the
plus icon to open up the event menu and to add events will disappear when the calendar is locked to prevent accidental adding of events. Unlocking is possible via the ![]() settings icon in the top right corner.
settings icon in the top right corner.
Event Reminders
You can turn event reminders on and off by clicking on the ![]() settings icon in the top right corner.
settings icon in the top right corner.
It opens up a menu in which you can tick or untick Event Reminders. If the box for Event Reminders is ticked, you will receive notifications of an event at the start of an event via a popup in the notification bar in the top of the screen.
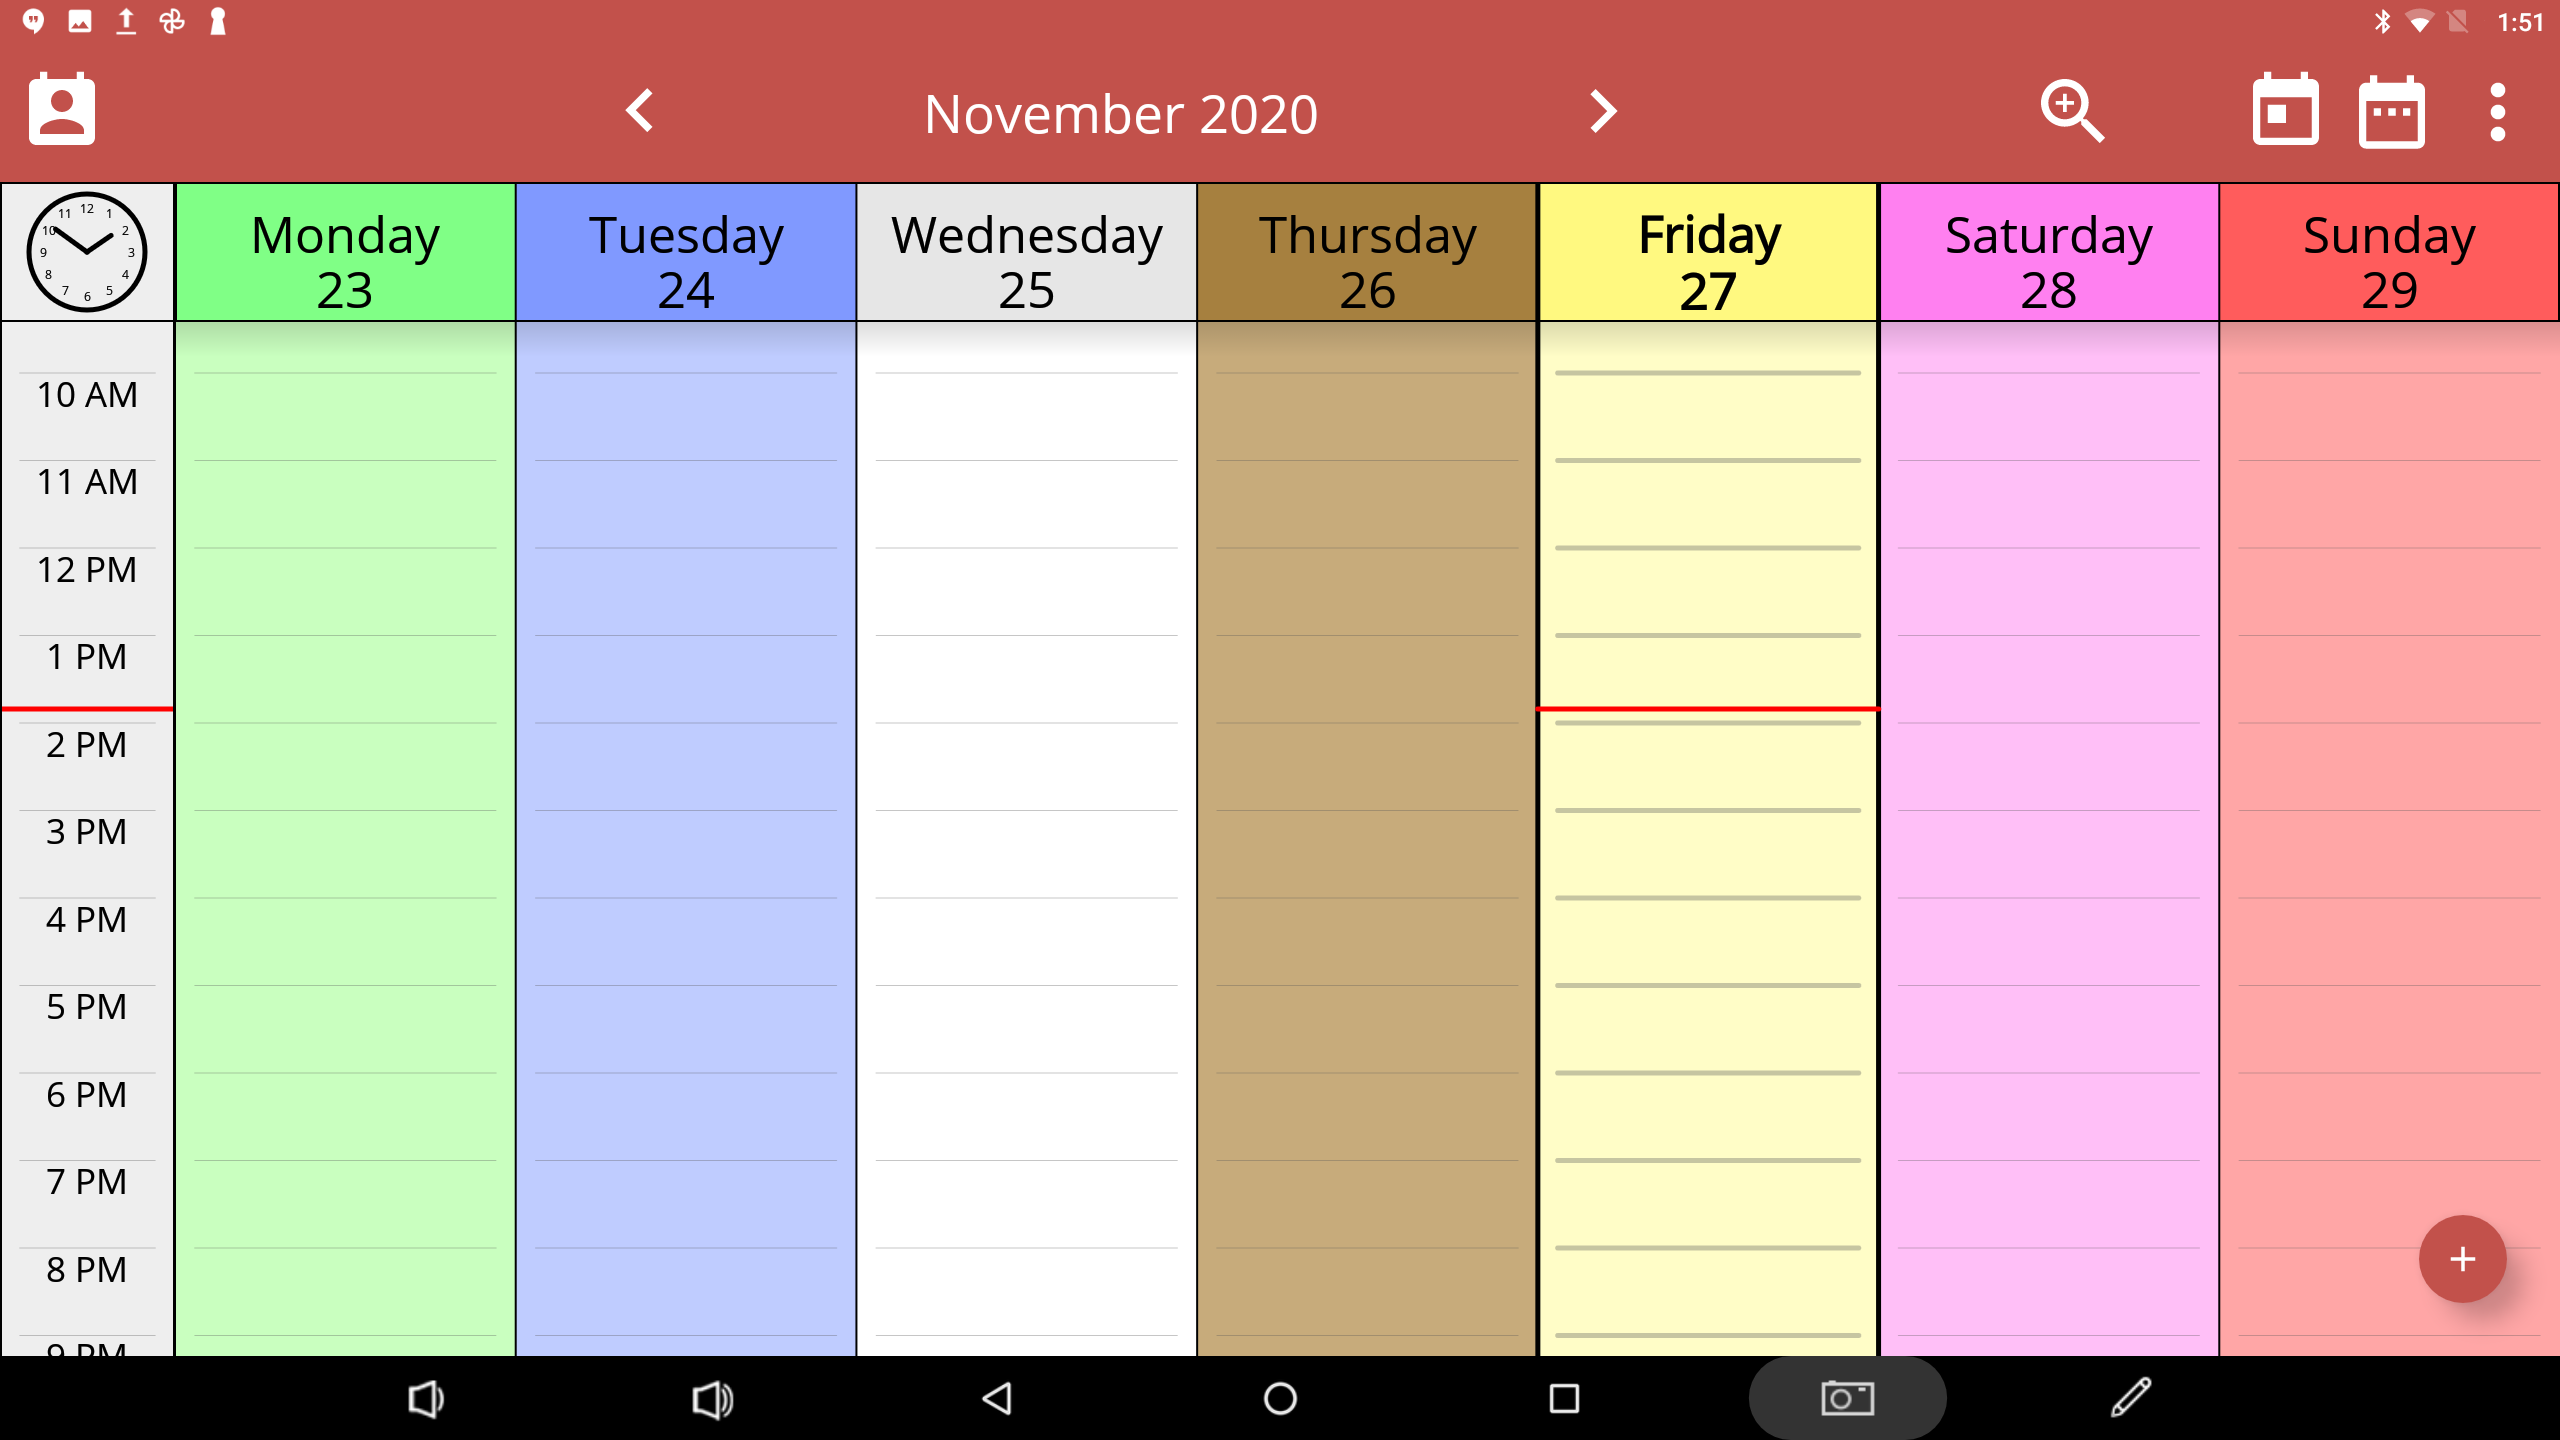
Sidebar Clock options
The timeline on the left side of the screen has various options to display time. The view can be changed by simply tapping on it.
Current time
The clock on top of the sidebar displays the current time. You can switch between an analog and a digital clock by tapping on the clock field.
Timeline
The timeline in the sidebar displays various hours of the days. Depending on the current zoom (zooming is explained in the section Calendar View) you can see more or fewer hours of the day. By tapping on the timeline you can alter the way that the timeline displays time.
- Digital: every hour of the day will be displayed in an AM/PM format
- Digital with reduced hours: every three (3) hours of the day will be displayed in an AM/PM format
- Pictures: three (3) pictures of the sun will indicate the time of the day
- Analog clock: an analog clock is indicating the time in a 3-hour gap
| Digital | Digital reduced hours |
Pictures | Analog |
|---|---|---|---|
| |
|
|
|
Google Calendar use
The calendar can be stored either locally on the device or set up with a Google account which corresponds with a Google calendar.
Adding a Google account to the Yetitablet
- Open up the YetiCalendar app.
- Tap on the ‘‘Calendar User icon’‘
![]() in the top left corner to open up the menu.
in the top left corner to open up the menu.
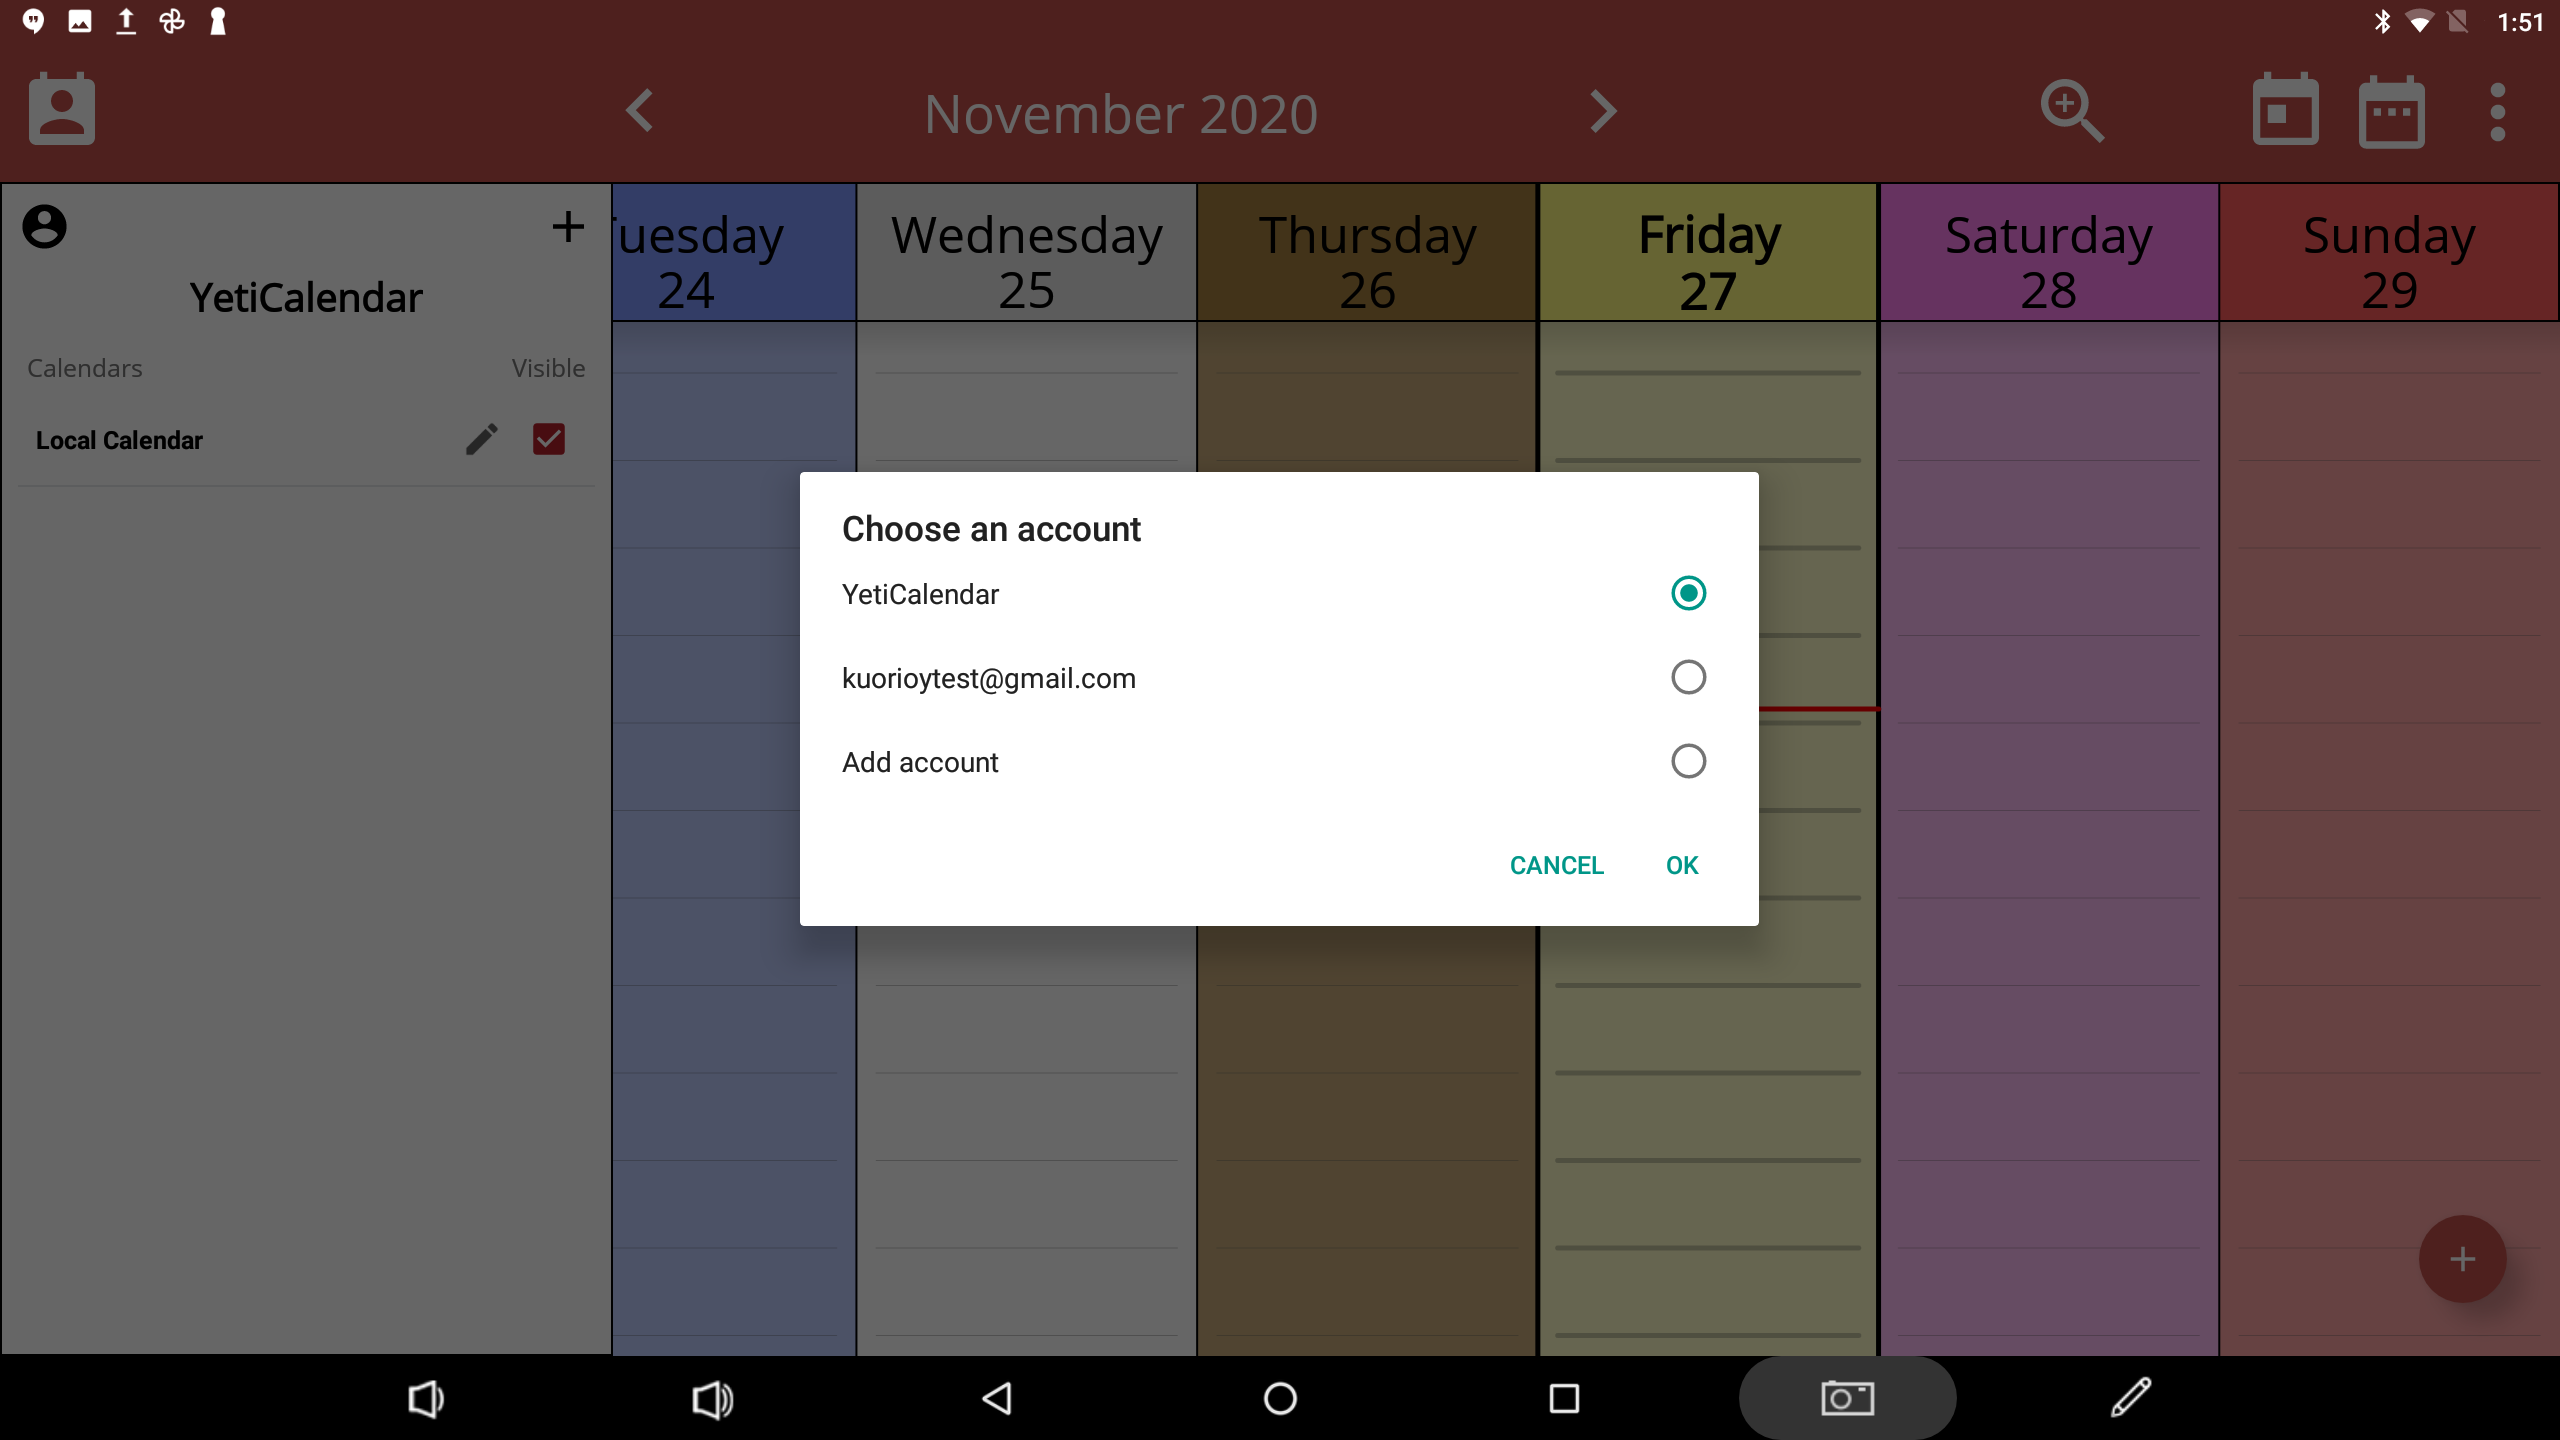
- Tap on the ‘‘Account User icon’‘
![]() in the top left corner to switch an account.
in the top left corner to switch an account. - If you have a Google account that has been signed in the Yetitablet, you can choose it directly and press ‘‘OK’‘. The signed-in Google accounts are always located right under the user name YetiCalender.
![]()
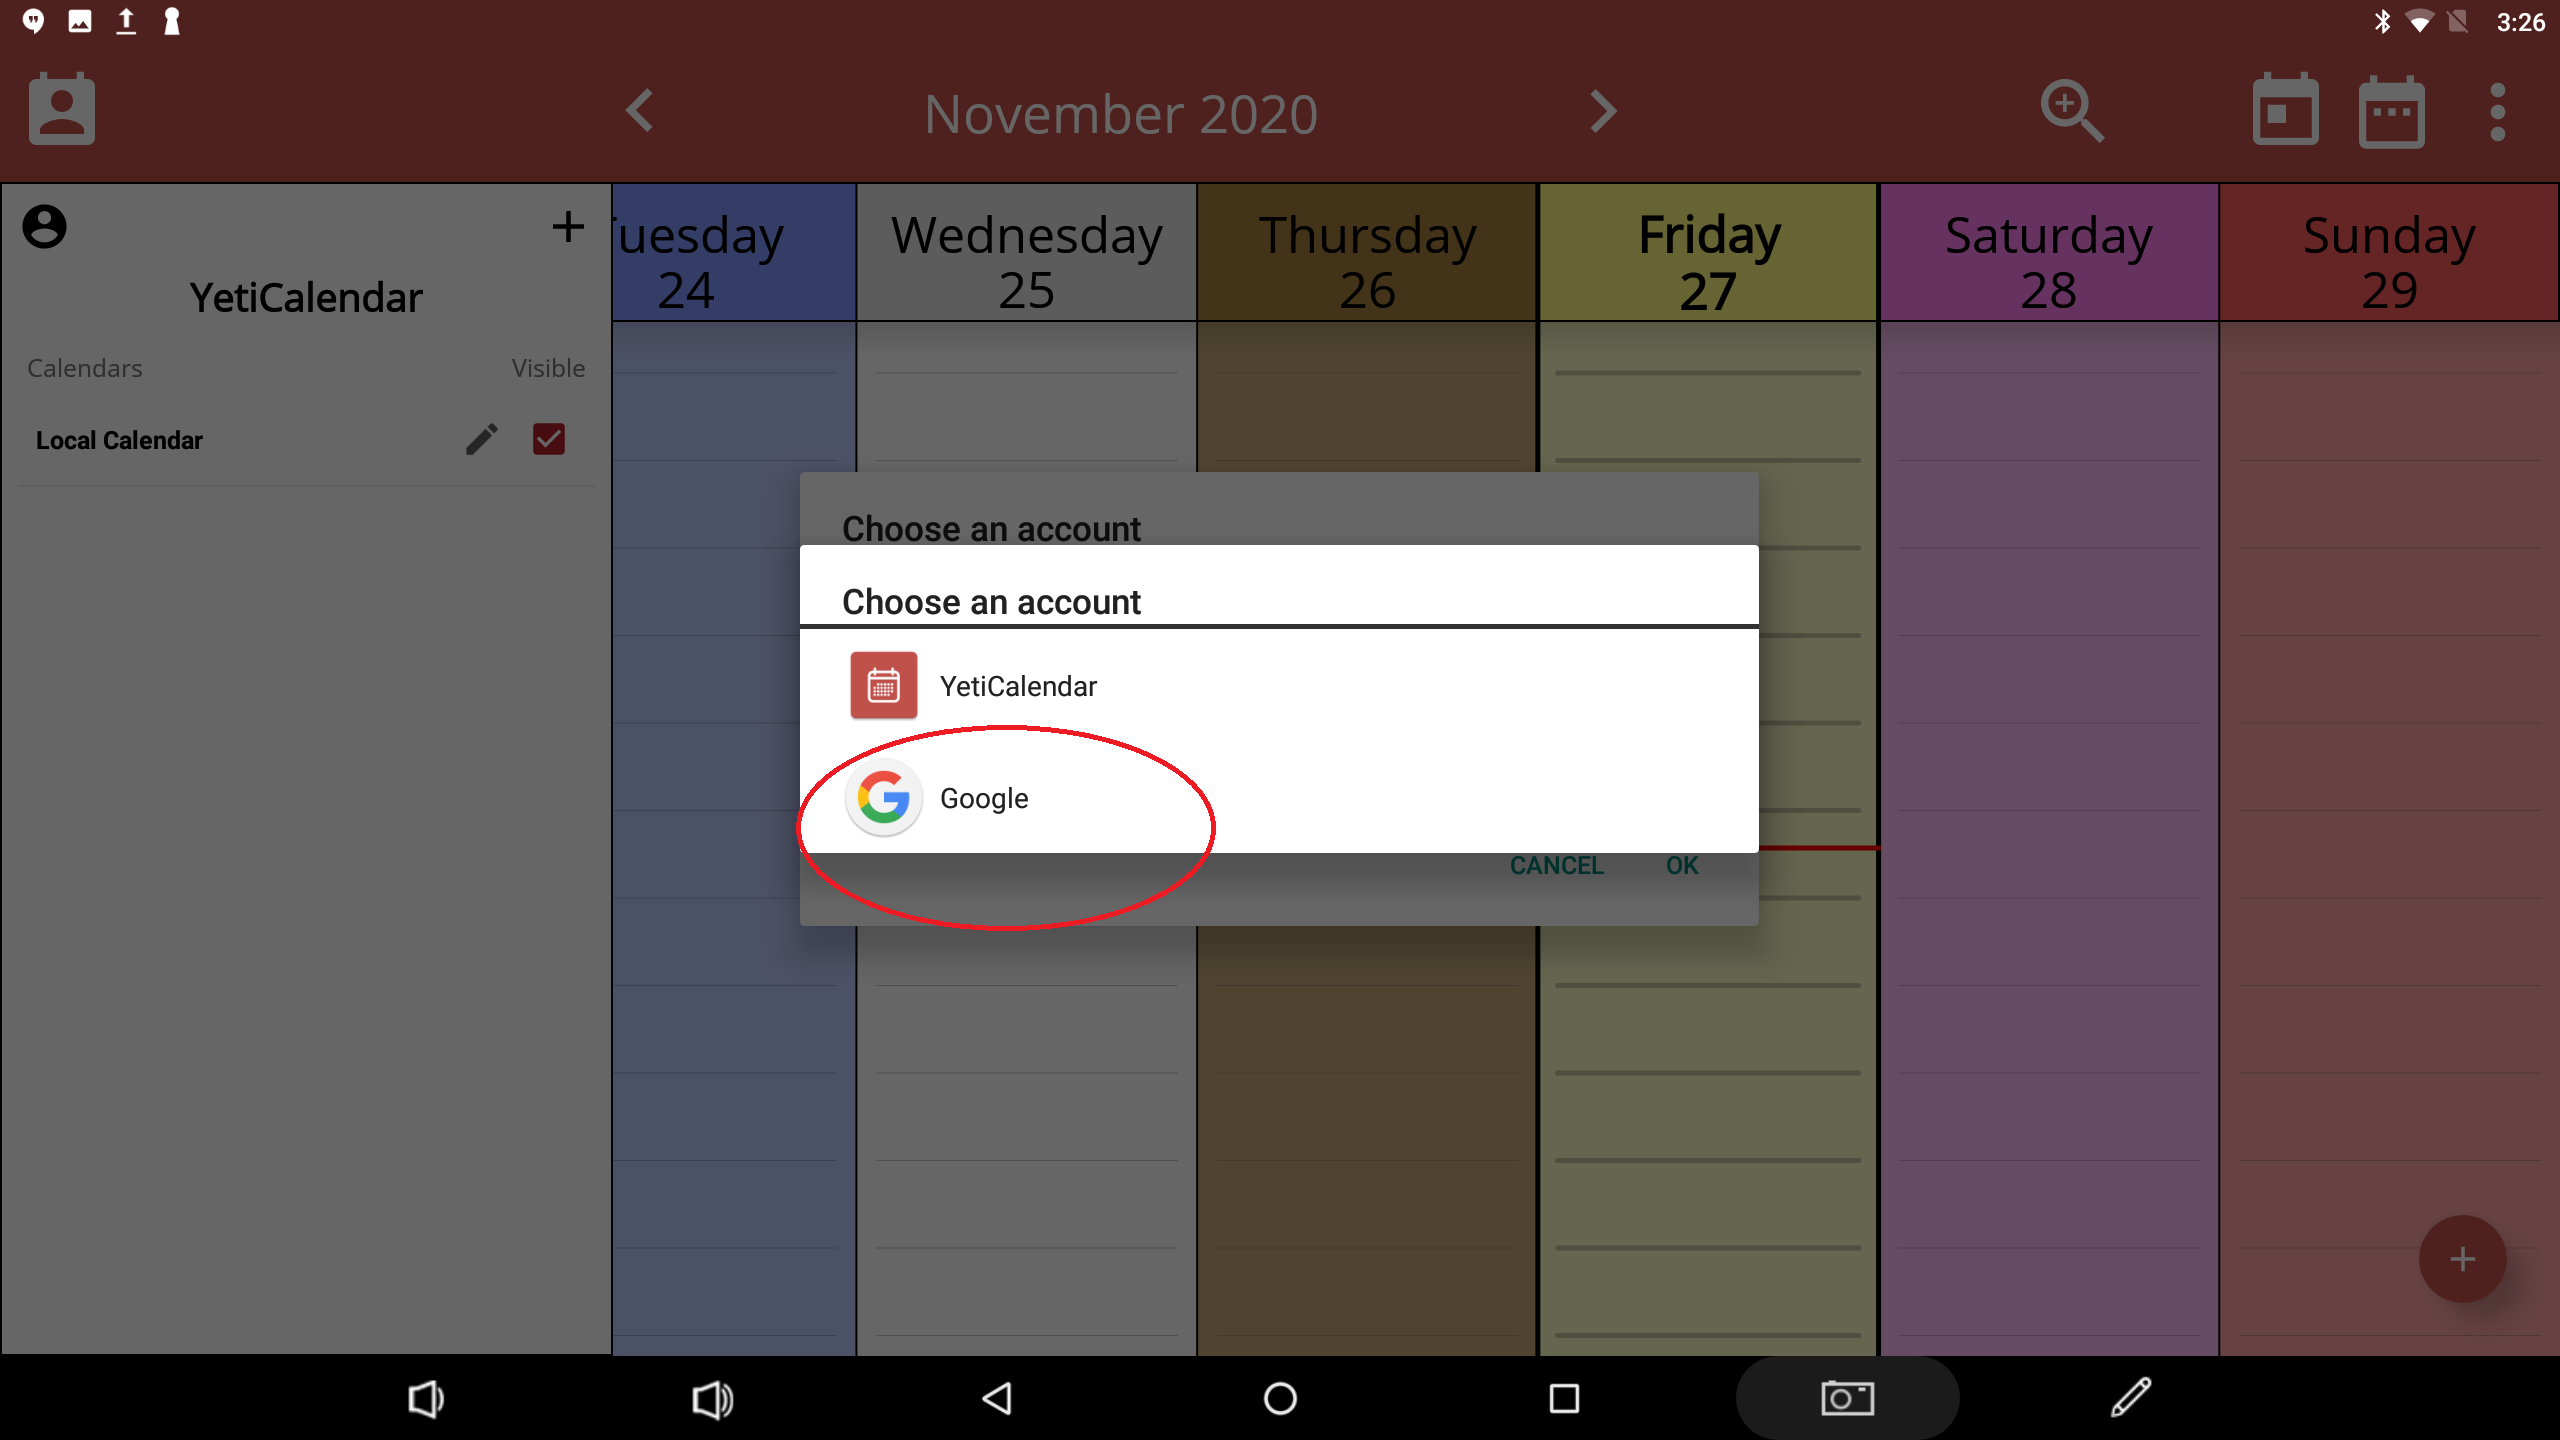
- If you do not have a Google account, you can choose ‘‘Add account’‘ and press ‘‘OK’‘ in the dialog box. Tap on ‘‘Google’‘ and create your own Google account.
 |
 |
Creating and Editing events from your laptop
You can also create and edit your events from your Google Calendar on your laptop, and it will also show up in your YetiCalendar.
- Tap on the ‘‘Calendar User icon’‘
![]() in the top left corner to open up the menu.
in the top left corner to open up the menu. - Tap on the ‘‘Account User icon’‘
![]() in the top left corner.
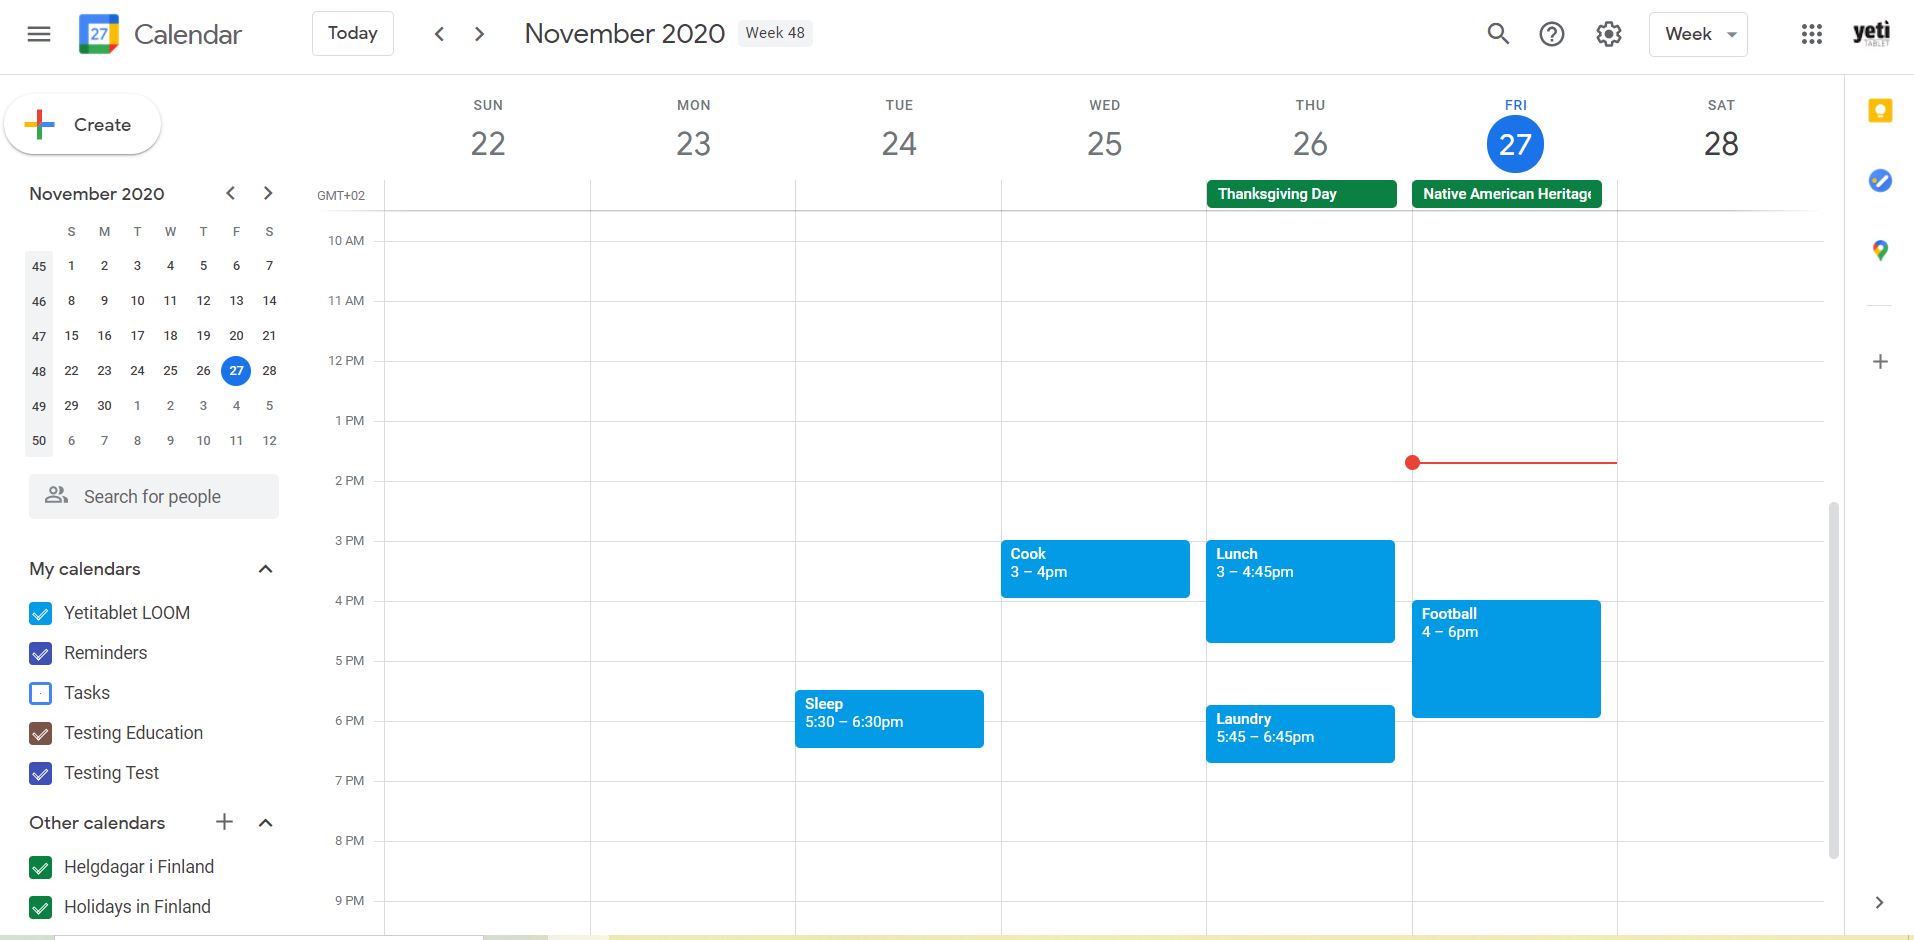
in the top left corner. - Choose your own Google account and press ‘‘OK’‘. The Yetitablet displays your Google calendar right away.
![]()
- More options you can choose to show in your calender, such as holidays in Finland, holidays in United Kingdom, holidays in United States, week numbers, etc.
- You can create and edit events from either on your laptop or Yetitablet. They will synch automatically.

 |
 |
Post your comment on this topic.