
Once you have created a location package and previewed it to ensure that it has all of the elements that it needs, it is time to send it to your studio’s client. Sending a package can be completed with just a couple of button clicks and keystrokes with Reel-Scout™ RS Studio (“RS Studio”).
Begin by locating the package that you want to send. For more information, see Viewing Location Packages and View All Packages.
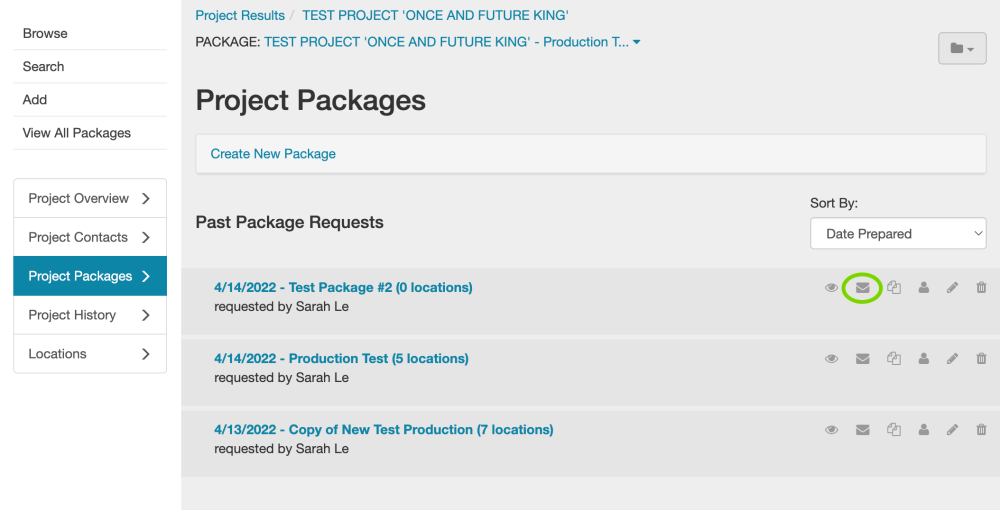
1. Sending Your Package From the Project Packages Page
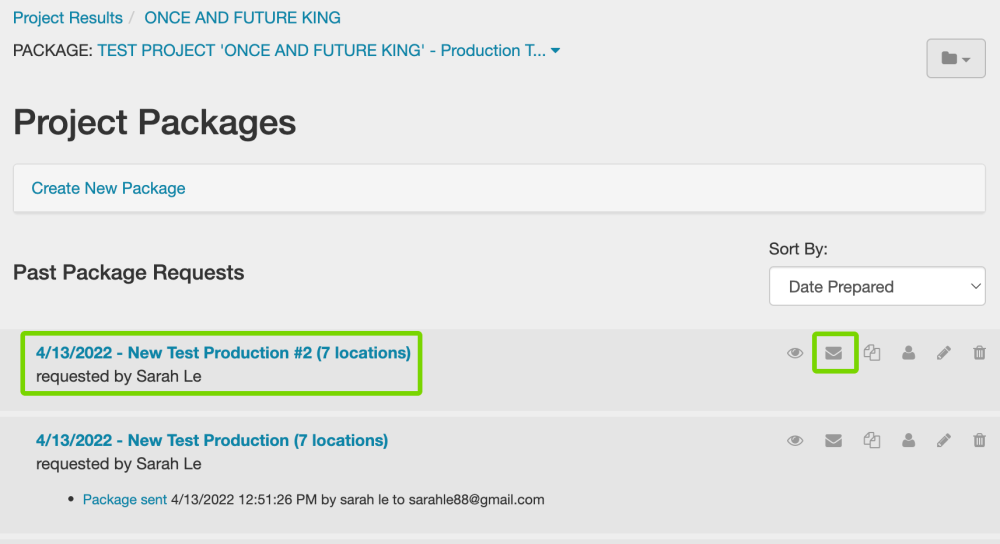
Each package on the Project Packages page has an associated toolbar on the right-hand side of the page. Find the package that you want to send and click the Send Package (envelope) icon.
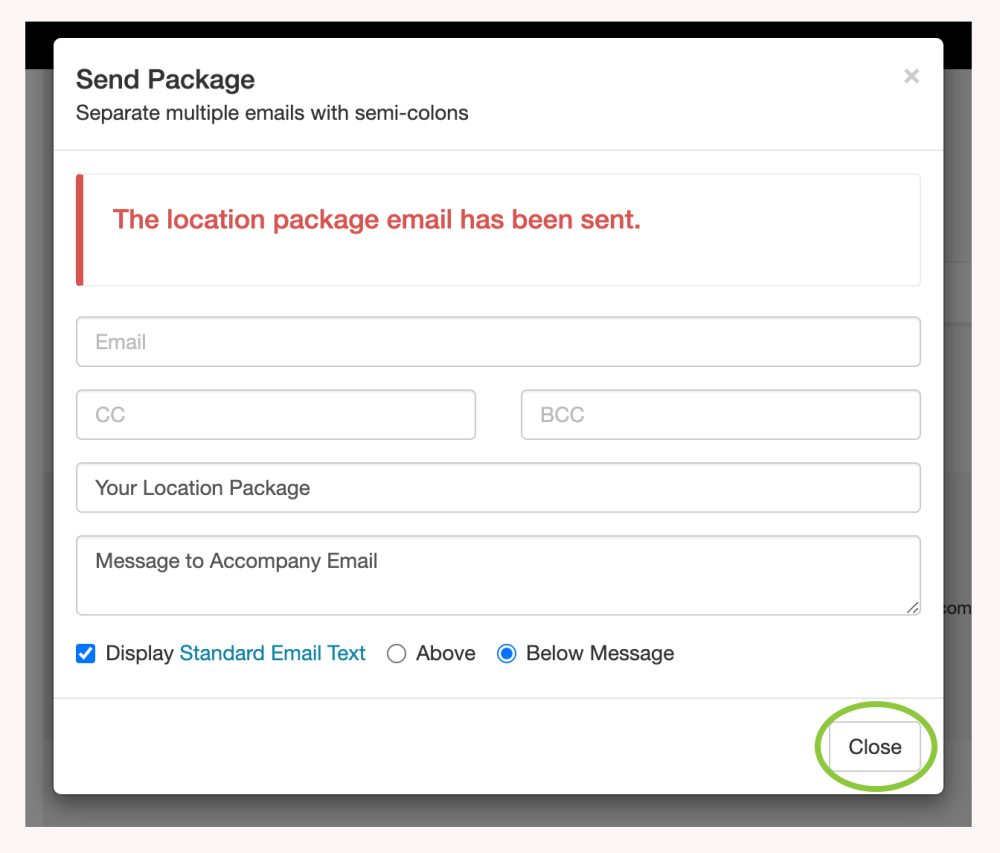
Clicking the Send Package icon will reveal a dialog box that contains five fields, as well as email text options.
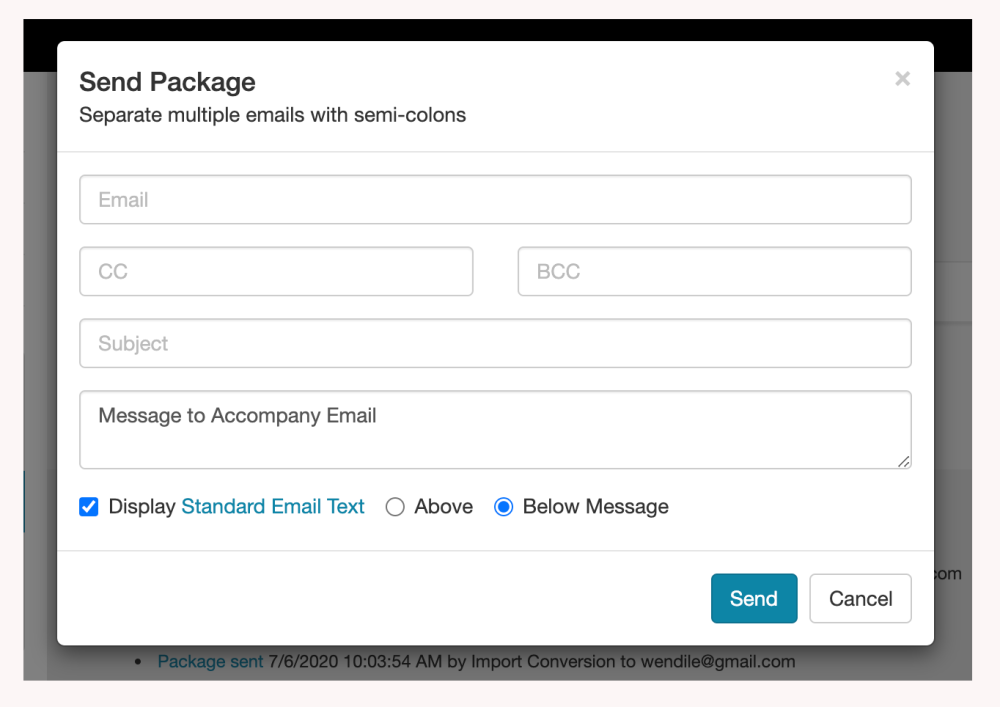
a. Email
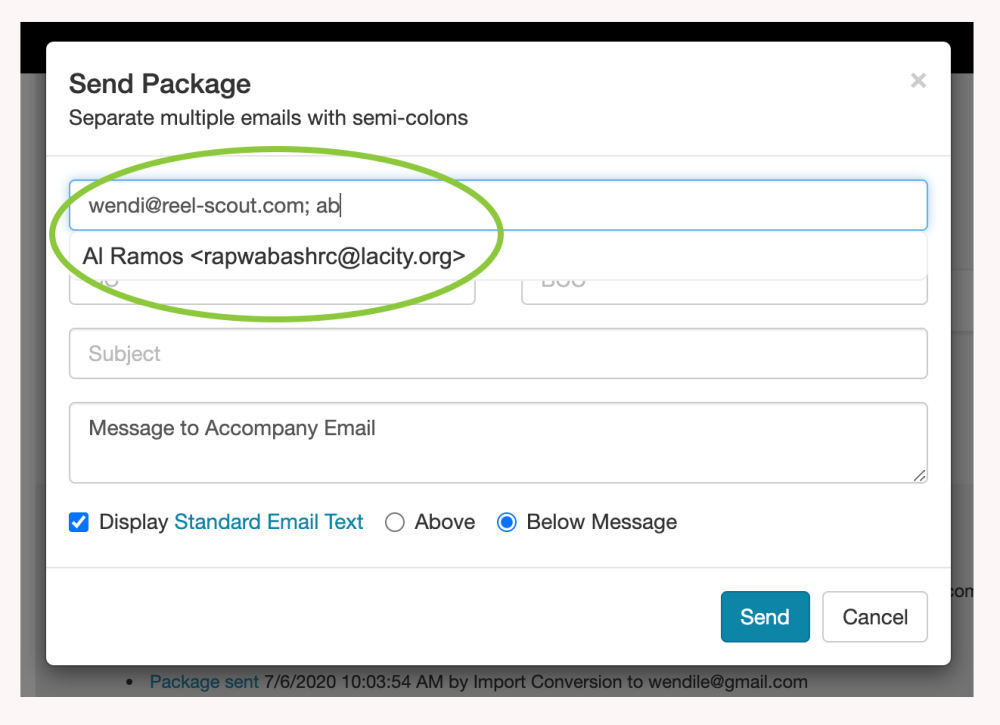
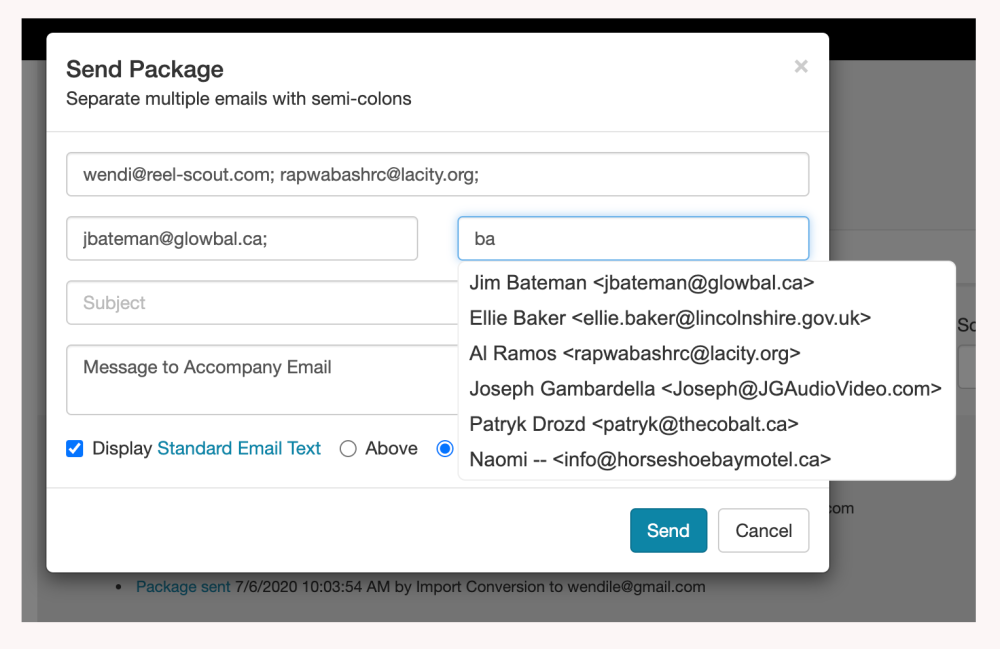
In this field, you can enter the email address manually. Multiple recipients can be entered; ensure that manually entered email addresses are separated by a semicolon (;) and a space.
b. CC and BCC
The CC and BCC fields operate the same way as the email field. Just like the email window, be sure to separate multiple entries with a semicolon (;) and a space.
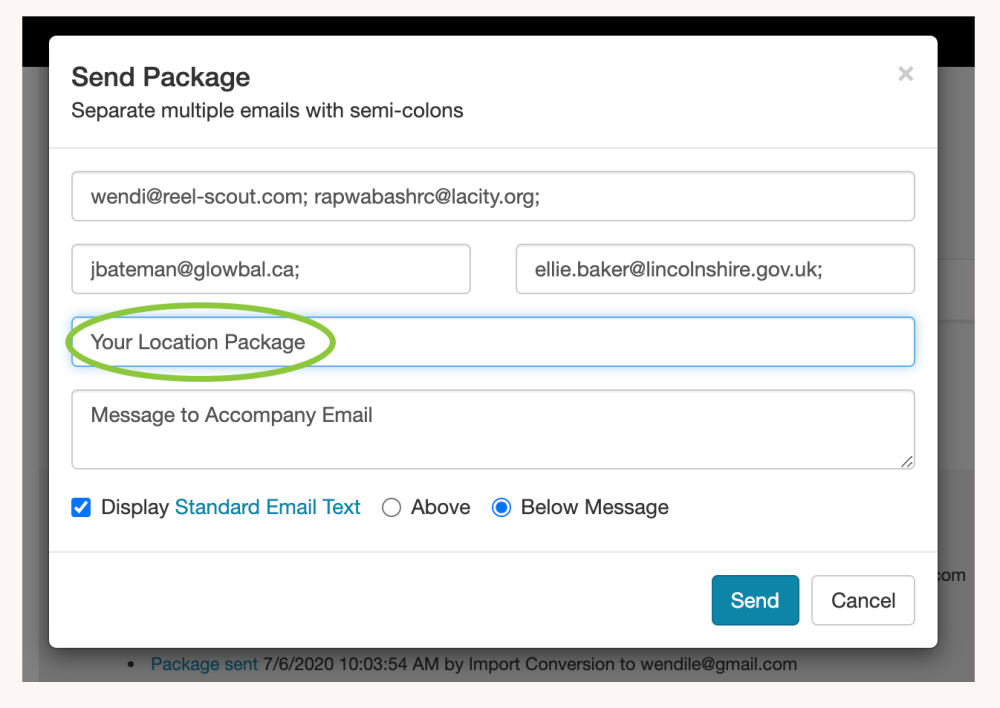
c. Subject
The Subject window is a free-text field. Here, you can enter the subject that will appear as the header for the email that is sent.
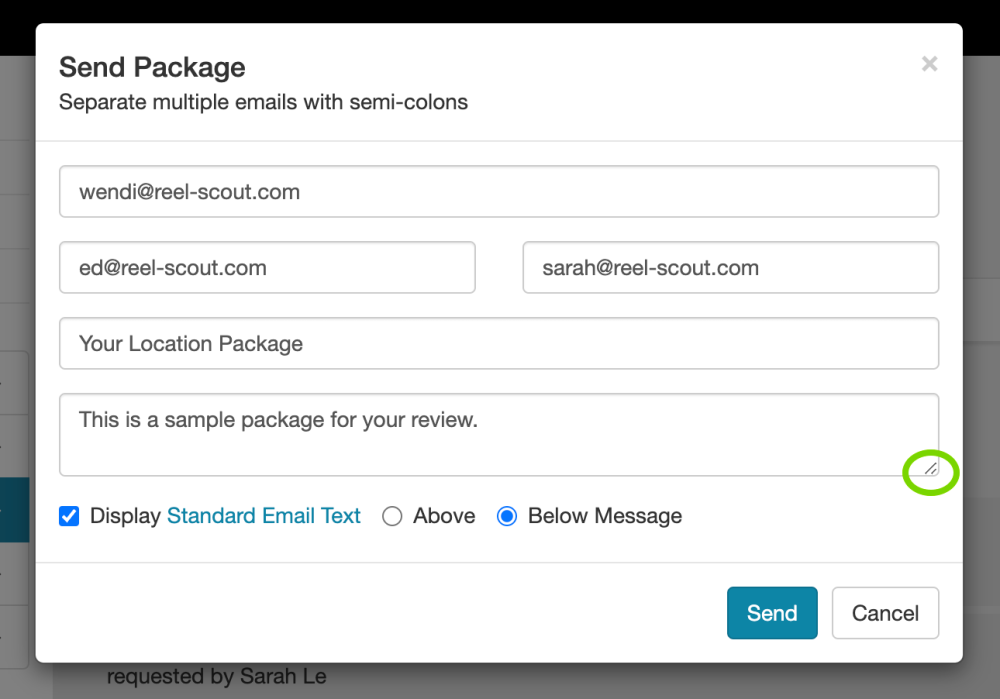
d. Message to Accompany Email
In this field, you can enter a customized message to the client. To view all of the text that is entered, the Message to Accompany Email window can be expanded. To change the size of the window, left-click on the lower right-hand corner. Holding down the left mouse button, drag the window to the desired size.
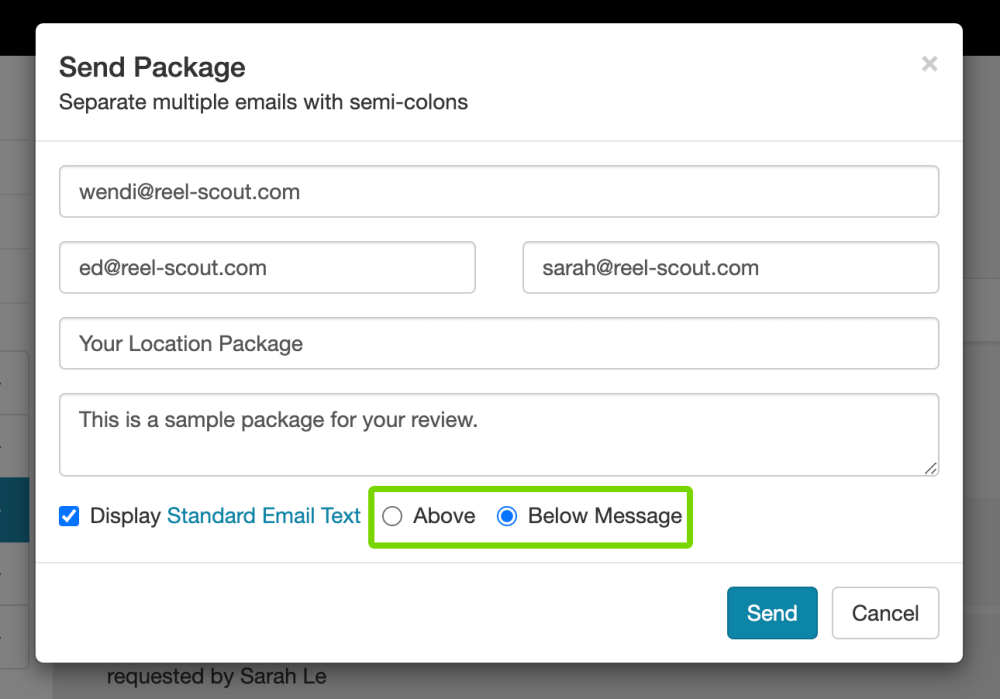
e. Display Standard Email Text
To help the client navigate the package and to provide other instructions, most studios have standard text that accompanies each package that is sent. Leaving the checkbox checked (the default option) will ensure that this standard message accompanies the email. To remove the standard email text, uncheck the box.

You can also select where the standard email text will appear in the email relative to your personalized message. Using the radio buttons, you can choose either Above or Below Message options.
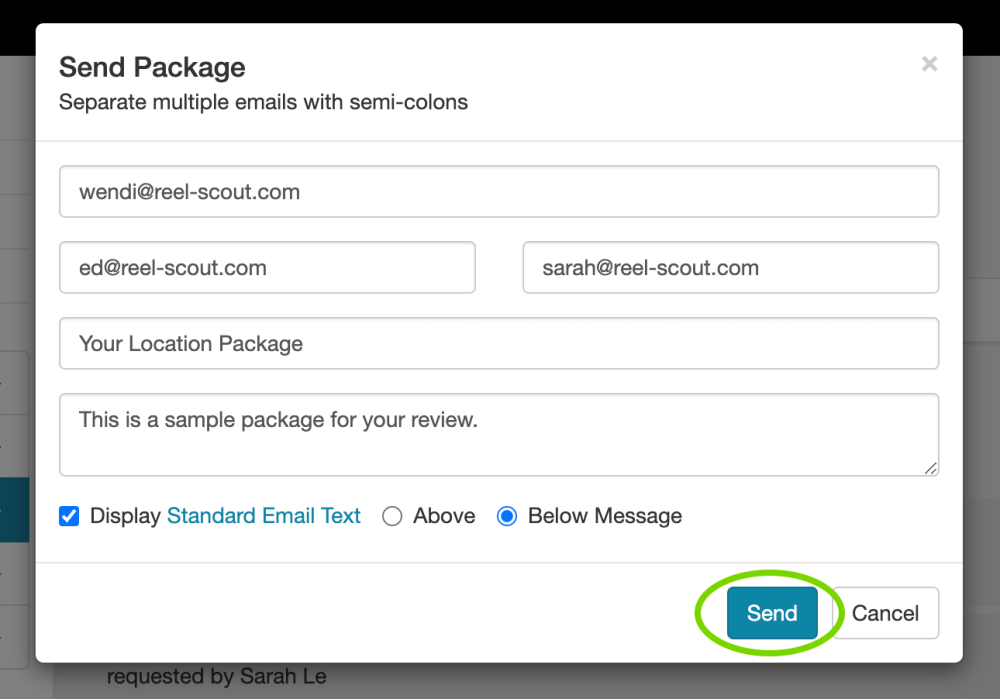
f. Send Button
When you have finished filling in the fields in the Send Package dialog box, you can deliver the package to the client by clicking the Send button. Cancel will close the dialog box.
RS Studio will display a message indicating that your location package has been sent. Click Close to return to viewing the All Project Packages page.
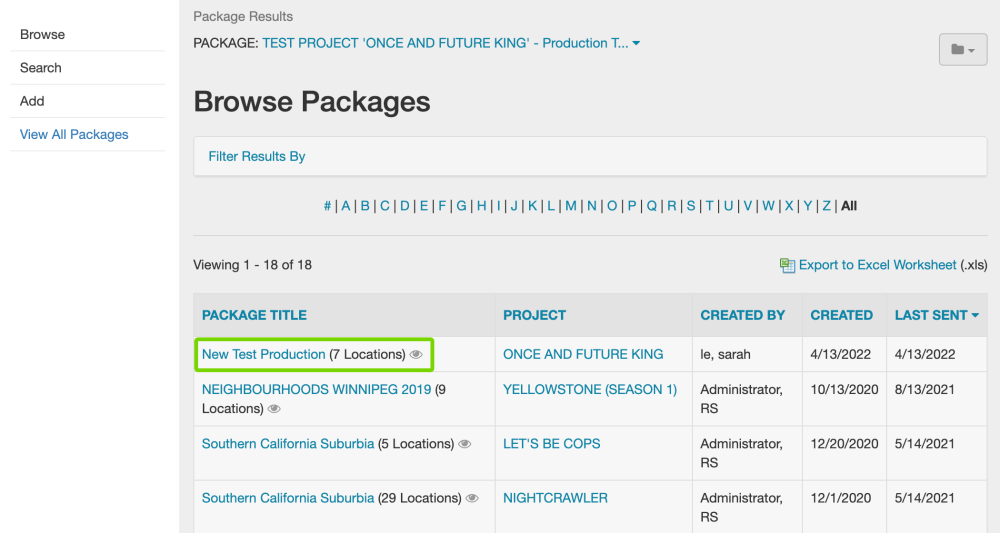
Sending a Location Package from the Browse Packages Page
If you found the package that you want to send using the View All Packages function of RS Studio, sending the package is still a simple process. Begin by clicking on the package title to open the Project Package page.
Locate the breadcrumbs at the top of the Project Package screen. Click on Packages.
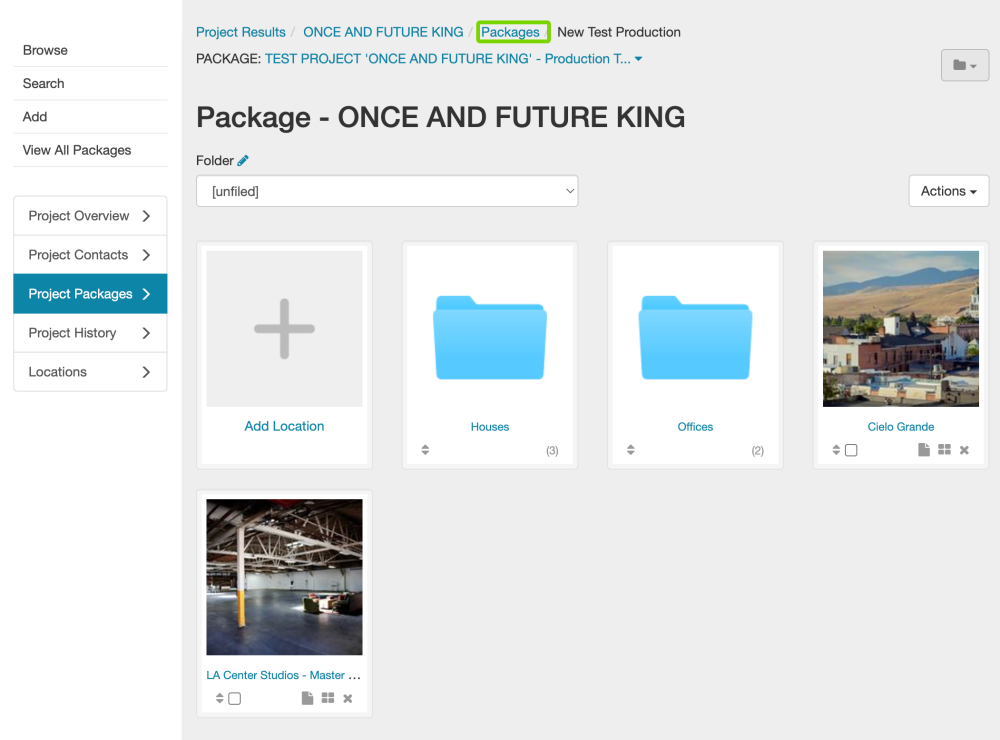
Selecting Packages will take you to the All Project Packages page. You can now send the package of your choice using the procedure described above.
3. What Your Client Will See
Your client will receive an email from your studio that features your personalized message and the standard text (if that option was selected).
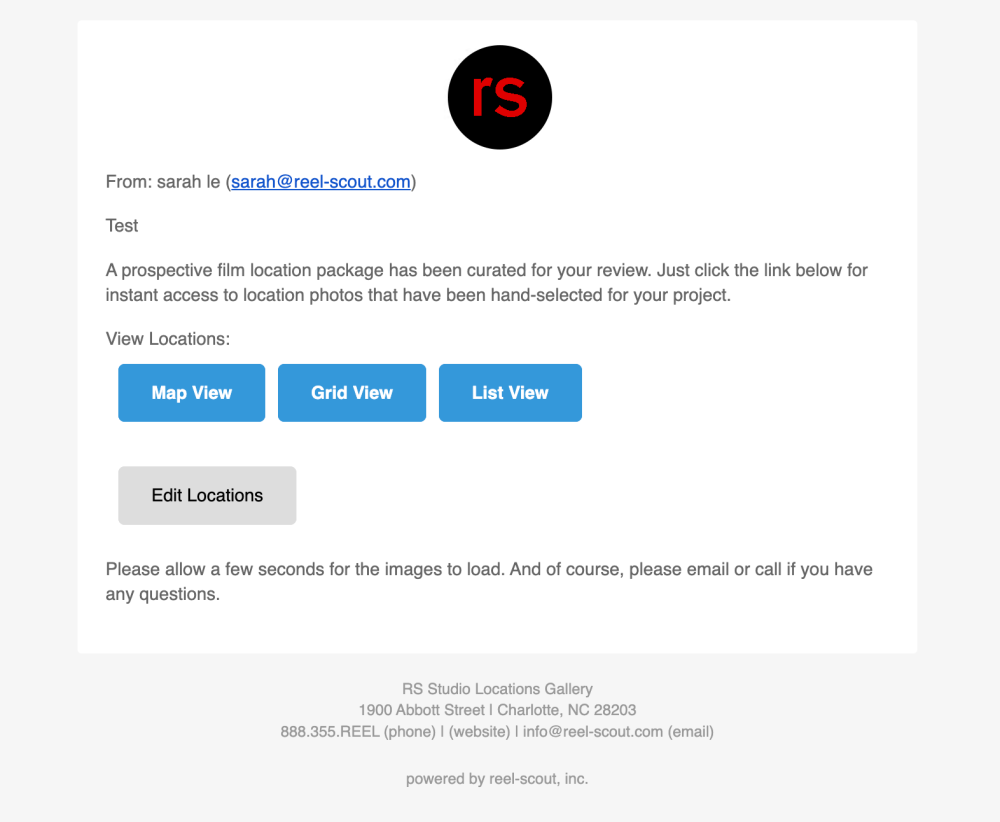
The email contains a URL hyperlink that, when clicked, will open another browser page that contains the package you sent. For more information on client navigation of the location package, see Viewing a Package as Seen by Client.


Contact Reel-Scout
If you experience any problems or errors, please fill out this form. We will get back to you shortly.
Post your comment on this topic.