
To record client communications, access the project associated with that client in the Project module. For more information, see Browsing Projects and Searching for a Specific Project.
1. Project History Tab
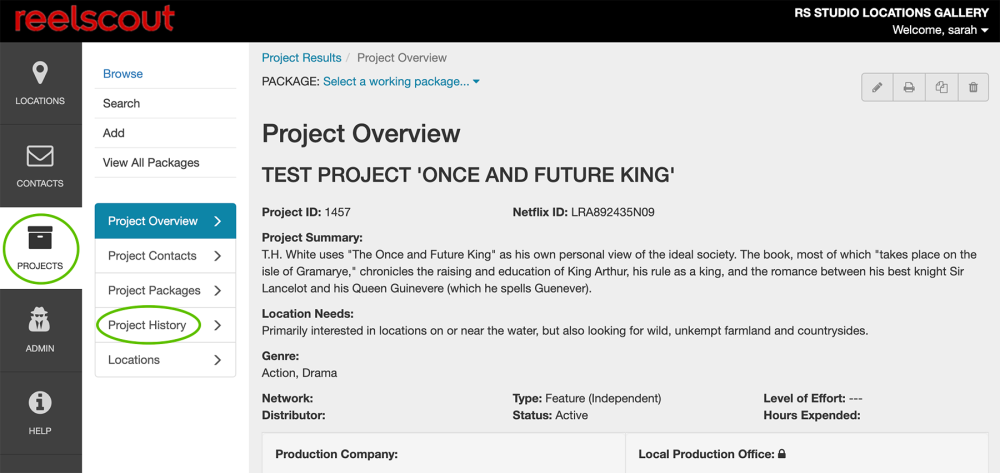
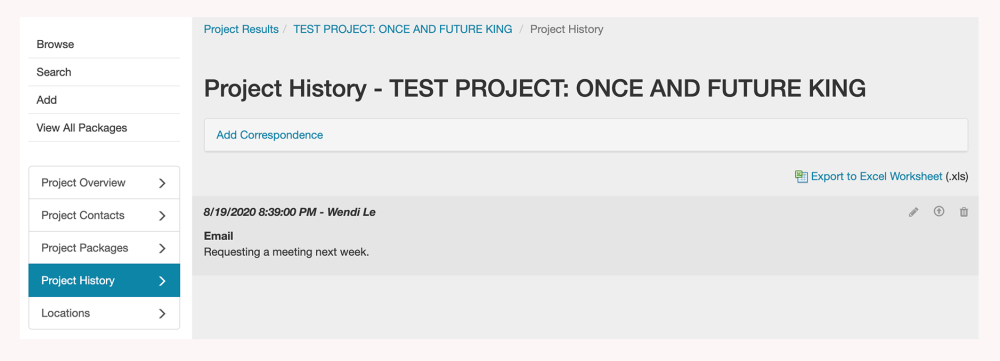
Once you have found the project you are looking for, click on it to access the Project Overview page. On the left-hand side of the screen, select the Project History tab.
2. Project History Page
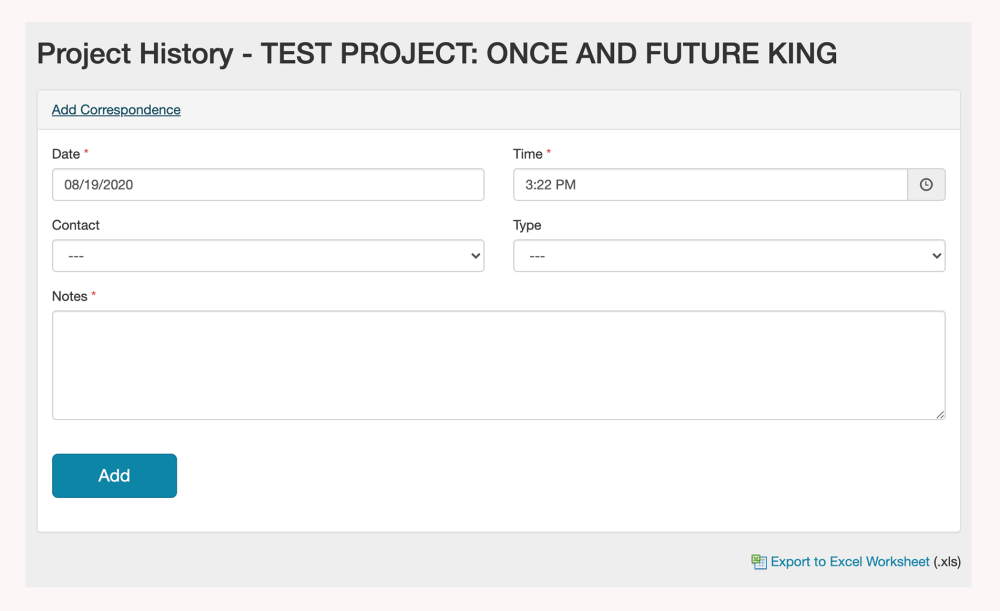
To add a correspondence notes to the Project History Page, click Add Correspondence.

Clicking Add Correspondence will open a window where a communication summary can be entered. The fields in this window include Date, Time, Contact, Type, and Notes. Required fields are marked with red asterisks (*).
3. Correspondence Fields
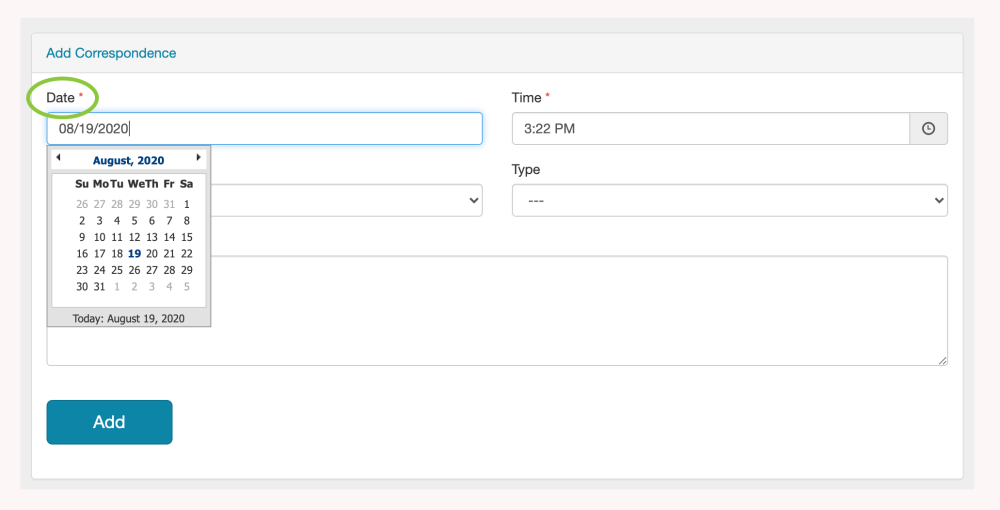
a. Date
Date is a required field. Clicking the Date box reveals a calendar from which the date of correspondence can be selected. As an alternative, you can manually type in the date as MM/DD/YYYY.
b. Time
Time is a required field. You can type the time in using the proper format (00:00 AM/PM), or you may click the clock icon. Using the clock icon will open a window in which you can use arrows to select the time the correspondence occurred.

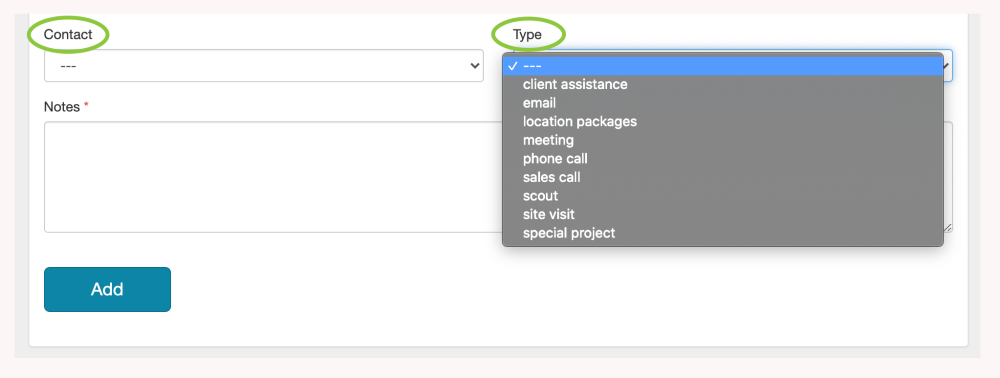
c. Contact and Type
If a contact has been associated with the project, you can select them from a drop-down menu in the Contact block. The Type block is where you can record the general reason for the correspondence. Type is a single-select, drop-down menu that is configured for your studio. Neither of these fields is required to enter a client correspondence into the project history.
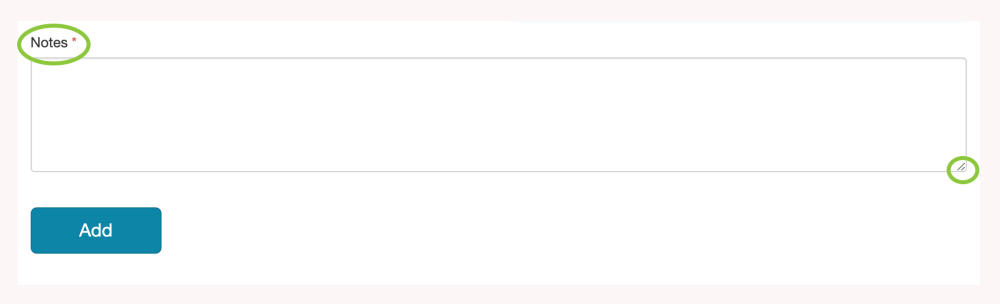
d. The Notes
The notes field is where you can record (or cut-and-paste) the contents of the correspondence. Up to 4000 characters are allowed.
To be able to view all of the information that has been entered in the Notes field, RS Studio allows you to resize this window. To change the size of the Notes field, left-click on the lower right-hand corner of the window. While holding down the left mouse button, drag the window to the desired size with your mouse or touchpad.
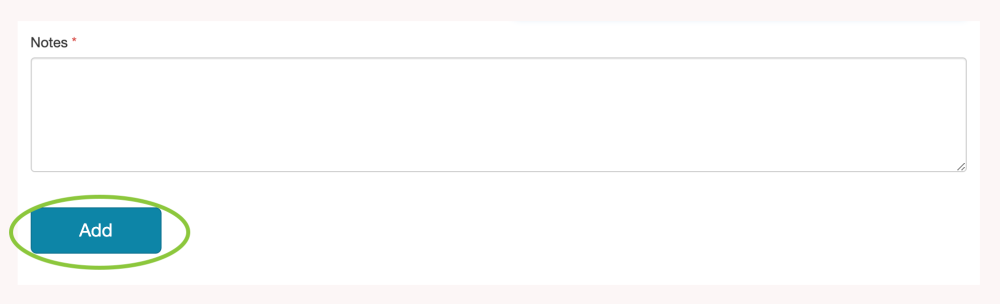
4. Add Correspondence
Once you have completed the required and desired fields, click the Add button to place your correspondence record in the Project History.
You will be taken back to the Project History page, where your correspondence record will appear.
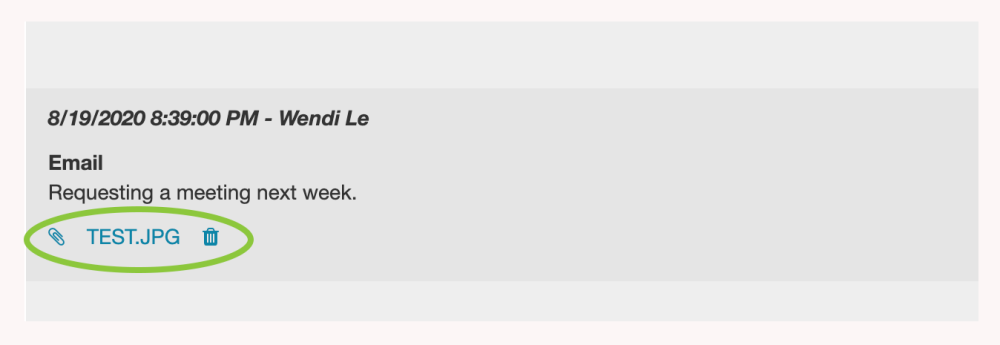
5. Attaching Files to Correspondance
If there are files that you’d like to attach to your correspondence record, this can be done quickly from the Project History page. In the upper right-hand corner of each correspondence, you will find a toolbar. Click on the “up” arrow to select a file to attach. Current file types that are accepted by Reel-Scout™ RS Studio (“RS Studio”) are Adobe Acrobat (PDF), MS PowerPoint (PPT), MS Excel (XLS), MS Word (doc), and JPEG Image Files (JPG or JPEG).

Your added file will now appear as a clickable link within the correspondence block on the Project History page.
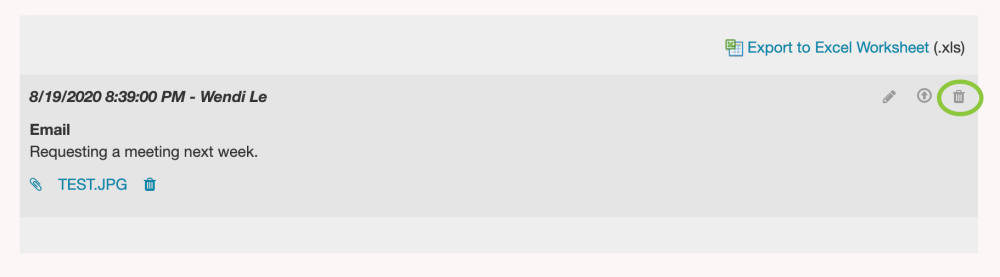
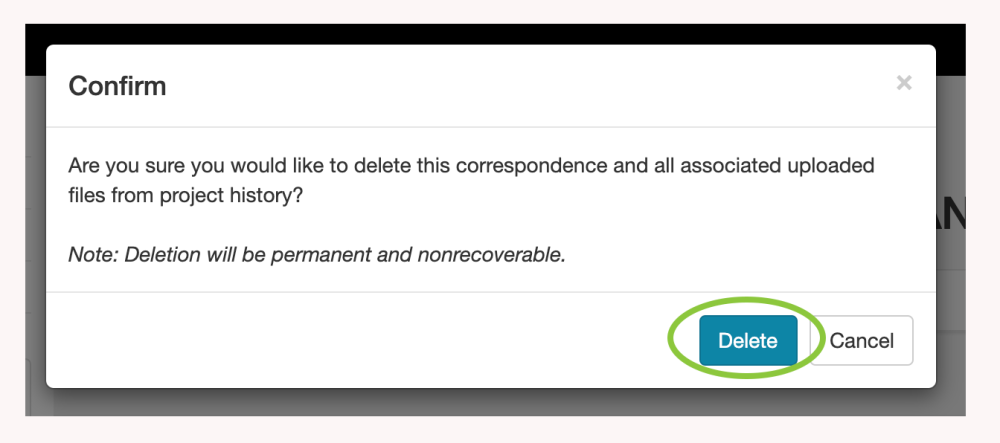
5. Delete a Correspondence
To delete a correspondence note, click the trashcan icon and confirm ‘Delete’ when asked to verify.

Contact Reel-Scout
If you experience any problems or errors, please fill out this form. We will get back to you shortly.
Post your comment on this topic.