
Once your “Location Details” page has been completed, you can add photos of the location. Each photo image must be saved in JPEG format. General resolution and sizing standards for studios are:
- 2560 × 1600 resolution (or higher)* for large size web browsing (max allowable 3840 pixels)
- File size between 1 MB – 3 MB* (max allowable 15 MB)
- 300 dpi (or higher)
- JPEG compression = 10 maximum quality
Before uploading photos to your location file, ensure that your images are accessible for use. Files can be uploaded from a hard drive, shared drive, CD-ROM, or flash drive. Images that can be uploaded to RS Studio include digital photos, digital photos that have been stitched together with a software program, and scanned photos.
Here is a quick video tutorial on How to Add and Edit a Location Photo:
Upload Photos
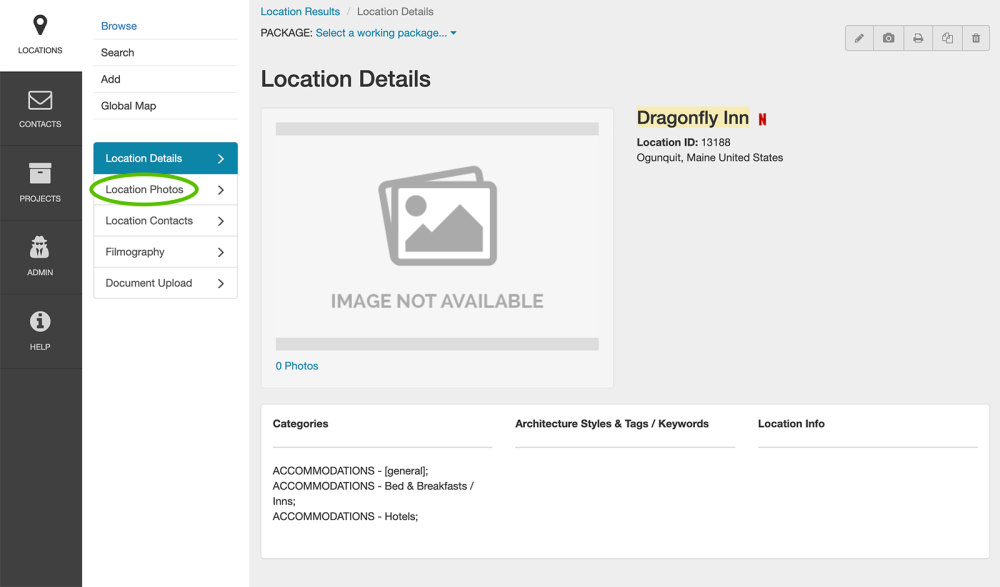
Once you’re in Location Details, clicking on the Location Photos section in the Locations sub-menu will take you to the Location Photos page.
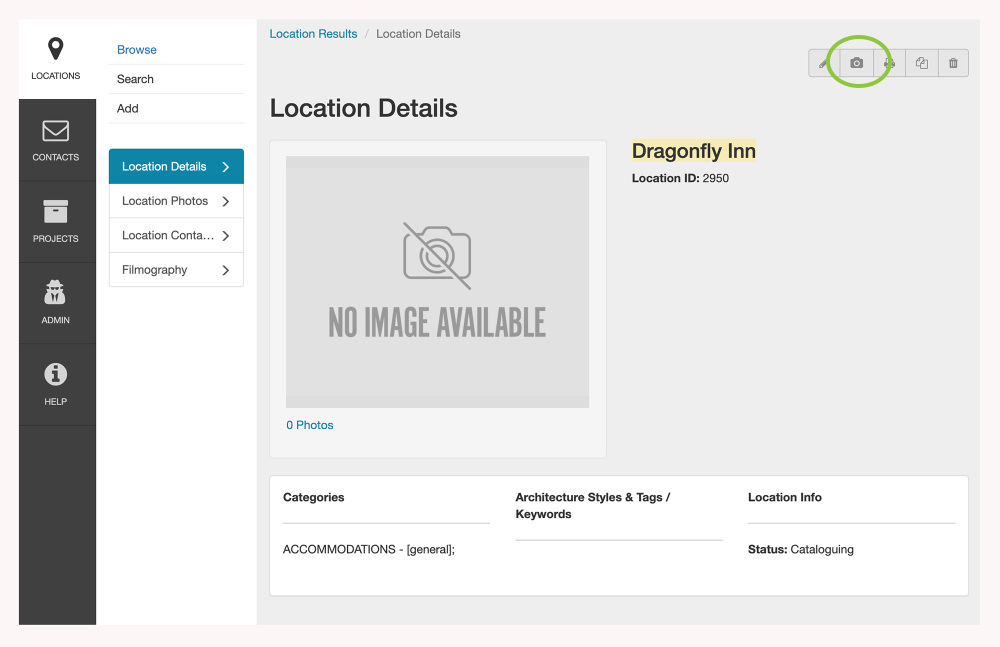
* You can also use the Upload (camera) icon in the upper right-hand corner toolbar to navigate to the Location Photos page.
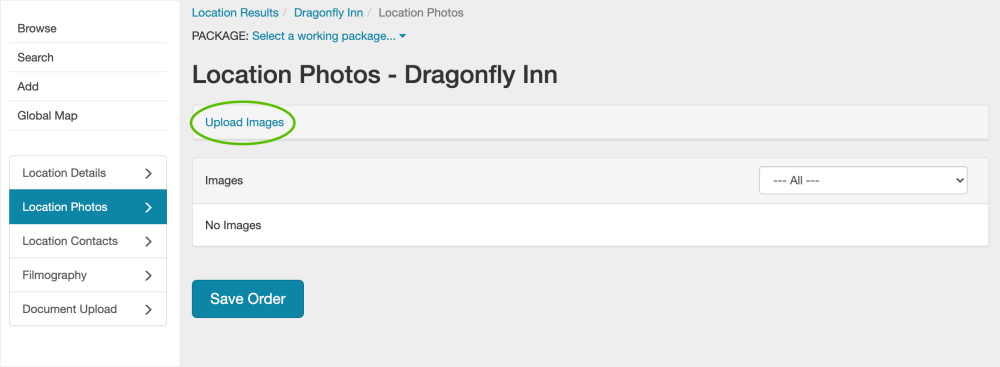
Then click on Upload Images.
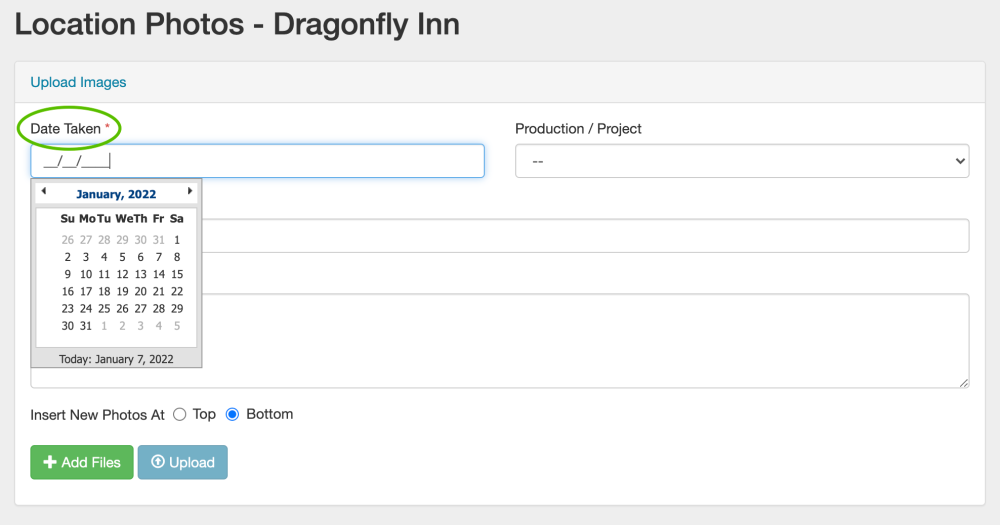
Once you have clicked Upload Images, four fields will be shown in which you can document information about your image: Date Taken, Production/Project, Photo Credit and Description / Notes.
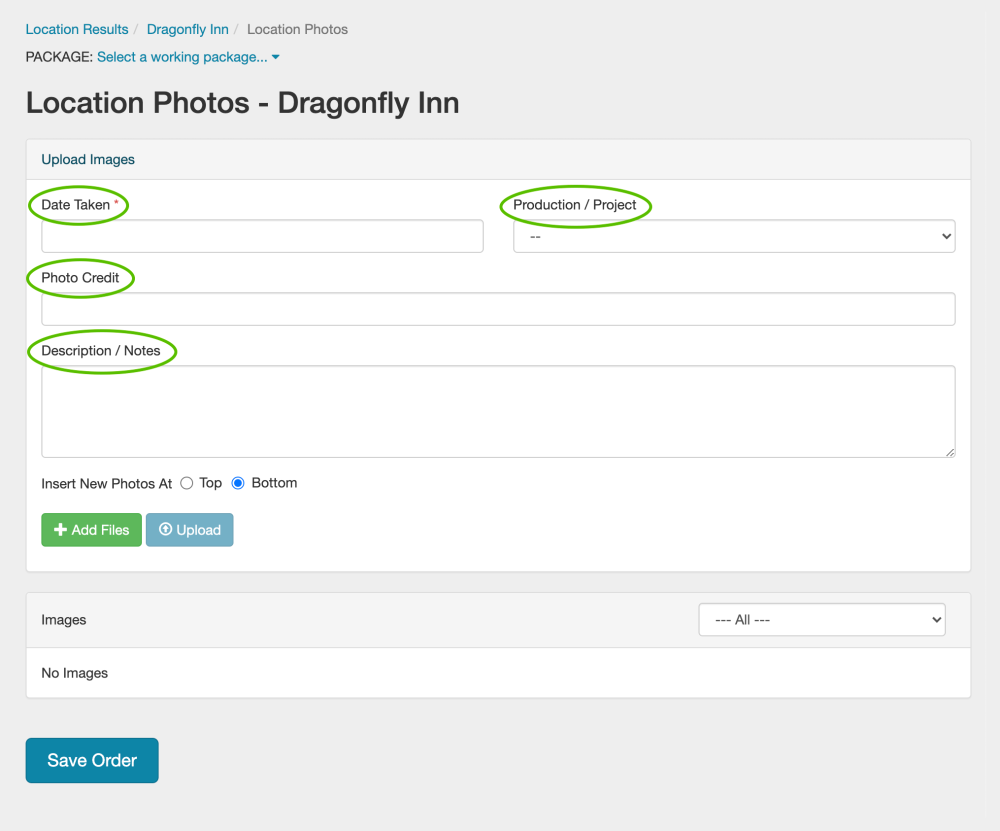
a. Date Taken
Date Taken is a required field. Clicking the Date Taken box will allow you to select a date from the calendar. Alternatively, you may enter the date manually as MM/DD/YYYY.
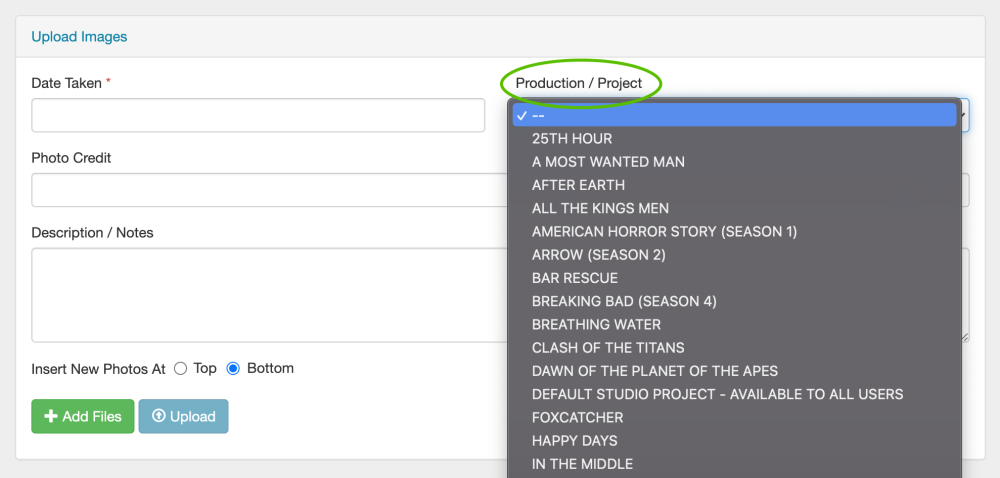
b. Production/Project
The Production / Project field is a drop-down menu of choices. Alternatively, you may begin typing, and matching projects will appear as you add letters.
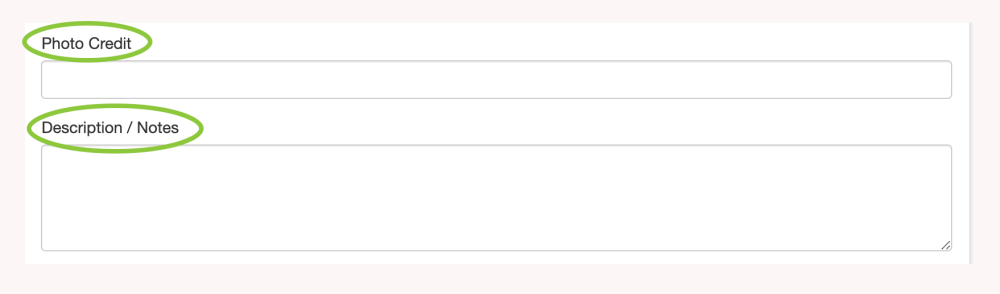
c. Photo Credit & Description / Notes
The Photo Credit and Decription/Notes fields are free-form fields.
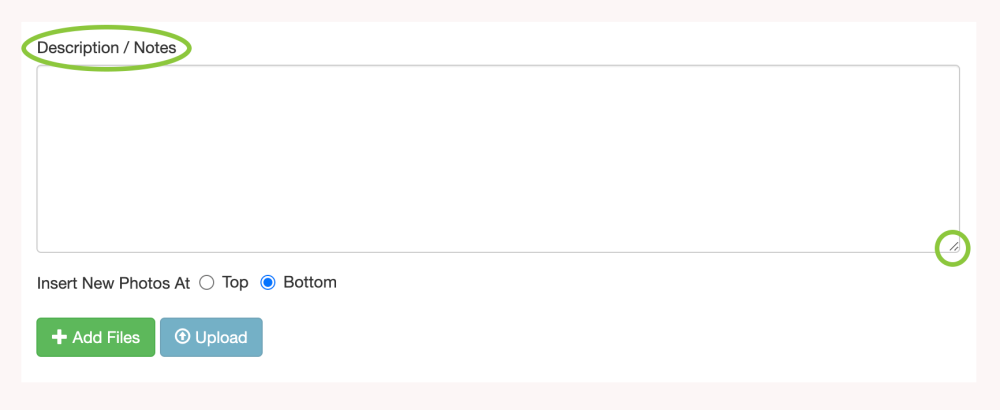
To allow you to see all of the text that has been entered in the Description / Notes field, this window can be expanded. To change the size of the window, left-click on the bottom right-hand corner of the window. Holding the left mouse key, drag the window with your mouse to the desired size.
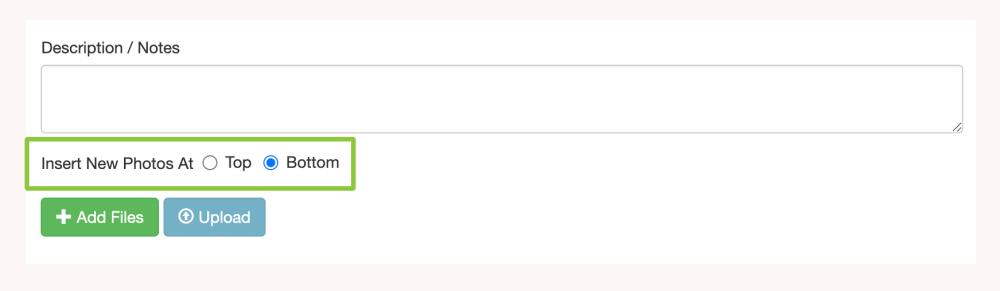
c. Insert New Photos
The Insert New Photos At field is a checkbox where you can choose to have your photos inserted at the top or bottom of the page. Only one selection is permissible.
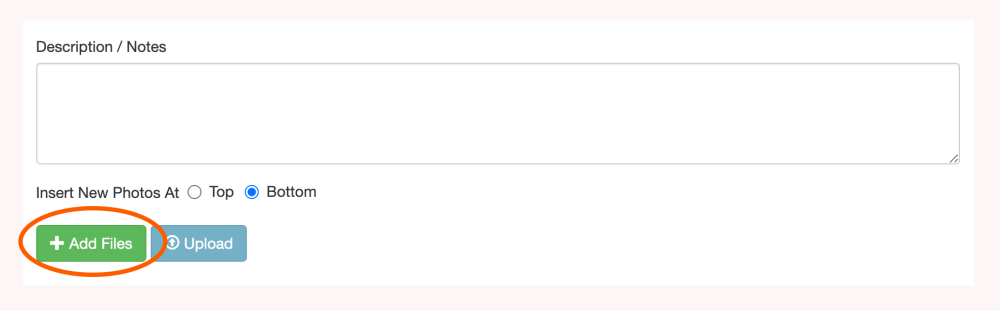
d. Add Files & Upload
Click on Add Files to add all of the images of the location you would like to upload. Images that you have added appear in the list below the Add Files and Upload action buttons.
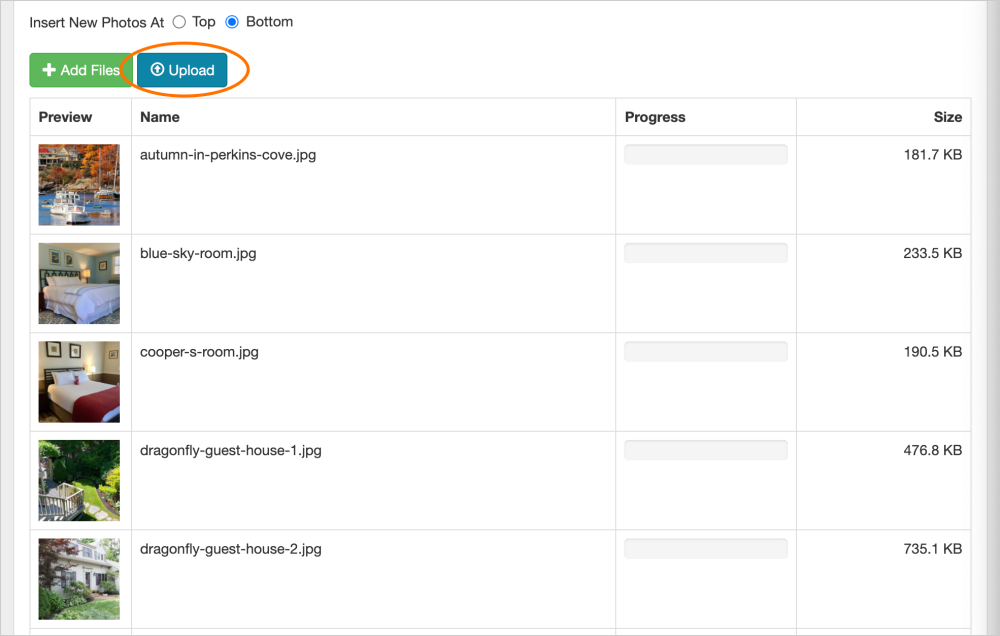
Once you have selected all of the images that you wish to add, click Upload to attach them to your RS Studio location file. Progress bars will be shown for each image and the entire upload.

Contact Reel-Scout
If you experience any problems or errors, please fill out this form. We will get back to you shortly.
Post your comment on this topic.