
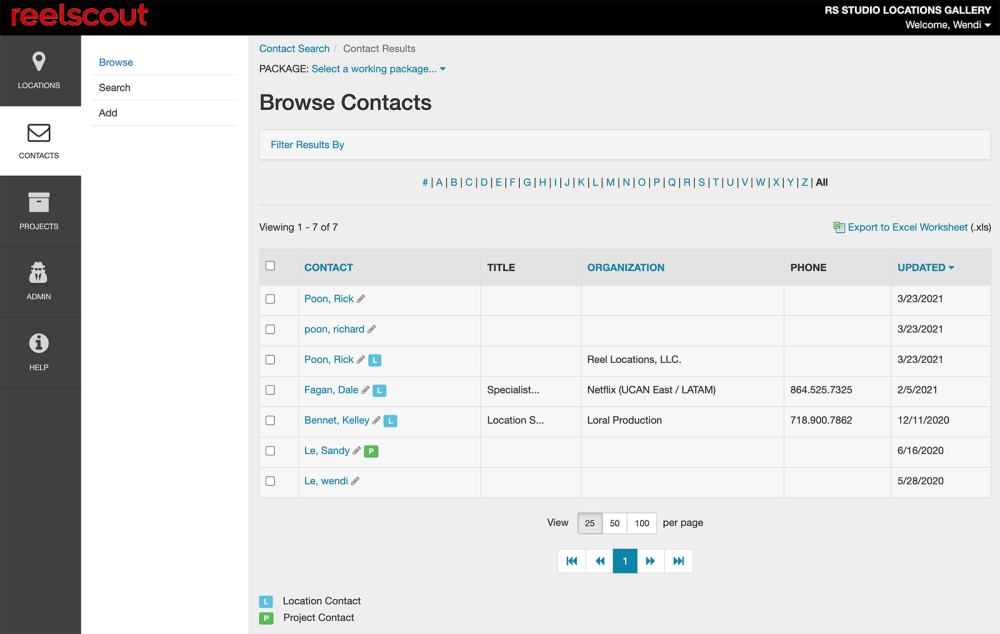
The Browse Contacts screen has several features that make finding the right people fast and easy. Also, you can edit contact information from this page.
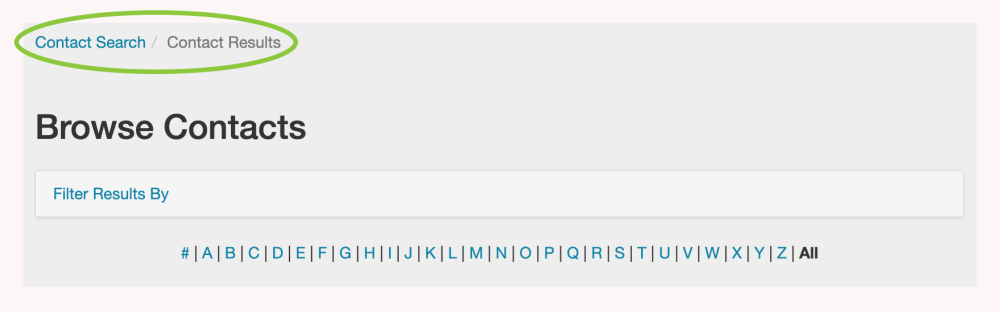
As you navigate through the Contacts Module, breadcrumbs at the top of the page will help remind you where you are.
While you are on the Browse Contacts page, each contact’s name will turn a darker shade of blue when you hover over it with your mouse cursor.
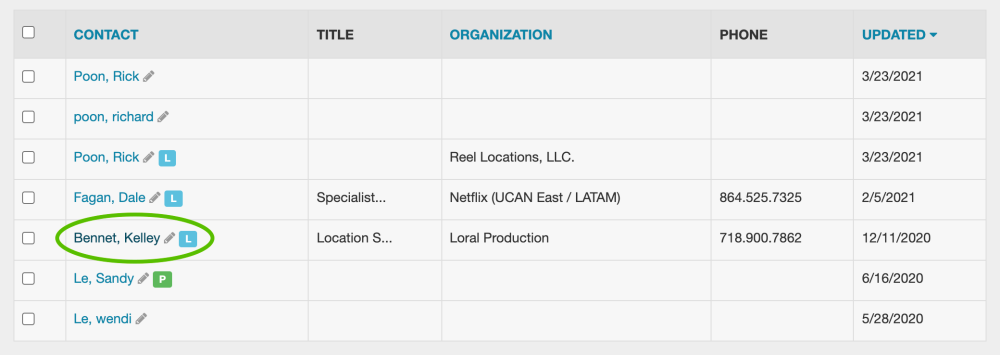
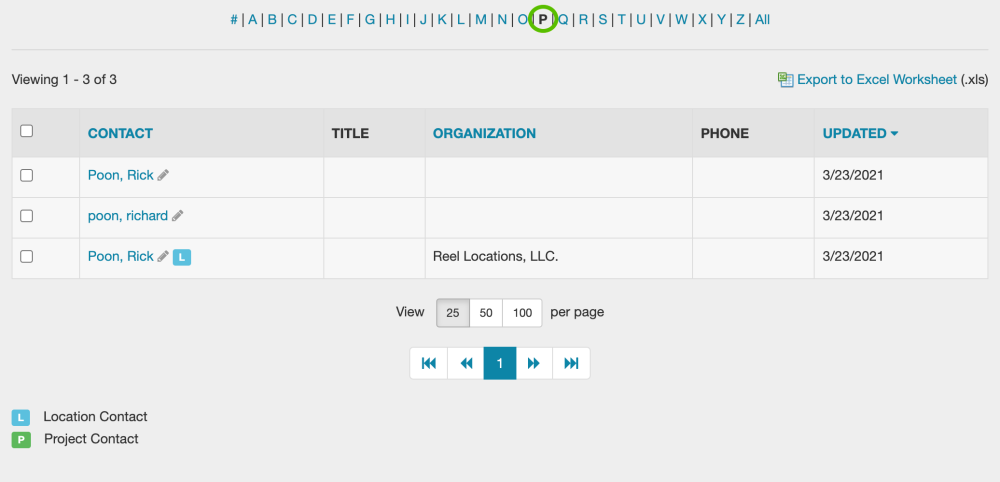
By clicking on the contact’s name, you can view or edit the contact’s information. Additionally, two symbols help you to quickly evaluate the type of contact that you are looking at. Location contacts have an “L” next to their name, while project contacts are noted with a “P”.

When you click a contact’s name, you will be taken to that individual’s Contact Details page.
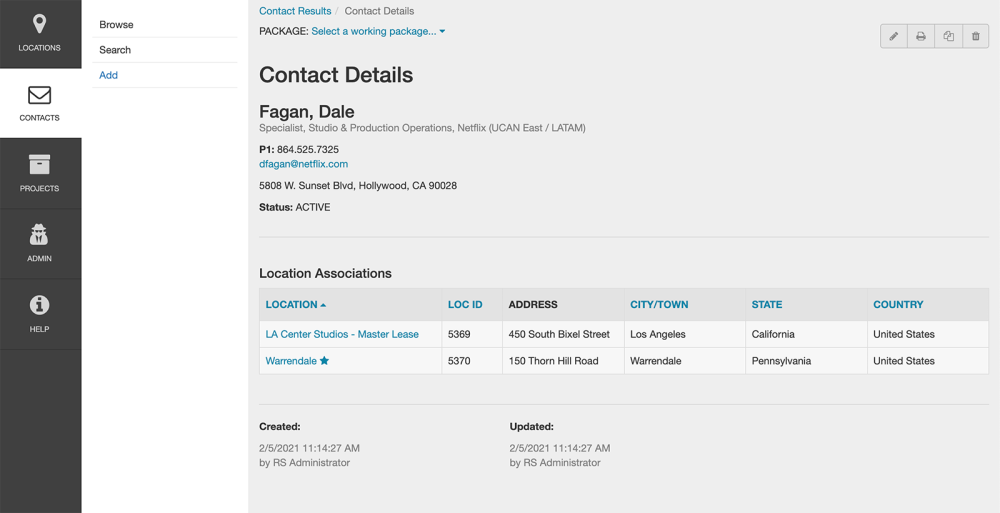
Locations and projects that the contact is associated with appear at the bottom of the Contact Details page.

* You can quickly edit a contact by clicking the Edit (pencil) icon next to the contact name. Clicking the pencil icon will take you directly to the Edit Contact page.
This interactive display has three filtering tools that allows you to sort locations quickly. Additionally, the studio can take action regarding a location on this page.
1. Search by Alpha
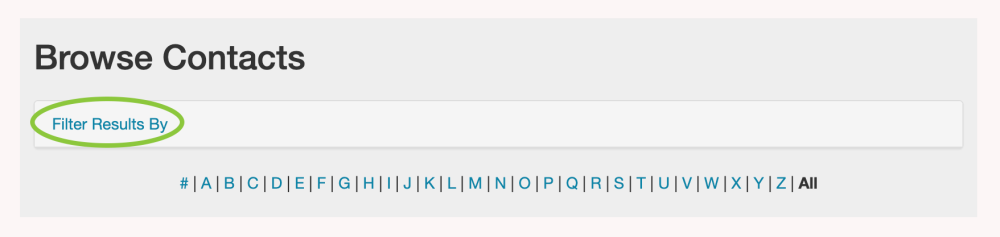
Contacts are sorted in the RS Studio database by last name. Clicking on the letters displayed on the Browse Contacts page will reveal those contacts whose last name begins with that letter. These results will be sorted in alphabetical order. Clicking All will list all of the stored contacts in alphabetical order.
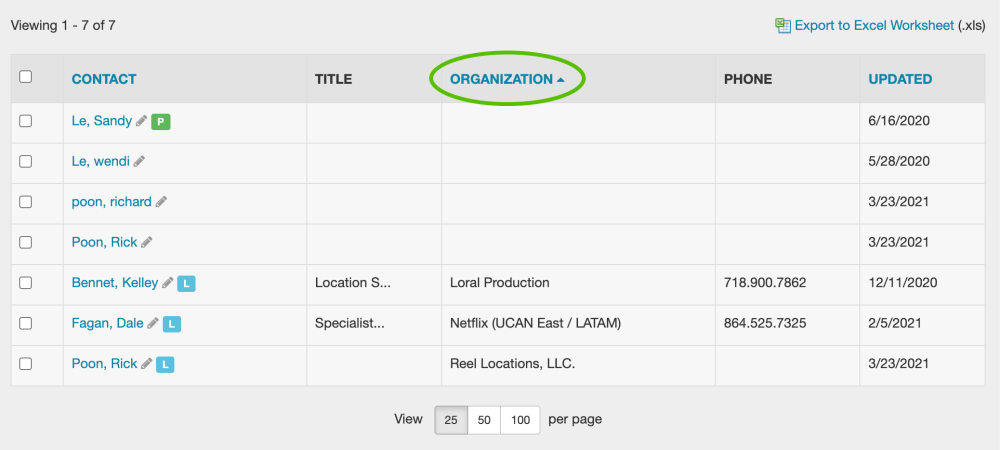
2. Sort Results
The listing of contacts displayed can be sorted alphabetically by contact last name and organization. You can also sort the list of contacts the date the contact was last updated. Clicking on Organization will reveal a triangle to the right of the header. Click on the triangle to cycle between alphabetical and reverse alphabetical listings of contacts by organization name.
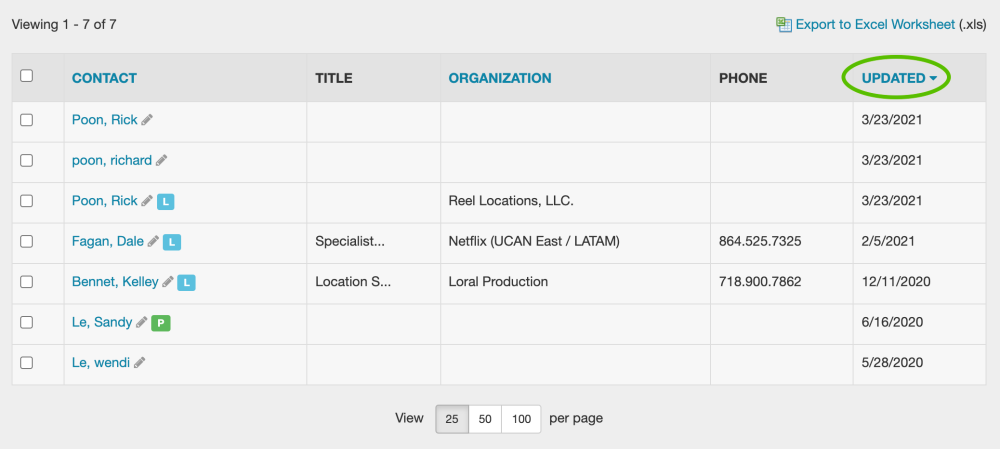
You can also sort the Browse Contacts page by the date that the contact was last updated. To do this, click on the Updated header. A blue triangle will appear next to the header that will allow you to cycle between most and least recent update order.
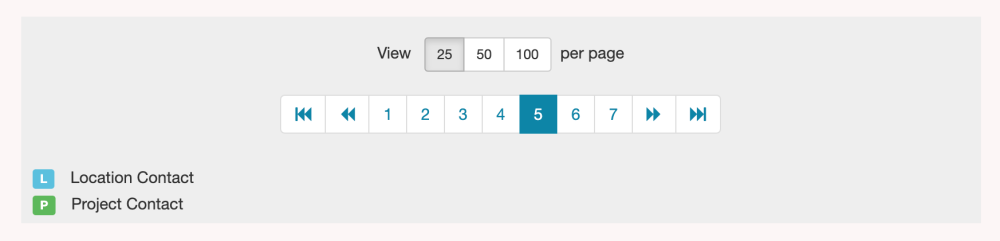
3. Page Number, Forward/Backward, Beginning and End Selections
By scrolling to the bottom of the page, you can use the page navigation tool. The Browse Contacts page you are currently on is highlighted in blue. You can choose to view a particular page by clicking the page number on the scale. The double triangle symbol will allow you to move one page forward or one page back. Clicking the double triangle with a line symbol will take you to the first or last page of the list. You can also select how many contacts are displayed on each page by clicking on the number (25, 50, or 100).
4. Filter Results By
To further refine the list shown on the Browse Contacts page, you can click Filter Results By at the top of the screen.
The Project and Location fields are free-form fields.
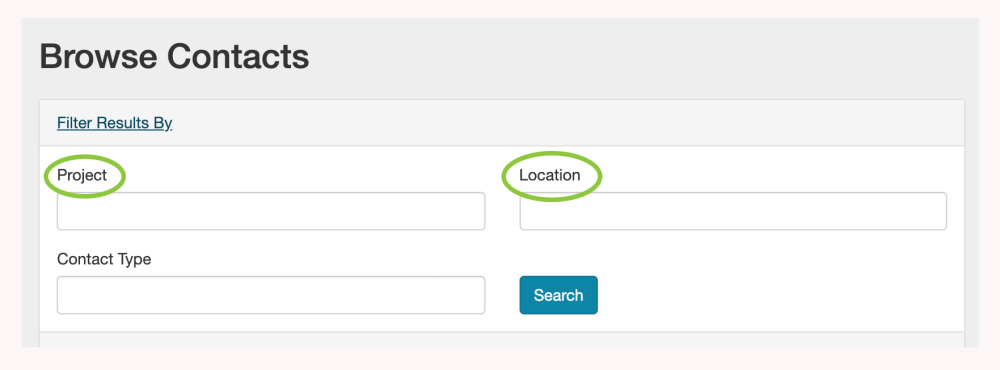
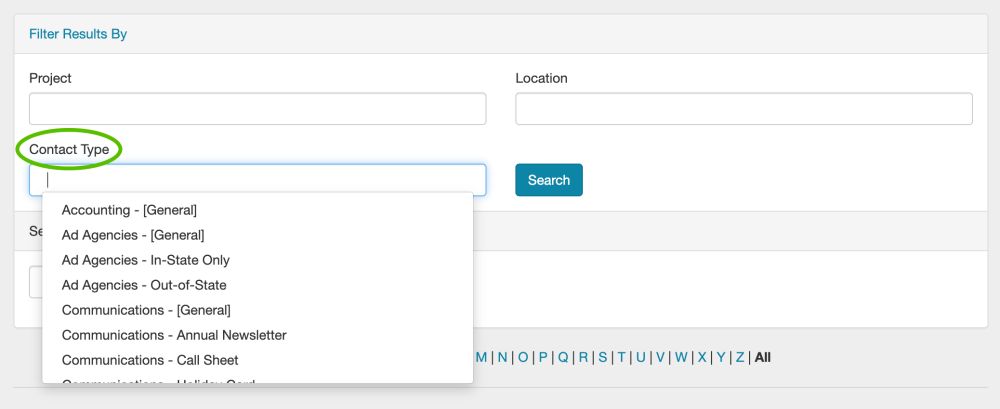
Click on the Contact Type to view a customized drop-down menu of options. Alternatively, you can begin typing the type of contact and RS Studio will display matching choices. If you need to remove a contact type from the field, just click the “X” next to the entry. There is no limit to the number of contact types that you can select.
5. Select Action Drop-Down
When you click Filter Results By, you will also reveal a Select Action field. This field allows you to assign types or groups to contacts you have selected with the checkboxes in the Browse Contacts list. Additionally, you can also unassign contacts from groups using this menu.

When you’ve chosen an action in the Select Action field, a second drop-down menu of options will appear to the right. Only one option may be selected. Click the Go button to save the changes to the selected contacts.


Contact Reel-Scout
If you experience any problems or errors, please fill out this form. We will get back to you shortly.
Post your comment on this topic.