
1. Location Contact Module
Here’s a quick video tutorial on how to add and edit a location contact:
To add a contact for your location, begin by searching for the location that you wish to edit. For more information, see Browsing Locations and Finding a Specific Location.
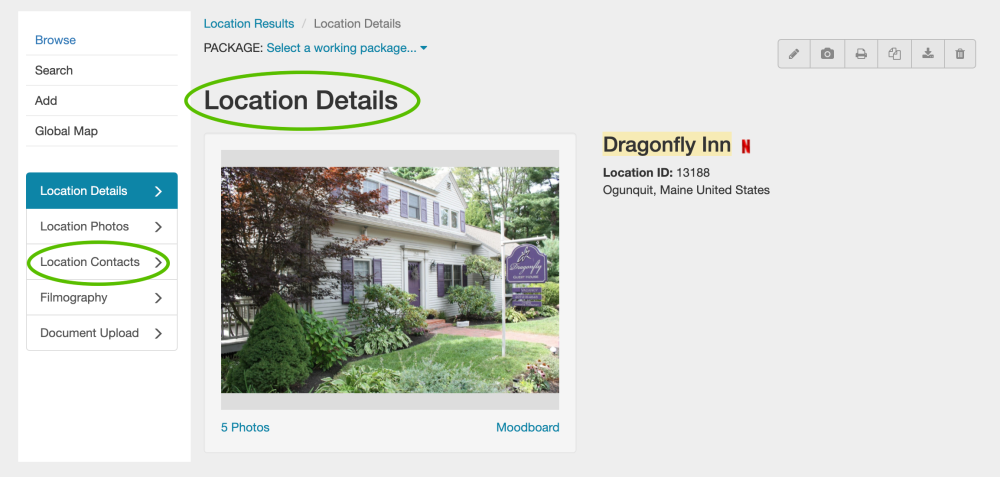
Once you have opened the location that you wish to add contact information to, click the Location Contacts sub-menu on the left-hand side of your screen.
2. Existing Contact(s)
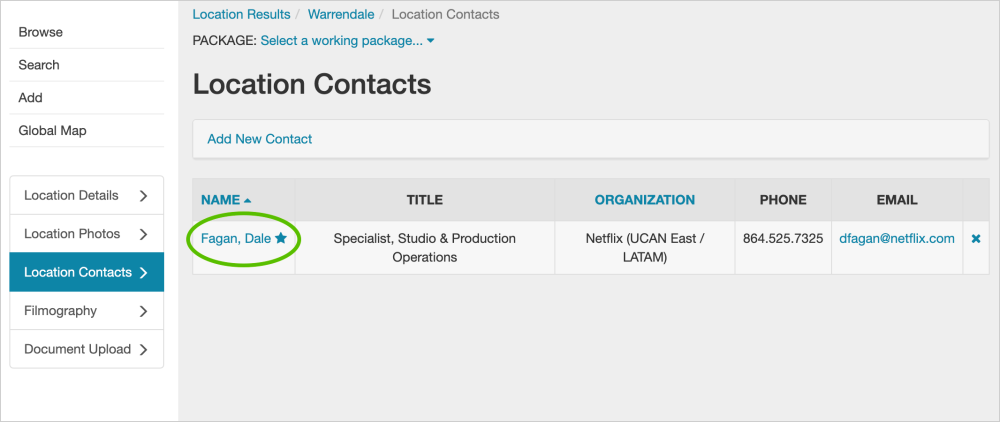
Begin by examining the Location Contacts page for the presence of existing contacts. These will be listed below the Name, Title, Organization, Phone, and Email headers. In our example, there is currently one contact stored for this location.
3. Adding a Brand New Contact
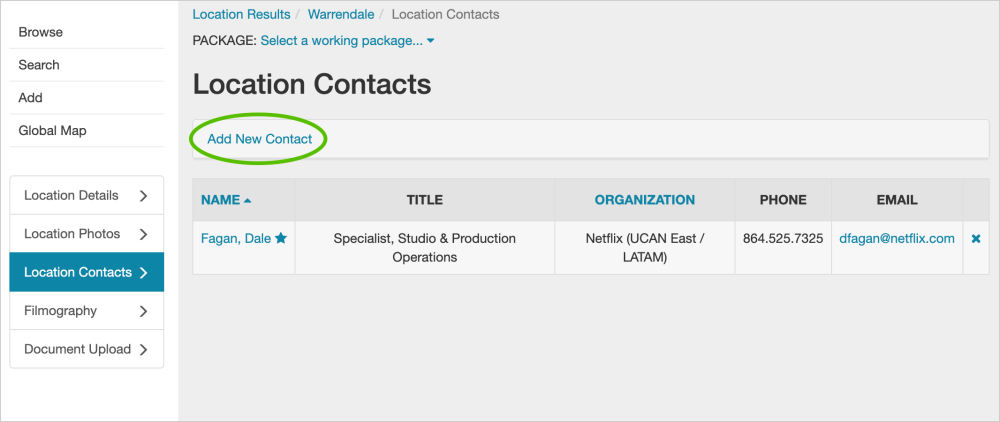
Once you’re in the Location Contact module, you can add a contact by clicking on the Add New Contact link.
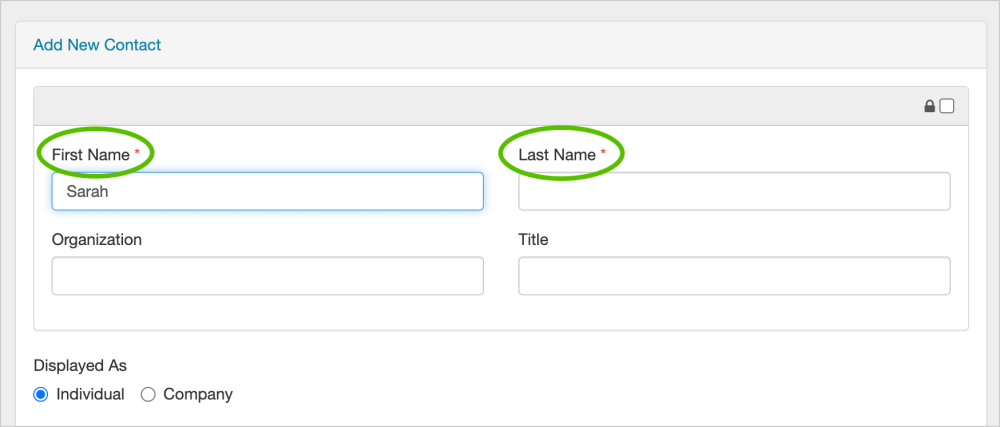
Once you click Add a New Contact, a Location Contact form will be opened. The only required inputs are the first and last names. Not only will the contact information that you enter be applied to this location, but the data will also be applied to a generic RS Studio contact database. This will allow the contact information to be easily retrieved if it is needed for another project or location.
Note that if the contact exists in the RS Studio database, the name of the contact will appear in a selectable drop-down menu as you enter the First Name or Last Name.
a. Organization and Title Fields
The Organization and Title fields are free-form text fields. These are helpful, but not required.
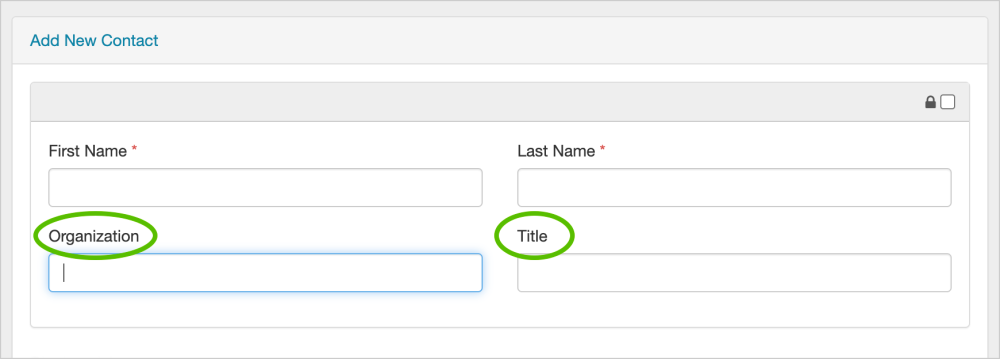
The buttons below the Organization and Title fields allow you to select whether you want the contact listed individually or attached to a company contact.

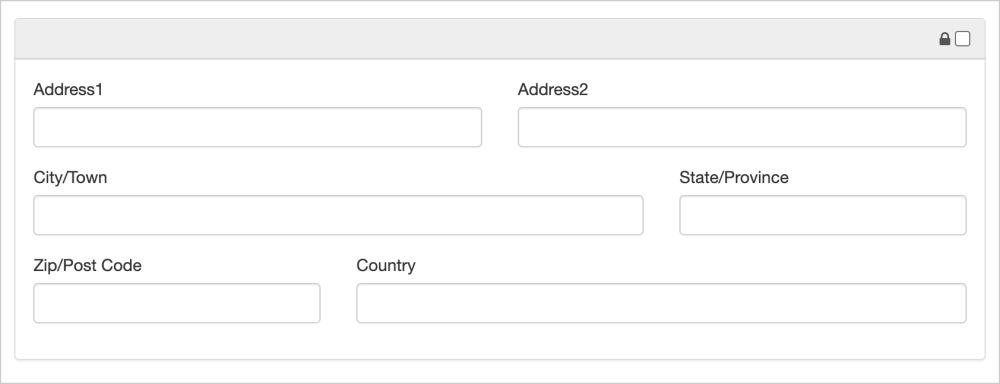
b. Address Fields
The Address 1, Address 2, City/Town, State/Province, Zip/Post Code, and Country fields are all free-form fields. Both domestic and international address information can be accommodated.
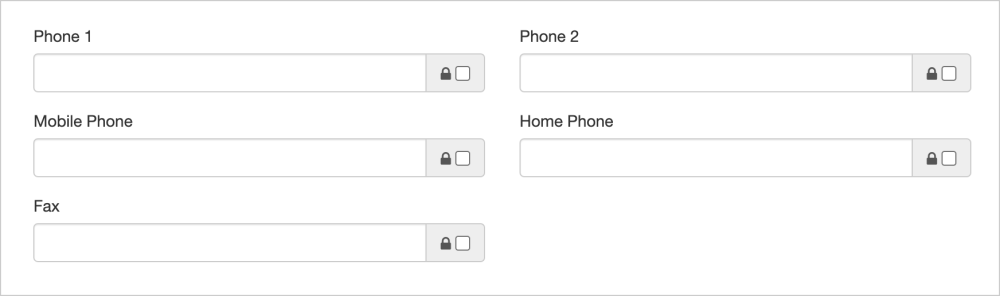
c. Telephone and Fax Fields
The Phone1, Phone2, Mobile Phone, Home Phone, and Fax fields are free-form fields to allow for both US-based and international phone numbers. Please apply appropriate US-based phone number standards.
d. Email Fields
The Email 1 and Email 2 boxes are both free-form text fields.

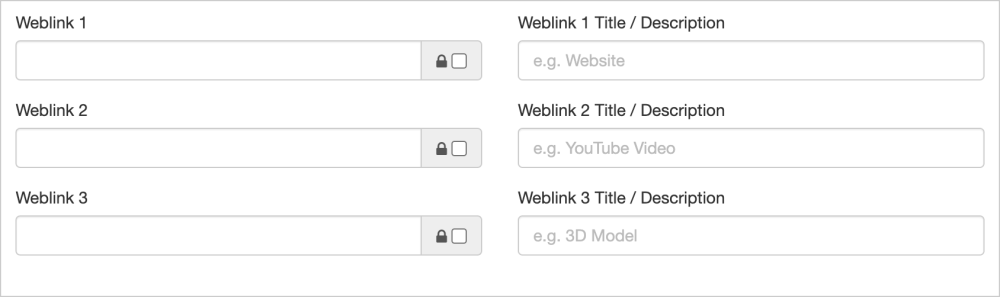
e. The Weblink Fields
The Weblink fields are web-oriented fields that will automatically be created into a hyperlink once the Add Contact button is clicked. You do not need to enter in ‘http://’ to ensure that RS Studio recognizes the hyperlink field. The ‘http://’ will automatically be added to the field value to ensure that the link works when clicked in view mode. Be sure to add a description of the weblink in the Weblink Title/Description Fields
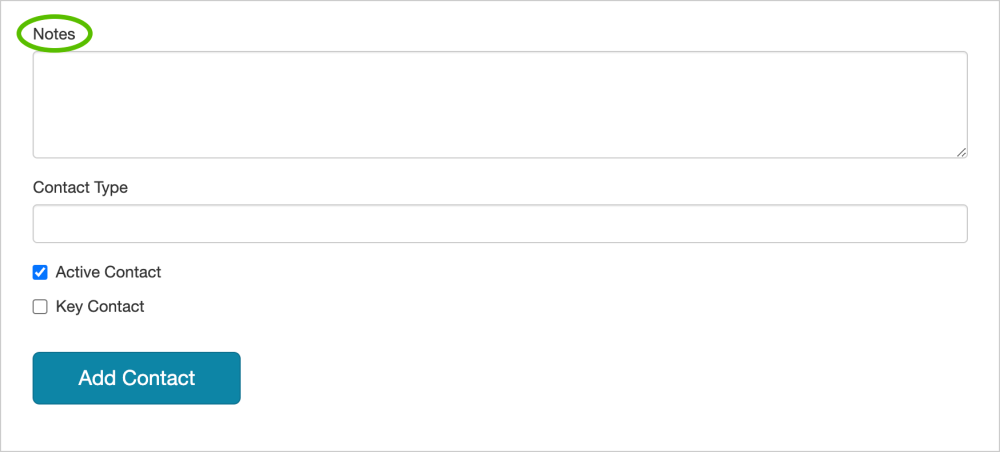
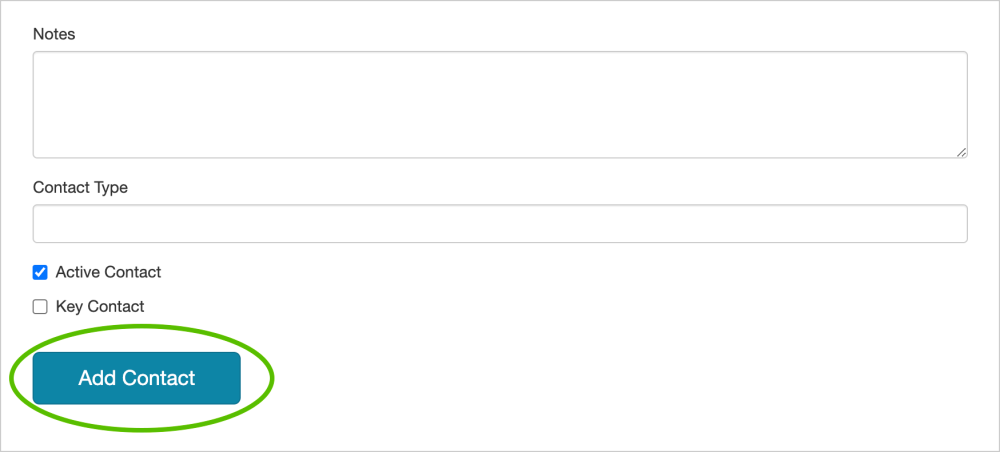
h. The Notes Field
The Notes field is a free-form text field with a 4000 maximum character limit. This field should be used sparingly for non-critical data regarding the contact. This field is fully indexed and searchable.
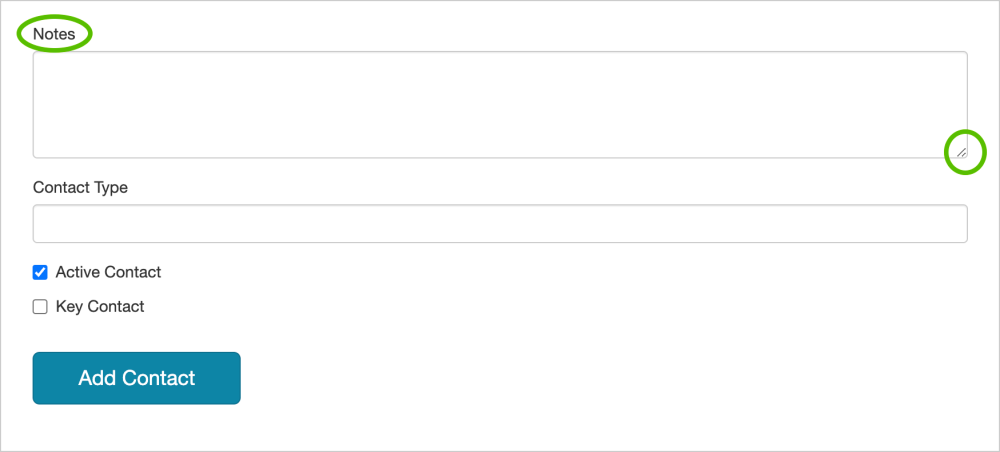
So that you can view all of the text that has been entered, the Notes field window can be expanded. Left-click on the hashed lines in the lower right-hand corner of the Notes field. While holding down the left mouse button, use your mouse or touchpad to drag the window to the size that suits your needs.
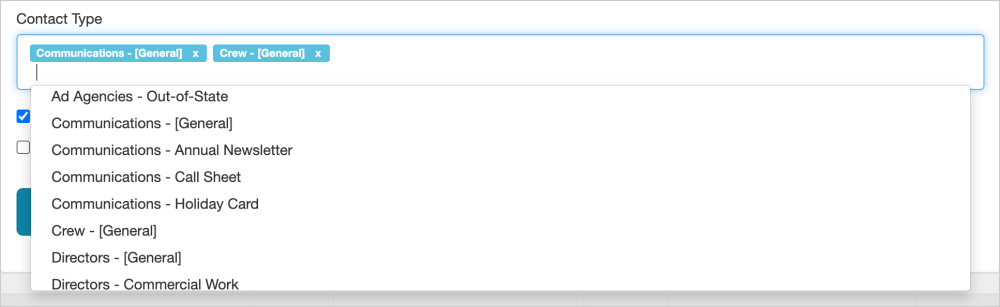
i. The Contact Type Field
The Contact Type field is a multi-valued selection list that includes values customized for your studio. These contact types are used to categorize and group various types of contacts to make searches more efficient. There is no limit to the number of contact types that can be added. To remove a contact type, click the “X” next to the type title in the Contact Type field.
k. The Active and Key Contact Check-Box
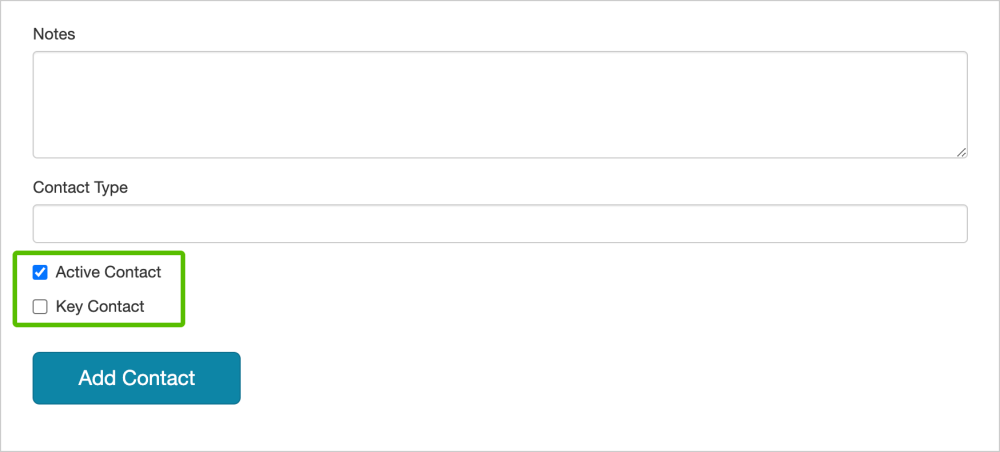
The Active Contact checkbox defaults to being checked. This field indicates whether this contact person is still effectively in the role/position with the designated organization. It is recommended that all contacts remain in the database for historical point-in-time referencing. The Key Contact box indicates that the person is in a lead decision-making position.
2. Add Contact Button
Once you are finished with entering all the data that applies to your contact, click the Add Contact button.
3. Remove Contact
The contact now appears on the Location Contact page below the Add New Contact section. The star indicates that this is a Key Contact. An “X” button appears beside the contact name to allow the user to remove the relationship between the location and that particular contact.
If you wish to remove a contact, simply click on the “X” to remove it from the location.


Contact Reel-Scout
If you experience any problems or errors, please fill out this form. We will get back to you shortly.
Post your comment on this topic.