
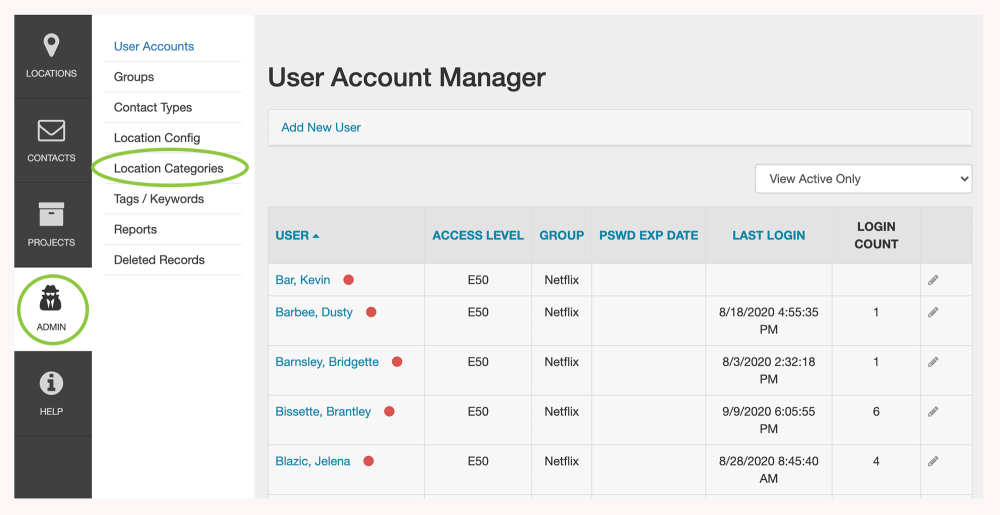
The Admin module allows your studio (if it has been given this functionality) to customize your location categories and subcategories. To edit these values, begin by entering the administrative module by choosing Admin from the menu bar. Once you are in the Admin module, click on Location Categories in the sub-menu.
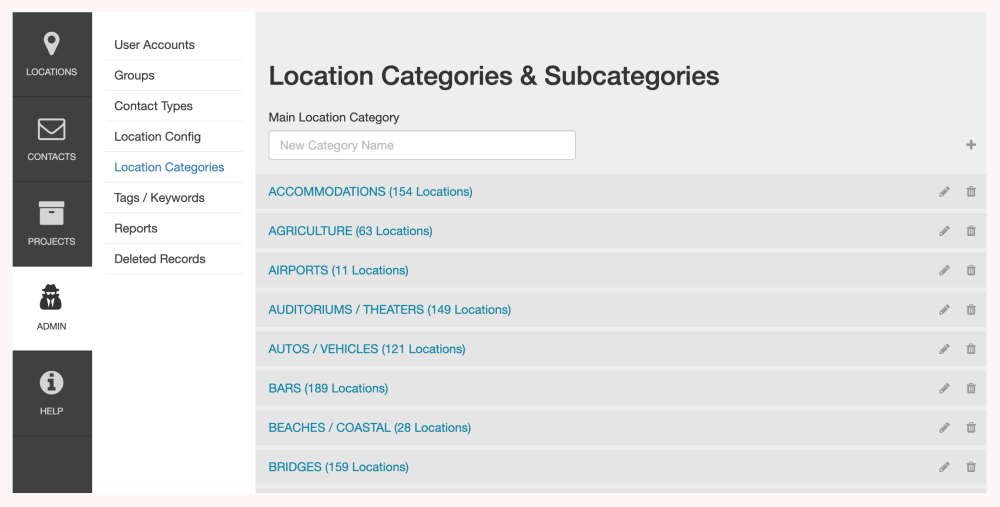
1. Viewing Location Categories and Subcategories
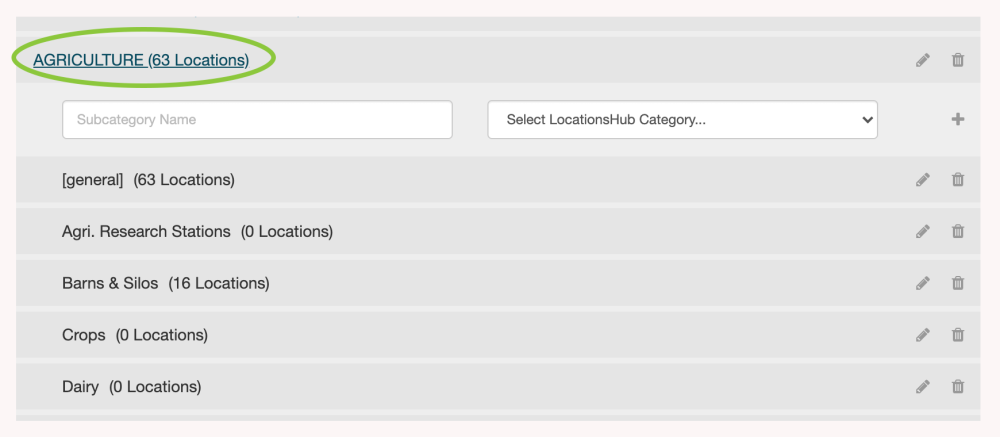
The Location Categories & Subcategories page features a list of all of your main location categories in alphabetical order. Be sure to scroll down to see them all.
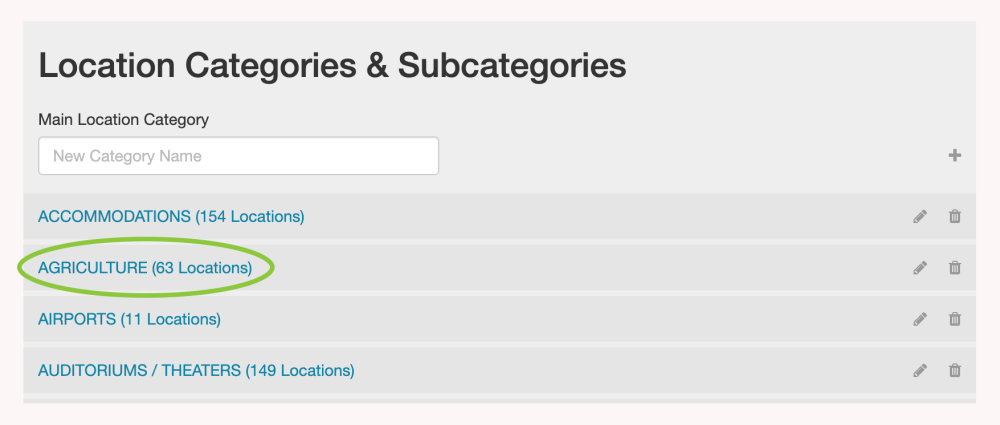
To view the subcategories, click on the main category that you are interested in. For example, “Agriculture.” (See below image.)
The subcategories will appear in black lettering below the main location category that you have selected.
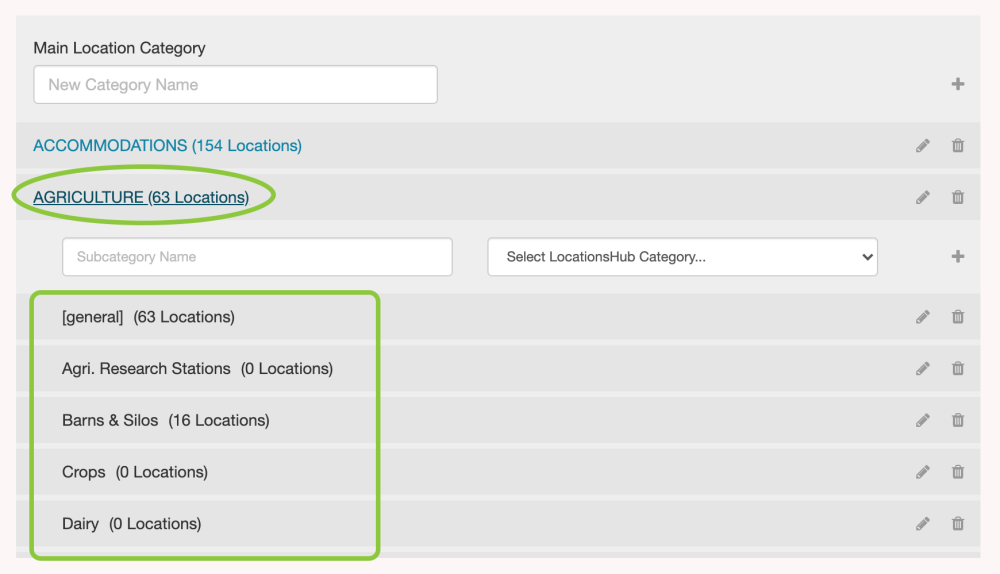
Click the main category title again to collapse the list.
2. Editing Main Categories
To edit a main category, click the Edit (pencil) icon on the right-hand side of the screen.
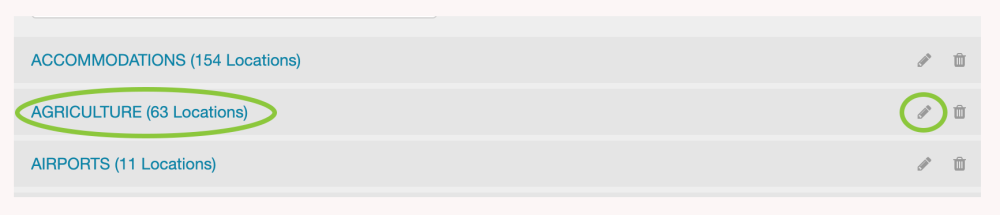
The name of the main category will appear in a white box field. You can change the name of the category here. When you are finished, click the checkmark to save your changes or select the “X” to return to browsing your location categories list.

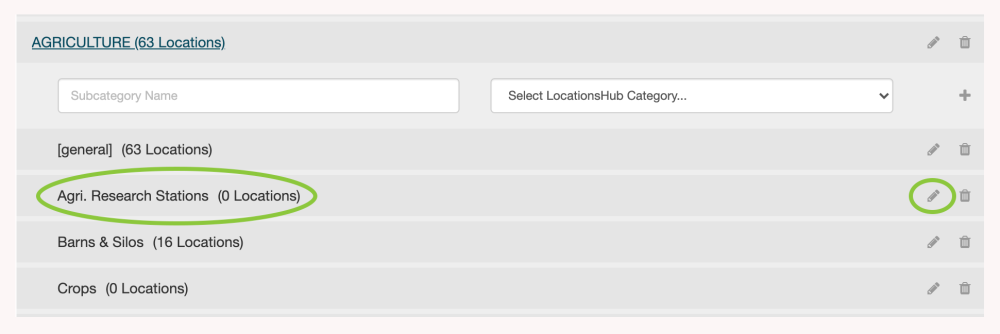
3. Editing Subcategories
A Subcategory can be edited by first clicking the main category in which it resides.

Next to the subcategory you want to edit, click the Edit (pencil) icon on the right-hand side of the screen.
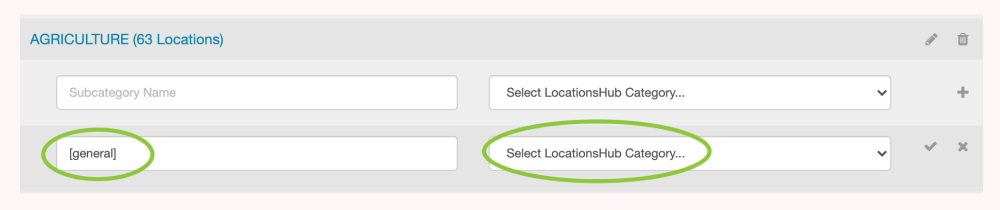
In the white boxes, you can now enter a new subcategory name and/or choose a new LocationsHub Category.
4. Adding New Main Location Categories
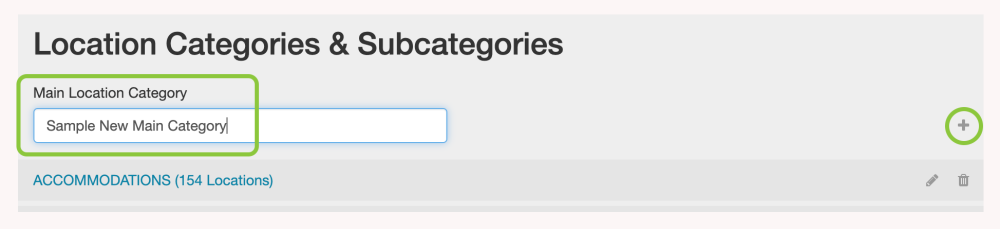
To add a new main location category, simply enter the title you wish to use for your new category in the Main Location Category field at the top of the Location Categories & Subcategories page. Click the plus sign (+) on the right-hand side of the screen to add it to your list. The page will refresh, and you will see your new main location category listed in on your location categories list.
5. Adding New Location Subcategories
To add a new location subcategory, begin by clicking on the main location category in which the new subcategory will reside.
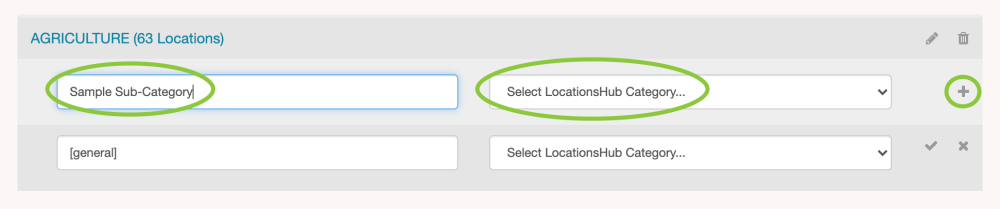
In the Subcategory Name field, enter the title that you wish to give the new subcategory. Next, select the LocationsHub Category that best applies to the subcategory you have created. Click the plus sign (+) to add the new subcategory to your list.
You now see your new subcategory displayed under its parent main category.

6. Deleting Main Location Categories and Subcategories
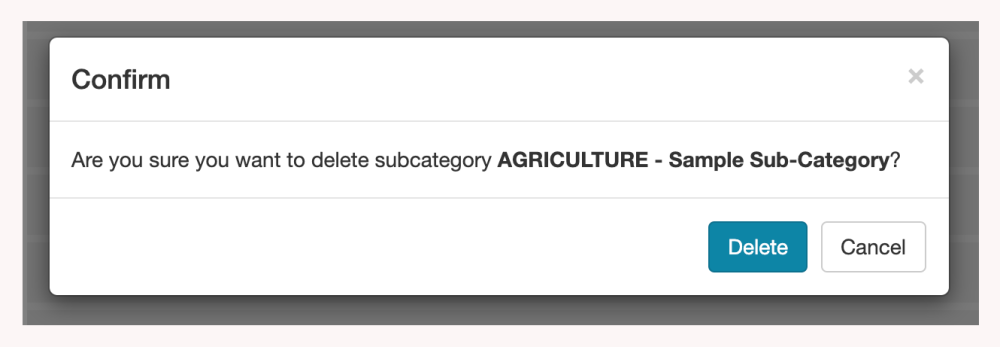
To delete a subcategory, simply click on the Delete (trashcan) icon to the right of the subcategory you wish to remove.

Follow the confirming step, or click Cancel when prompted by RS Studio.
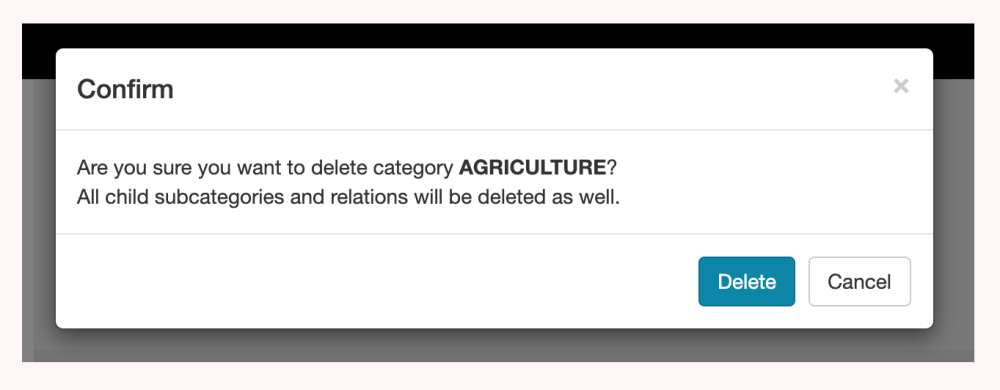
It is important to note that deleting a main location category will remove ALL of its child subcategories, so this should be done with great caution. To delete a main location category, click on the Delete (trashcan) icon on the right-hand side of the screen.

Follow the confirming step, or click Cancel to return to browsing the location categories list.

Contact Reel-Scout
If you experience any problems or errors, please fill out this form. We will get back to you shortly.
Post your comment on this topic.