
Modelers can create sets in two ways in EPC. They can create it by right-clicking in the hierarchical tree or with the “New” button, which we will show you here. For more information on how to create sets with the right-click, please click here.
Creating Sets with the “New” Button
1. Navigate to the  button on the top-right of the EPC WebApp page.
2. After clicking on the button, a drop-down menu will appear with all the modules of the EPC where a new object can be created.
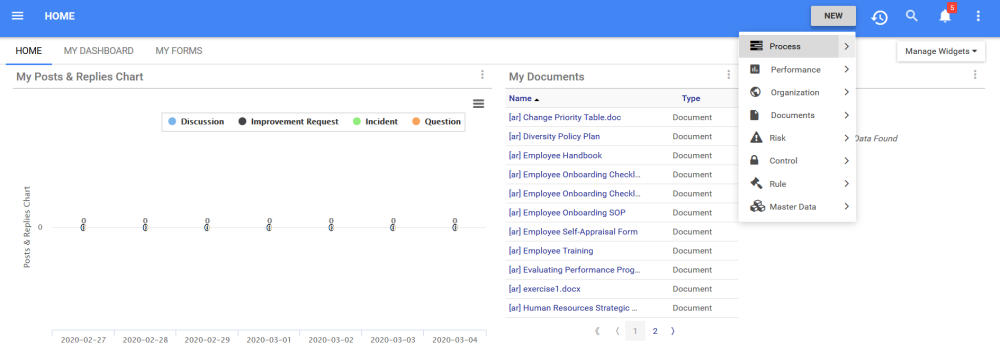
3. Navigate to the module type in which you would like to create a set (In this example, a Document Set) and click on the  icon. Another drop-down menu will appear with the different objects that can be created within the Document Module.

4. Click on the “Set” option to create a new set

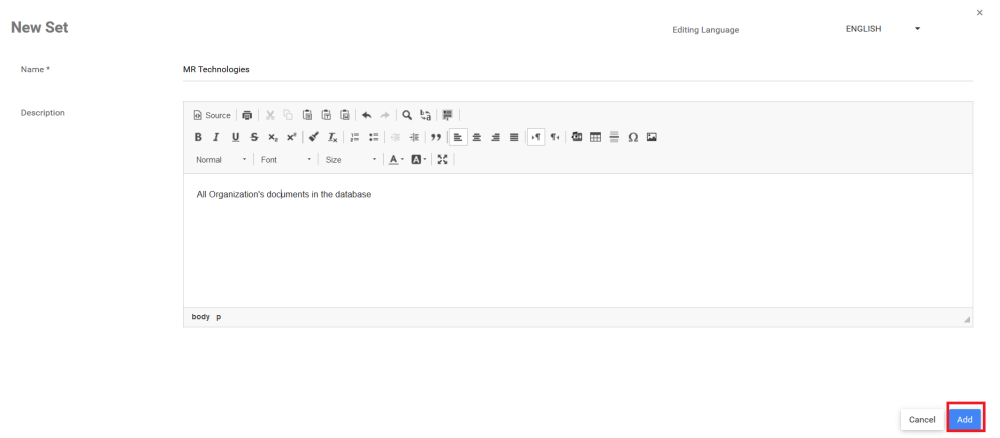
5. The window to create a new Set for the relevant module will appear
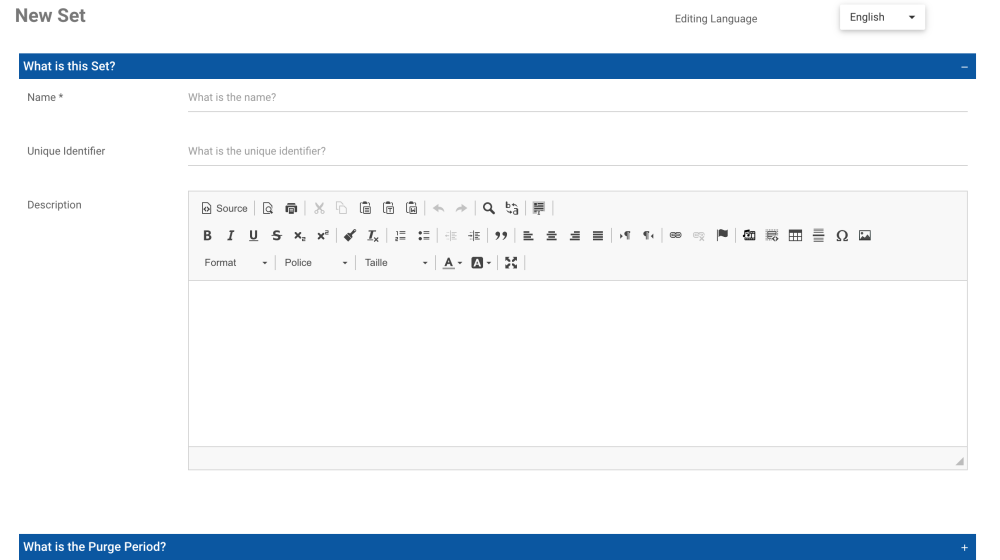
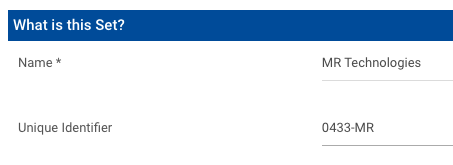
6. Type the name of the Set in the “What is the name?” field. The Name field is mandatory for all objects.
7. A unique identifier can be given to any object in the EPC, but is not mandatory.
8. Type the description of the Set in the Description field. This field is not mandatory, but it is recommended to input a description

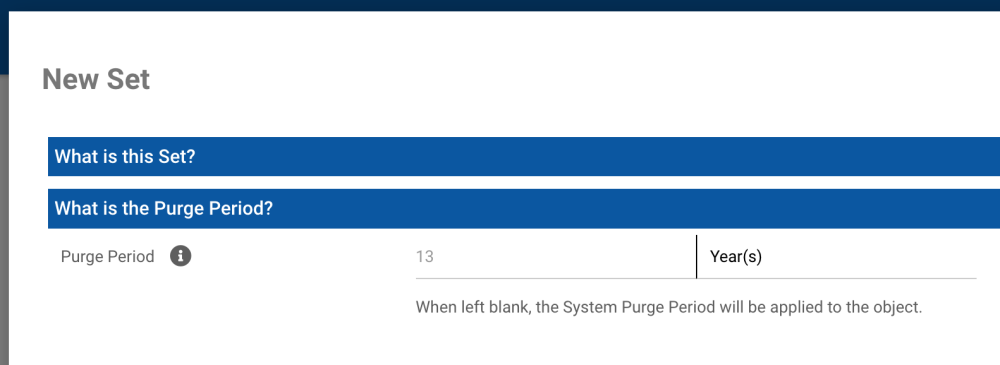
9. In the What is the Purge Period? section, Modelers can specify the number of years that the object will stay in archive after being deleted. For all the information about the purge period, please click here.
10. Click on the  button to finish the creation of the new Set. You will be automaticall redirected to the new set object in the relevant module.
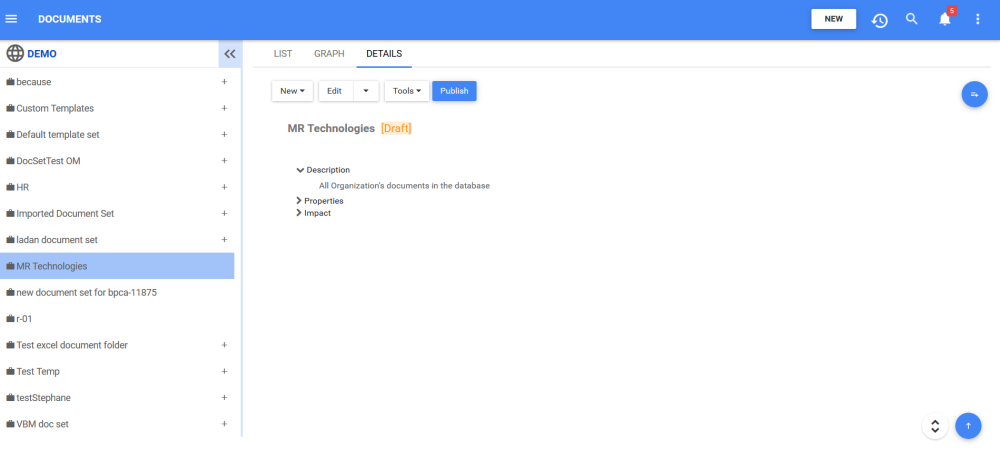
11. The new Document Set “MR Technologies” is now on the Document tree structure. This set is currently a draft. To learn how to publish Document objects, click here.
Need more help with this?
Visit the Support Portal