If you need to call upon another process during the workflow, use the subprocess.
Selecting a subprocess on the design canvas will display its associated properties in the Properties panel.
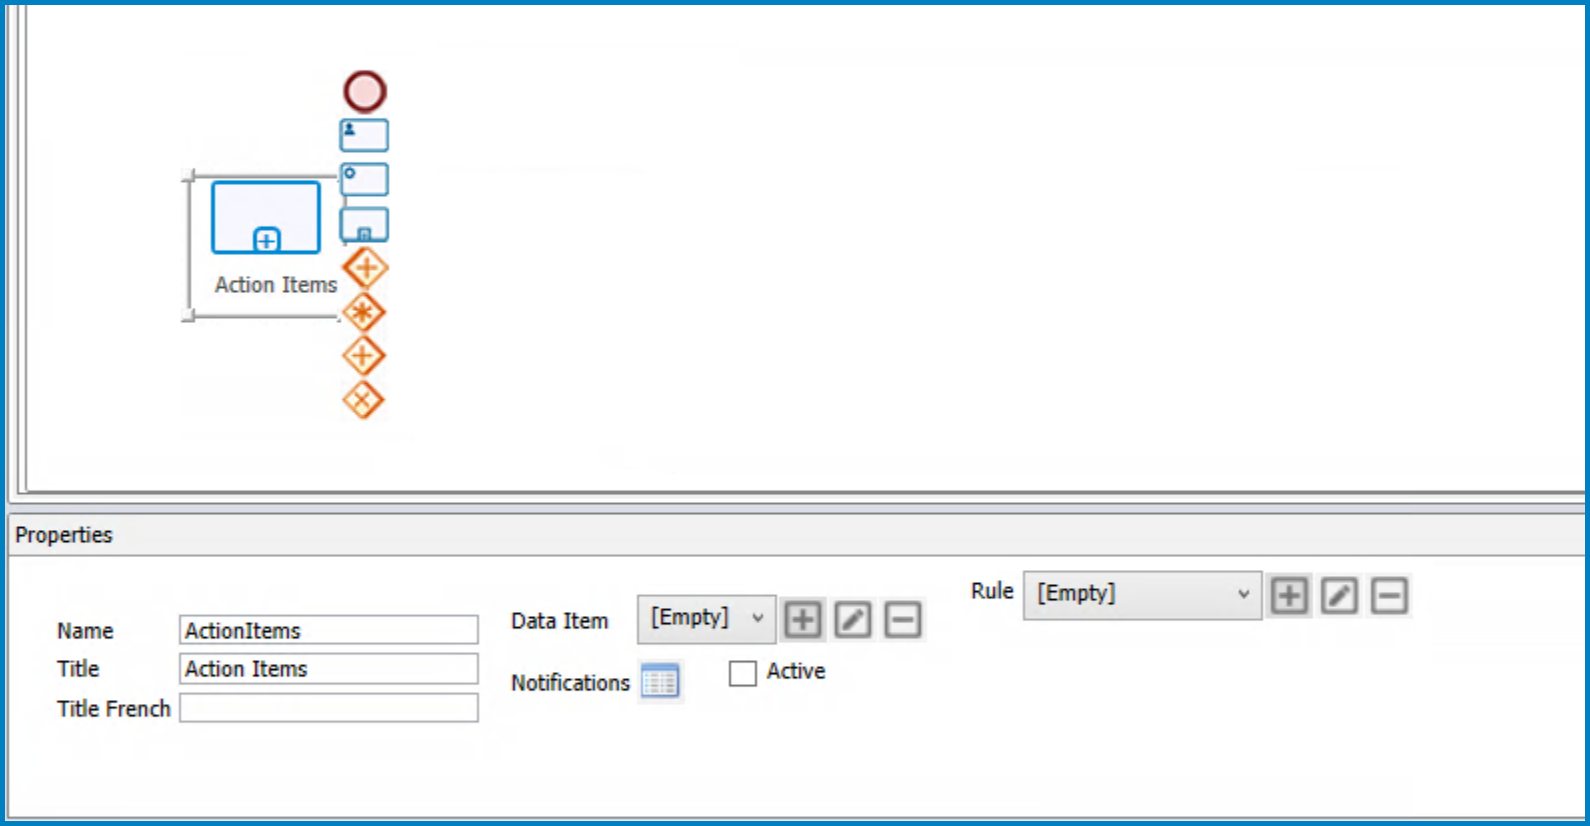
- Name: This is a text field that allows users to input the name for the element.
- There are the following rules determining the validity of names:
- A valid name can contain letters, numbers, and the underscore symbol. It cannot, however, contain spaces or other special characters. It also cannot begin with a number.
- An element must have a unique name. It cannot have the same name as another element in the process.
- Users can only input up to a maximum of 17 characters in this field.
- There are the following rules determining the validity of names:
- Title: This is a text field that allows users to input the title for the element. This title will be displayed in the diagram.
- Unlike with names, there are no rules determining the validity of titles.
- Unlike with names, there are no rules determining the validity of titles.
- Data Item: This is a single-select dropdown field that retrieves the list of data items (from the Task Data Items section of the Notification module). It allows users to assign a data item to the object.
- To define a new data item, select the
![]() button.
button.
- It will display the Data Item Properties window.
- To modify an existing data item, select the
![]() button.
button. - To delete a data item, select the
![]() button.
button.
- To define a new data item, select the
- Active: This is a checkbox which, if selected, allows users to mark out the object as active.
- The term active, in this context, means that notifications have been enabled for the activity.
- Selecting this checkbox will display a small envelope on the object in the diagram, signifying that a notification will be sent at that stage.
![]()
- Notifications: This button allows users to define the required notifications for the activity. It is only enabled once the Active checkbox has been selected and the process has been published.
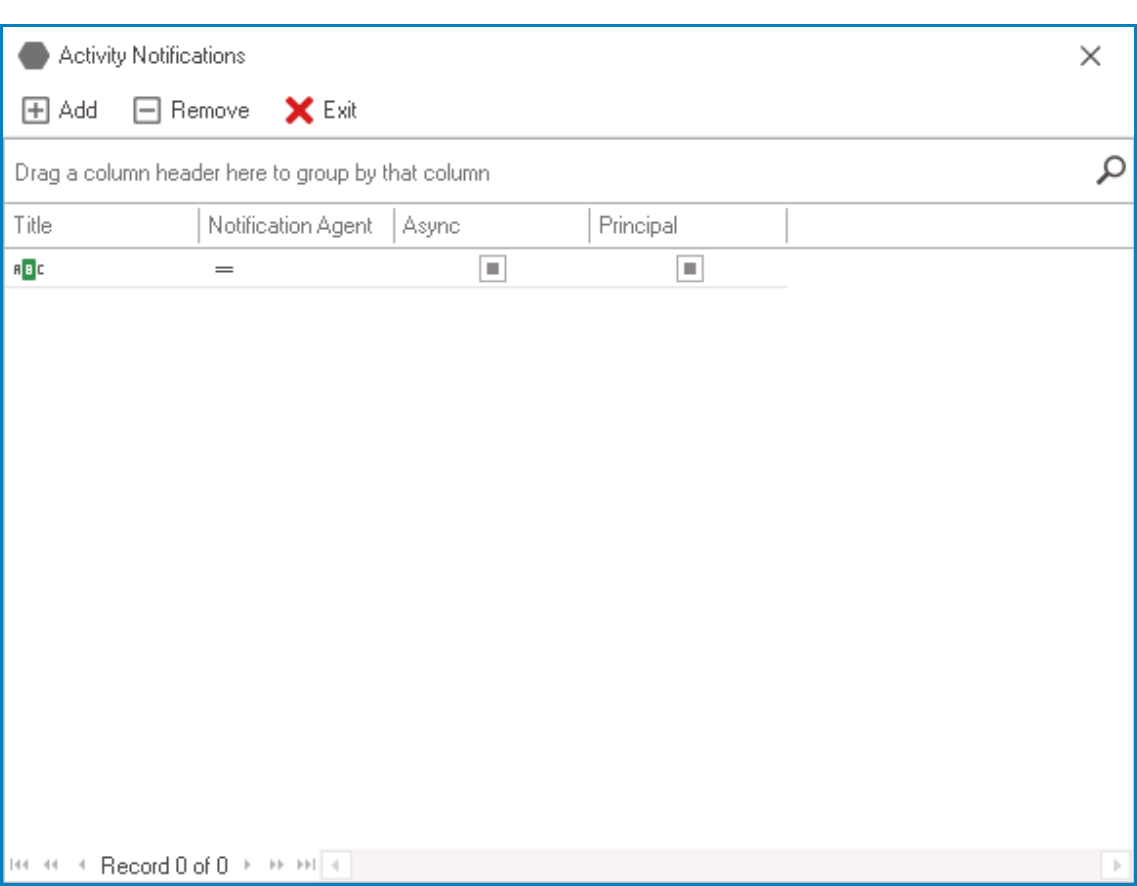
- Once selected, it will display the Activity Notifications window.
![]()
- Add: This button allows users to add a new notification.
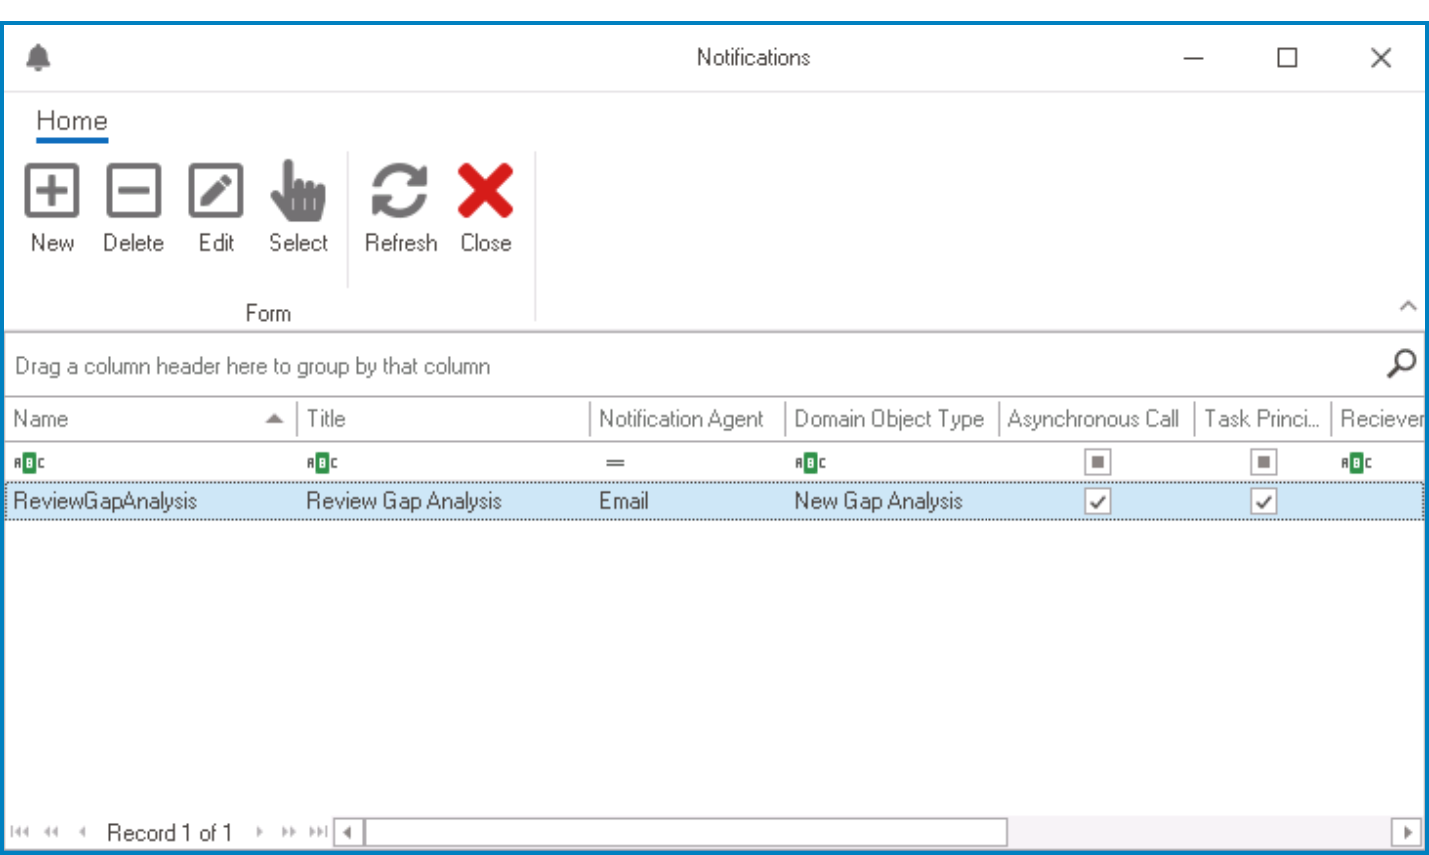
- Selecting this button will display the Notifications window, in which users can either define new notifications or select existing ones (if applicable) from the list.
![]()
- New: This button allows users to create a new notification item.
- It will display the Notification Item Properties form.
- Delete: This button allows users to delete a notification item.
- Edit: This button allows users to edit an existing notification item.
- Select: This button allows users to select a notification item (to be triggered during the process).
- Selecting this button will redirect users back to the Activity Notifications window—the notification item now listed therein.
- Users can also select a notification item by double-clicking on it.
- Selecting this button will redirect users back to the Activity Notifications window—the notification item now listed therein.
- Refresh: This button allows users to refresh the window.
- Close: This button allows users to close the Notifications window..
- New: This button allows users to create a new notification item.
- Selecting this button will display the Notifications window, in which users can either define new notifications or select existing ones (if applicable) from the list.
- Remove: This button allows users to remove a notification.
- Exit: This button allows users to exit the Activity Notifications window.
- Once selected, it will display the Activity Notifications window.
- Rule: This is a single-select dropdown field that retrieves the list of rules (from the Rules section of the Business Logics module). It allows users to assign a rule to the object.
- To define a new rule, select the
![]() button.
button.
- It will display the Rule Properties window.
- To modify an existing rule, select the
![]() button.
button. - To delete a rule, select the
![]() button.
button.
- To define a new rule, select the