
UNDERSTANDING THE LAYOUT – The Entry Detail Page

At the top of every entry detail page you’ll find your primary controls.
Cancelwill exit this heading without saving your changes.
Not Applicablewill save and exit this heading marking it gray and not applicable in this project.
Incompletewill save and exit this heading marking this button yellow and incomplete.
- This is commonly used when you intend to collect more information before completing this item.
Completewill save and exit marking this heading green, and complete.
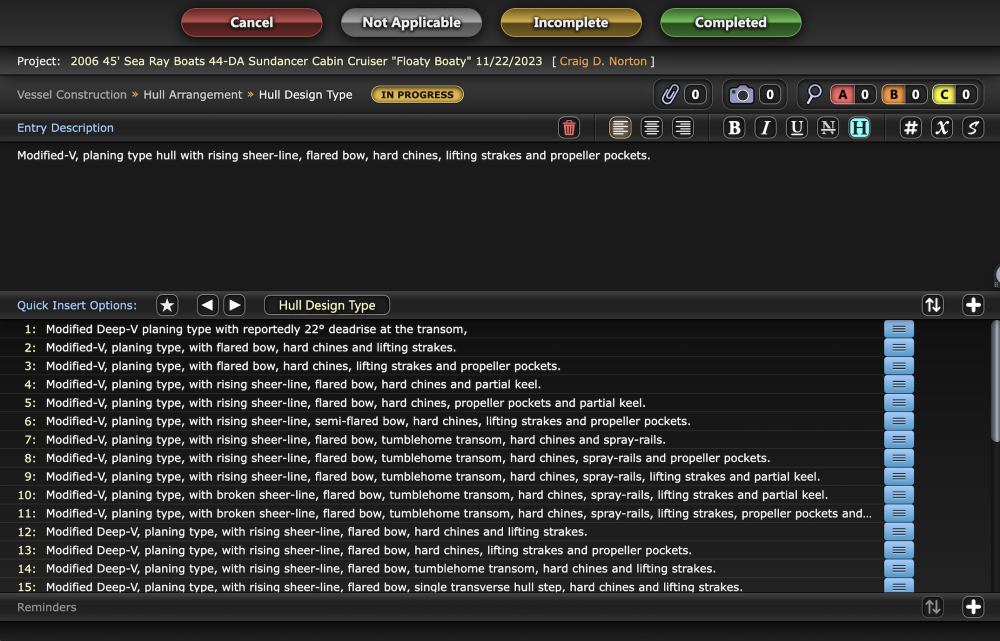
The Entry Description is where you would type your description or narrative. You can choose to enter this text manually or choose from one of the customizable Quick Insert Options below. The Quick Insert Options and Reminders horizontal bars can be moved up/down to best display your content and viewing area. Near the upper right you’ll find options for formatting the text, creating Findings & Recommendations and Substitute Variables.
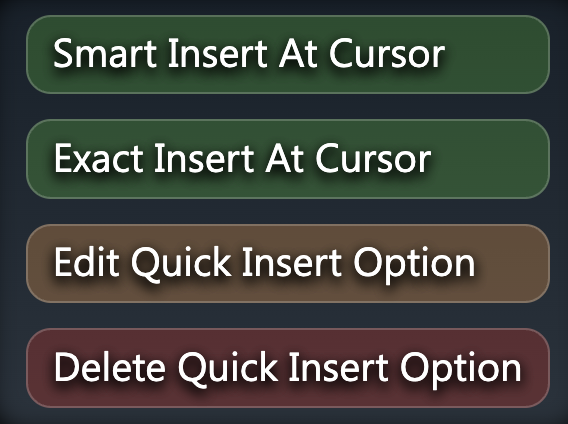
Double click/tap a quick insert option to immediately insert at the cursor location. Single-click or right-click for the quick insert option menu. You will most frequently be selecting one of the top two choices:
Smart Insert or Exact Insert.
Smart Insert will adjust capitalization and spacing according to your current sentence, while Exact Insert will insert the statement exactly as written. Either of the two will place the narrative text into your edit window at your cursor location (identified by the two blue teardrops in the text window).
This Quick Insert drop-down menu can also be used for deleting or editing any Insert Option text.
Create new Quick Insert Options by using the + button on the right of this bar, and re-order the list manually or alphabetically if you choose.
Additional action buttons are located to the upper right of the Entry Description window.
- The
#number menu can be used to quickly modify or add numbers in your entry window without any typing. - The
xmenu contains all the available Substitute Variables. - The
Smenu contains all the available inspector signatures and accreditations.
If you want to insert image attachments right at this entry in the body of the report you will add those using the photo or attachments icon.