Migrating the entire database is useful when changing computers or setting up an identical version of InspectX on a different computer.
In order to migrate your InspectX database from one computer to another you’ll need to have InspectX installed on the destination computer first. Feel free to download the software from our website here: DOWNLOAD
If you have your backups saved to a cloud service we’ll import from there, otherwise you’ll need a USB or other storage device to transfer the data. If you still have the original computer, see the steps covered in “Database Backup/Restore” HERE.
For the following steps in this guide, we’ll assume you have access to your InspectX backups on the new/destination computer.
Let’s start on the original computer where we will BACKUP the entire database.
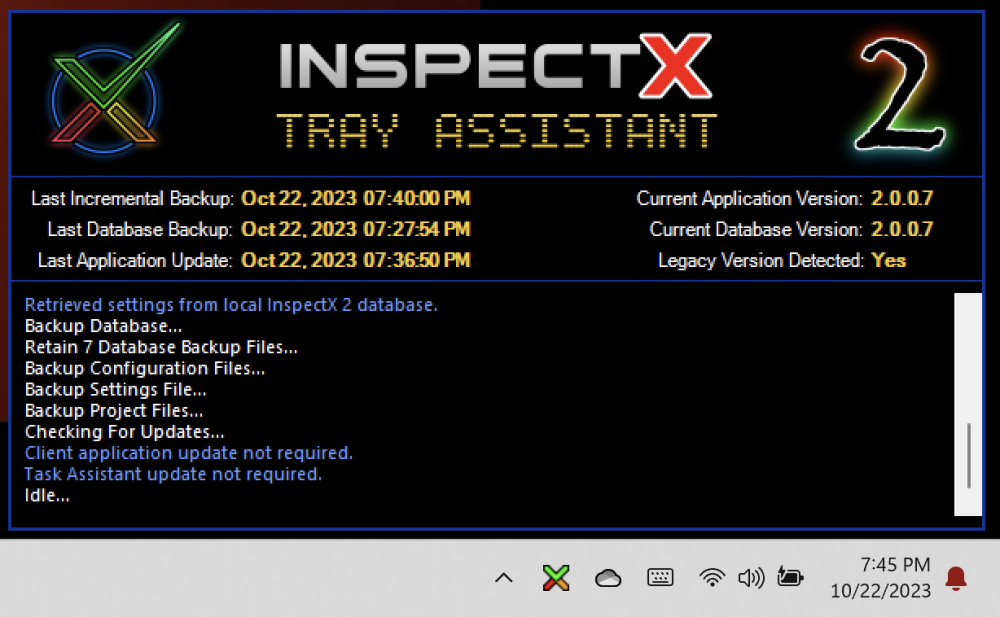
You’ll notice that InspectX 2 has a tray icon running in the System Tray of your Task Bar in the lower right of your computer (you may need to click the arrow to see this service).
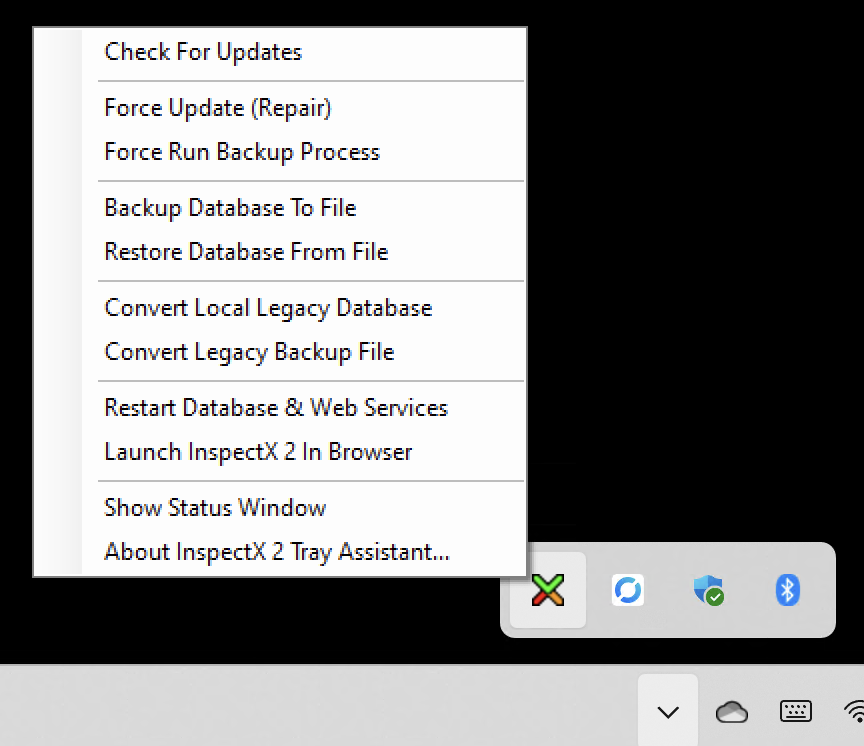
If you right-click on this try icon you will see a list of options, including methods of backing up and restoring a database.
You don’t need to Convert your database unless you are coming from InspectX version 1.
1. Right-click the InspectX Tray Assistant.
2. Select Backup Database to File and choose a destination where to save the file.
Once completed you should have an identical copy of the database that can be transferred to your new computer.
On the new or destination computer:
1. Right-click the InspectX Tray Assistant (same as you did above).
2. This time, select Retore Database from File and choose a destination where the database file was saved.
Left-click the Tray Assistant icon to see the progress of the database import.