
Livemask allows masks to be created and edited on each layer.

Creating Live Masks
Press the Edit button to open the mask editor
![]()
Press the New button to create a new, blank mask.
Mask Properties
Invert
Toggles the mask from being clear shapes to clear background with opaque shapes
- Enable The background is transparent and shapes mask
- Disable The Default. The background is a mask and shapes are transparent.
Use Alpha
Toggles the mask being alpha transparent or black
- Enable The mask is rendered as alpha. Layers beneath it will show through in alpha mix modes.
- Disable The Default. The mask is rendered as black
Generic Properties
Show Points
Toggles nodes and mouse position being drawn on the output
- Enable The position of the mouse and nodes is shown on the output
- Disable The Default. Only the mask is show on the output
Move with Alt
Disables mouse dragging of shapes.
- Enable Shapes can only be moved with mouse dragging when ALT is held down.
- Disable Mouse dragging is enabled.
Creating shapes
Right click inside the central area to create a new mask shape.
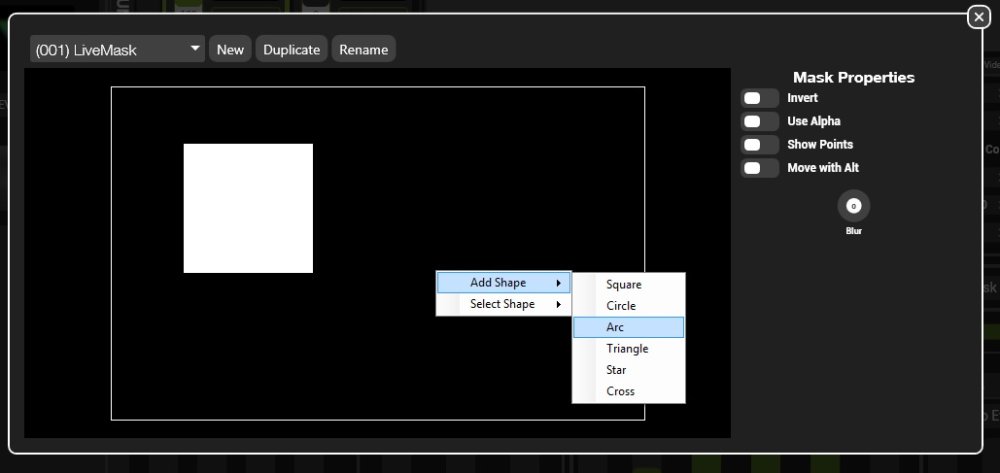
Many basic shapes can be added including:
- Square
- Circle
- Arc
- Triangle
- Star
- Cross
Editing shapes
To edit a shape, left click into it.
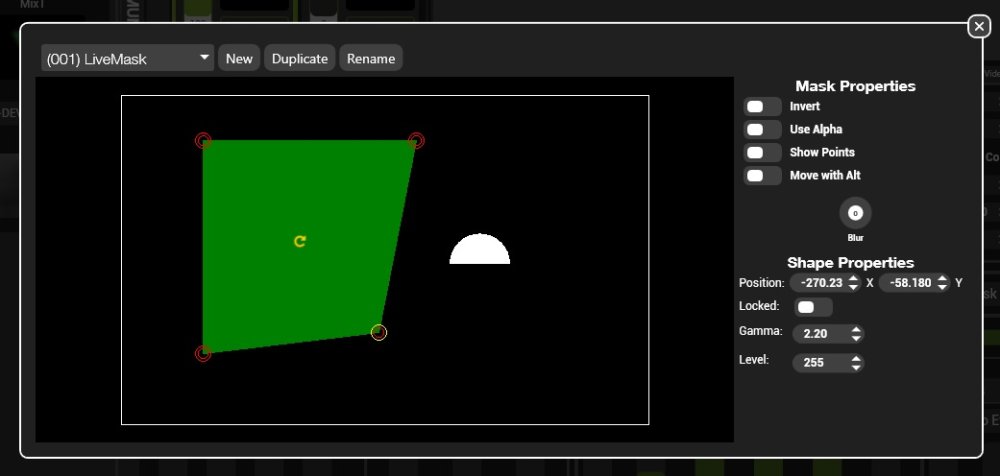
Moving the Shape
There are several ways to move shapes
- Left click and hold over the shape and drag (holding SHIFT while dragging switches to fine control)
- Select the shape and edit the position in the Shape properties panel on the right side.
- Select the shape and use the arrow keys to move the shape. (Holding SHIFT while pressing the arrow keys will move the shape 1/10 as fast).
Editing a Shape
 To rotate the shape left click the rotate symbol and drag the mouse
 The corners (or node) of shapes can be moved by selecting the shape and dragging the desired node
- Right click over the shape for additional options.
- The mouse wheel zooms the selected shape in and out
- Hold CTRL while moving the mouse wheel to feather the edges of the shape.
Post your comment on this topic.