
The ‘Room from Layout’ creates a 3D room with wall planes based on the 2D floorplan layout. This function can also be used to add additional walls and details to an existing room measurement.
To use this function, you must have a folder with a horizontal plane—it cannot be used in other folders! Typically, the plane of this folder is set to the floor of the room. If you want to add additional walls to an existing 3D room measurement, you can use the existing ’2D Layout’ folder for this.
To create a room using the ‘Room from Layout’ function in version 3.3.7.0:
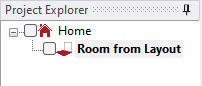
- Create and select a ‘Floor plan’ or ’2D-Layout’ folder. If you measure multiple rooms, you may choose to organize your project into a 3D subfolder.
![]()
- Measure the perimeter walls with the ‘Multiple lines’ command. You may reposition the Flexijet during this measurement as needed, following the usual process.
![]()
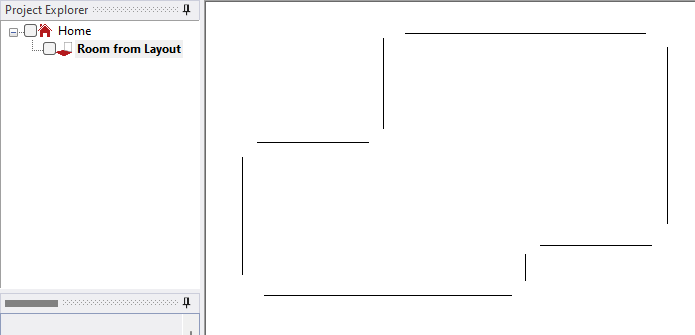
- Connect the wall lines with the command “Connect endpoints”, or by using the auto-fillet functions.
![]()

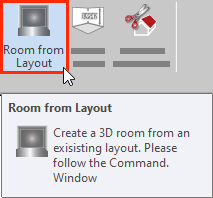
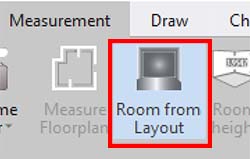
- In FlexiCAD, select ‘Room from layout’ under the ‘Measurement’ ribbon.
![]()
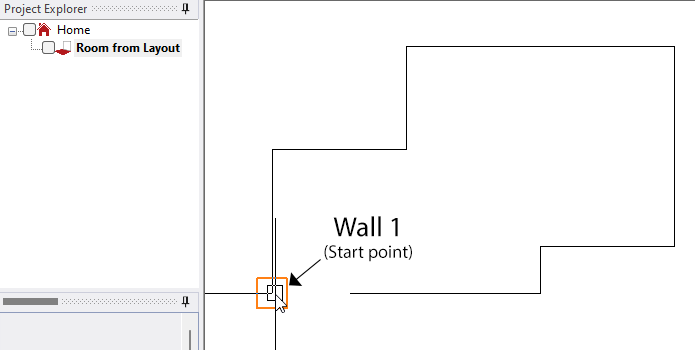
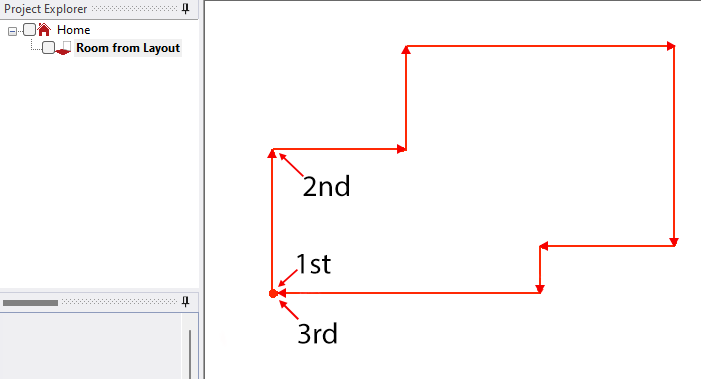
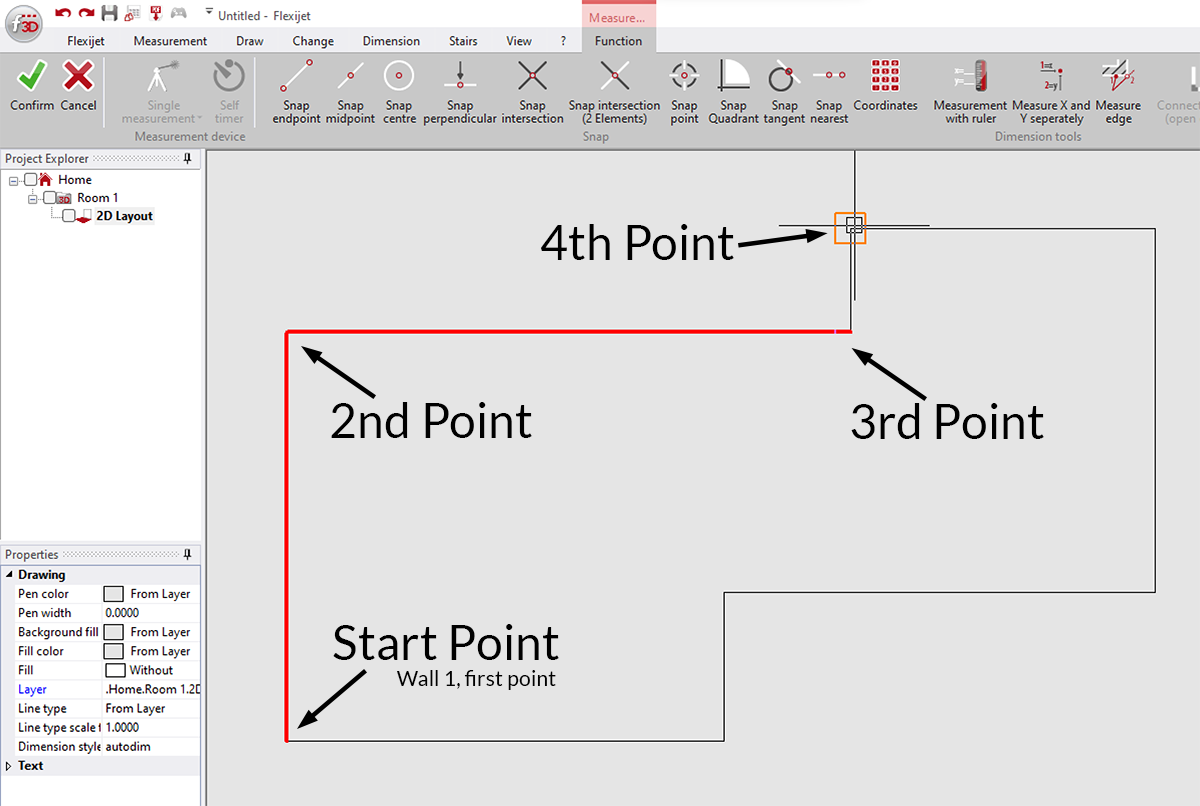
- Click with the mouse or tap on the starting point of wall 1.
![]()
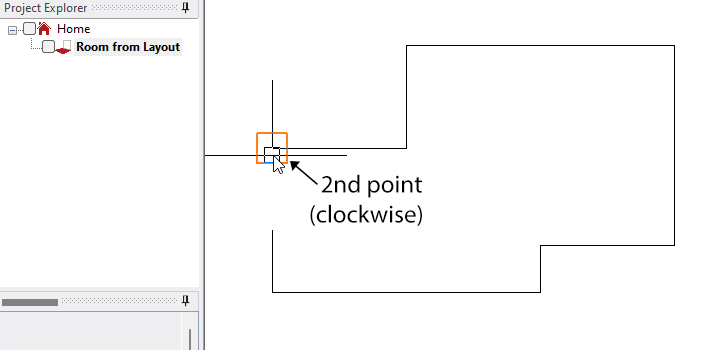
- Click on the second point along the contour in a clockwise direction.
![]()
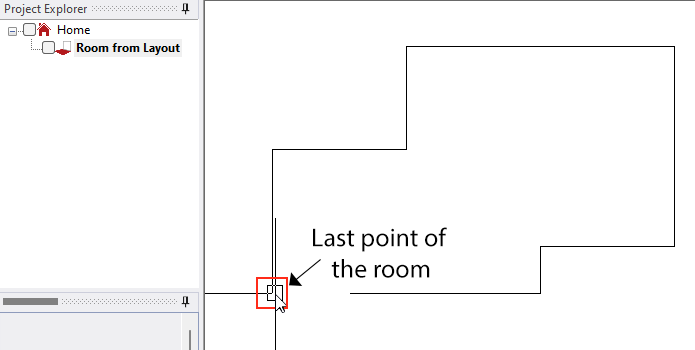
- Then Click on the last point of the room. Note: if the room is closed, the Last Point would be the same as the First point
![]()
- The whole countour of your room will be colored in red, and you just have to measure or click an appropriate point to set the ceiling height or the upper edge of the walls.
![]()
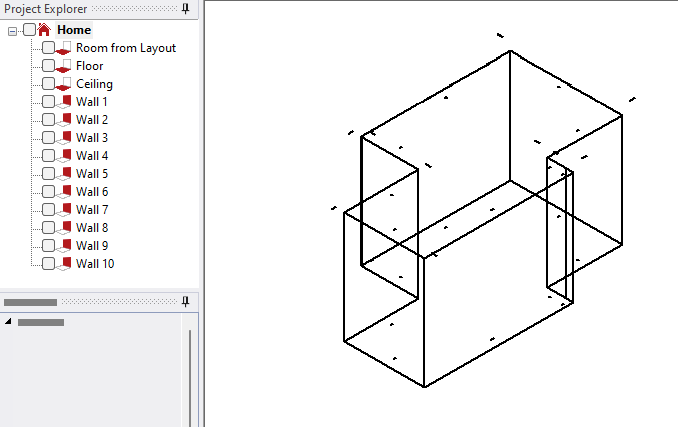
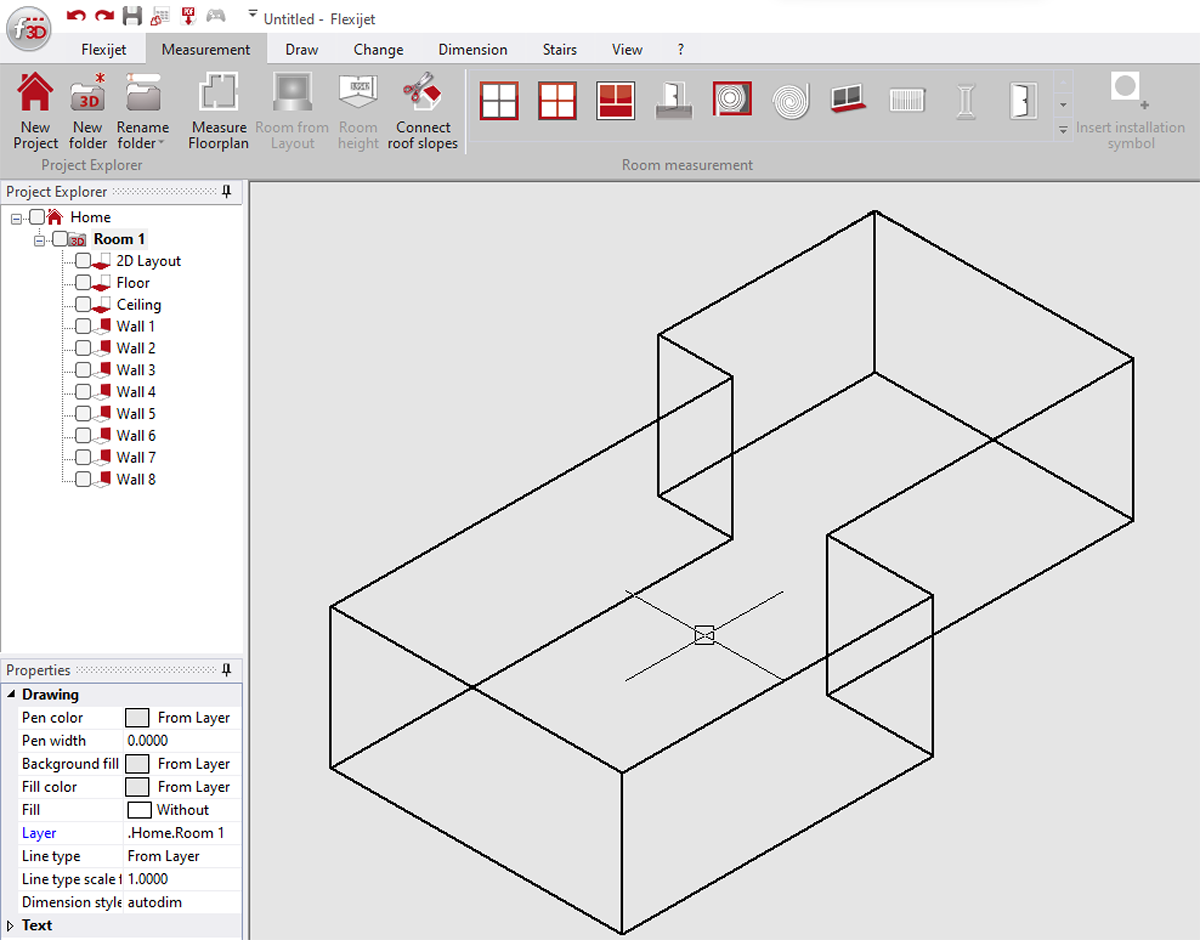
- Finally, every wall of your project, including the floor and the ceiling, will be displayed on your project explorer.
![]()
To create a room using the ‘Room from Layout’ function in version 3.3.6.0 and older:
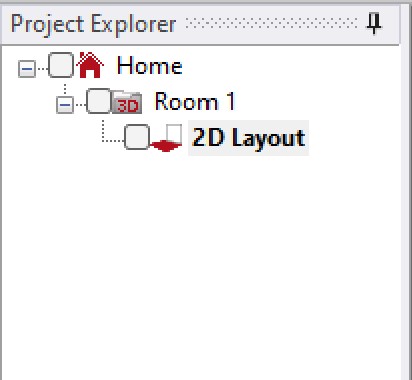
- Create and select a ‘Floor plan’ or ’2D-Layout’ folder. If you measure multiple rooms, you may choose to organize your project into a 3D subfolder.
![Project explorer with Home, 3D, and 2D-layout folder.]()
- Measure the perimeter walls with the ‘Multiple lines’ command. You may reposition the Flexijet during this measurement as needed, following the usual process.


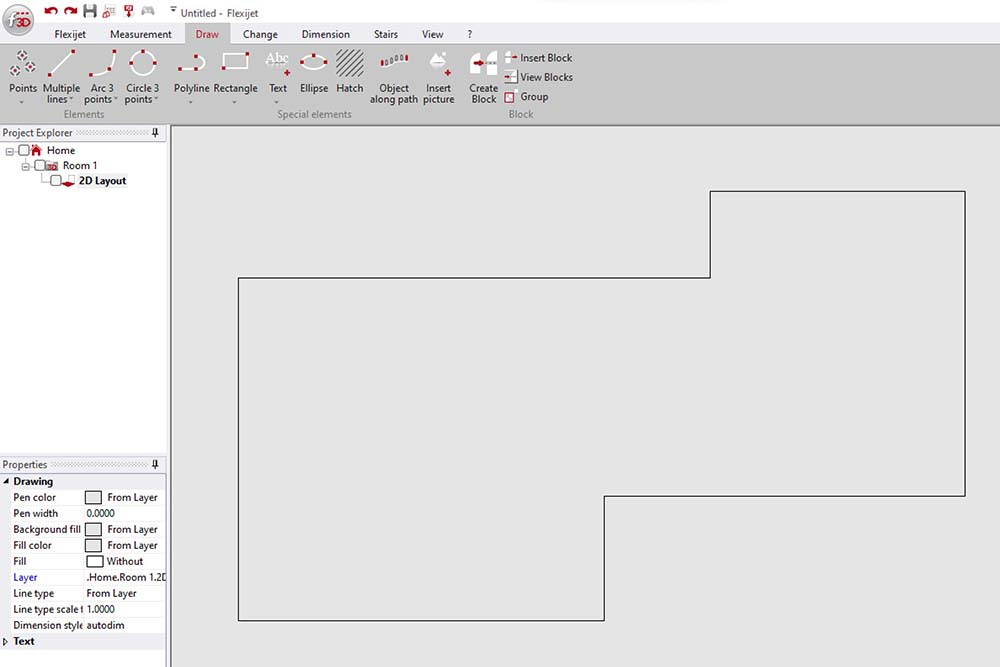
- Connect the wall lines with the command “Connect endpoints”, or by using the auto-fillet functions.
![2D layout with lines connected]()
- In FlexiCAD, select ‘Room from layout’ under the ‘Measurement’ ribbon.
![Room from Layout button highlighted on measurement ribbon]()
- Click with the mouse or tap on the end points of the wall lines in a clockwise direction. Note that after clicking the start point, only subsequent corners need to be clicked. A red line on the screen will indicate your progress.
![Room from layout clicking points on lines]()
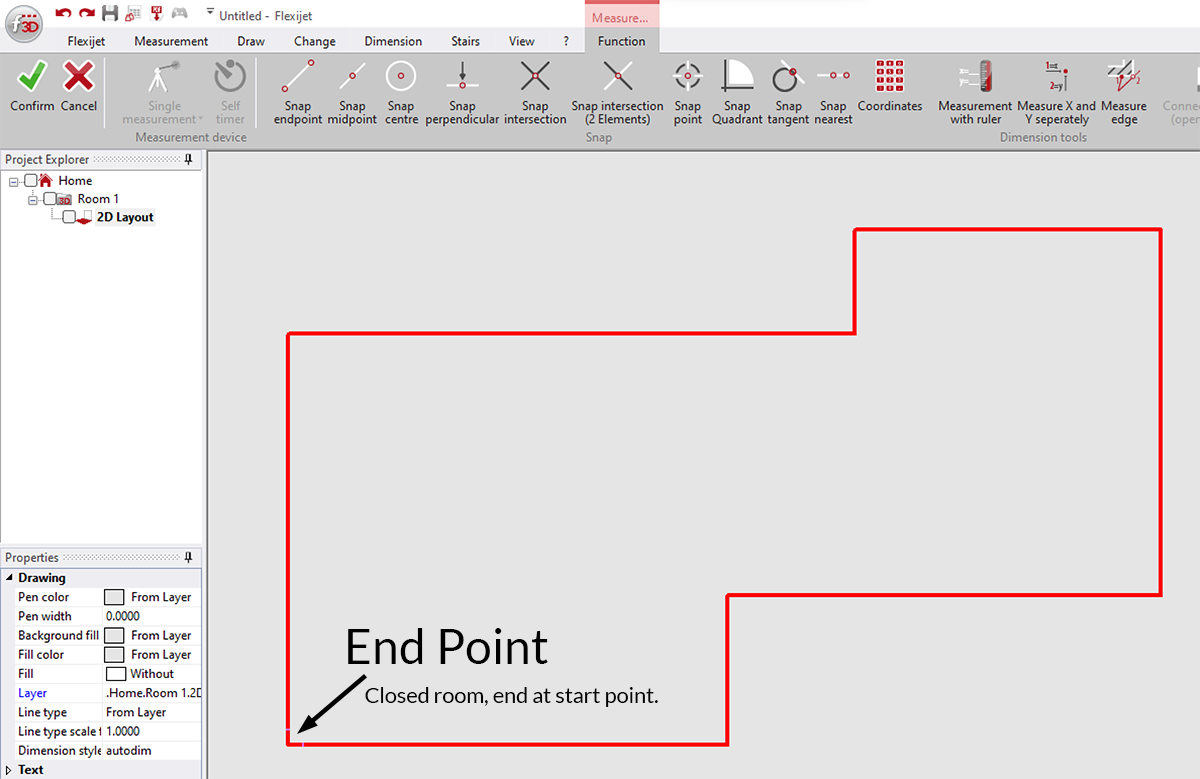
- When you have drawn all the additional walls, you end the command with “Esc”.
![Room from layout closed room last point]()
- Finally, measure or click an appropriate point to set the the ceiling height or the upper edge of the walls. The appropriate folders and elements are created to form the completed room measurement.
![Room from layout completed with all folders]()
If you also want to measure a half-height wall or a room divider, you can very conveniently use the “Room from layout” function.
- Select the 2D Measure the missing walls with the command “Multiple lines”.
- Connect the wall lines with the command “Connect endpoints”, or by using the auto-fillet functions.
- In FlexiCAD, select ‘Room from layout’ under the ‘Measurement’ ribbon.
- You will now be asked to measure another wall. If your room has four walls, the request is: ”Wall 5 first point”.
- Click with the mouse or tap on the end points of the wall lines in a clockwise direction. Note that after clicking the start point, only subsequent corners need to be clicked. A red line on the screen will indicate your progress.
- When you have drawn all the additional walls, you end the command with “Esc”.
- Finally, measure or click an appropriate point to set the the ceiling height or the upper edge of the walls.
Feedback
Copyright © 2025 Flexijet GmbH
—
Powered by 
Post your comment on this topic.