
Complete the following steps to import records into a batch table:
1. Download the Batch Template
2. Enter New Records
3. Format Table
4. Get Batch #
5. Assign Batch Sequence
6. Validate Import
7. Execute Import
8. Validate Batch (Optional)
9. Post Batch (Optional)
Download the Batch Template
Make sure you’ve downloaded one of the batch templates or follow the Creating a Batch Layout for Imports steps first.

Enter New Records
In order to Import records, you must fill out all required columns.
For this example, we will use an existing entry as our guideline.
1. To add a new record, click below the last record in the Co column.

2. Enter the Company number and press the Tab key.

3. The row will now be included in the Table with the other records.

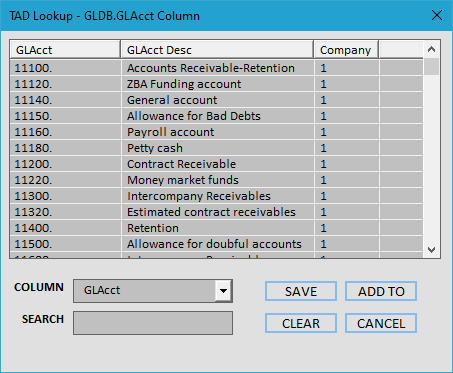
4. Table fields can utilize the F4 lookups just like the parameters. Click in the GLAcct field and press the F4 key.

5. That will open the TAD Lookup form showing you a list of GL Accounts.
6. Select a value from the list and click the Save button.
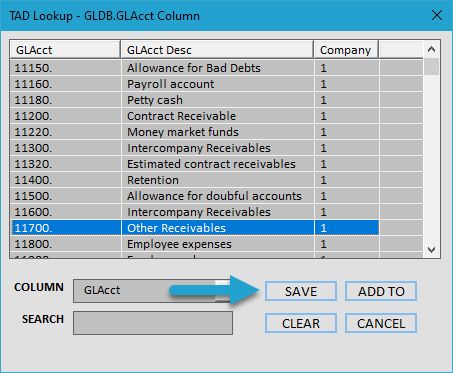
7. You should now see the value in the field.

8. Fill out the remaining fields except the BatchId and BatchSeq fields since those will be assigned by the TAD actions.

Format Table
After all records have been entered, always click the Format Table button on the ribbon one last time to make sure all cells are formatted properly and/or assign the default values.
1. Click the Format Table button on the ribbon.

2. You should see the default values applied to the empty cells of BatchTransTypes, Source, and InterCo.

Get Batch #
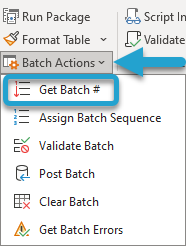
The Get Batch # button assigns batch numbers to the records in the table. The batch numbers will be unique to each Company and Month.
1. Click the Batch Actions button on the ribbon and then the Get Batch # button.
2. You should see the new batch number assigned to the records.

Assign Batch Sequence
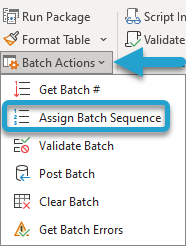
The Assign Batch Sequence button assigns sequence numbers to the records in the table. The sequence numbers will be unique to each Company and Month.
1. Click the Batch Actions button on the ribbon and then the Assign Batch Sequence button.
2. You should see the new batch number assigned to the records.

Validate Import
The Validate Import button imports the records into the database to see if the transactions will be successful. If the transactions fail, then an error message will be returned for each individual record.
1. Click the Validate Import button on the ribbon.

2. You want to see Validated in the Result column. If you see Failure then you should see an error in the ErrorMsg column. Make the appropriate corrections before validating until successful.

Execute Import
Once all records validate then you can use the Execute Import button on the ribbon to import them into the database.
1. Click the Execute Import button on the ribbon.

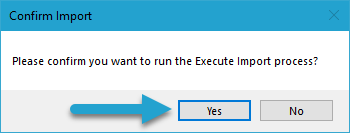
2. You will be prompted with the message below. Click Yes to continue with the import.
3. If you see Imported in the Result column then the record was imported into the database.

At this point, you can open the batch in Vista to validate and post or use the following steps to complete with TAD.
Validate Batch
The Validate Batch button validates each batch using the same process as you would inside Vista.
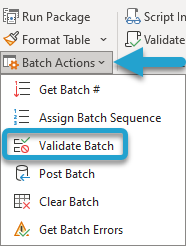
1. Click the Batch Actions button on the ribbon and then the Validate Batch button.
2. You should see a similar message in the Result column. If you receive batch errors you can use the Get Batch Errors button to download the errors.

Post Batch
The Post Batch button posts each batch using the same process as you would inside Vista.
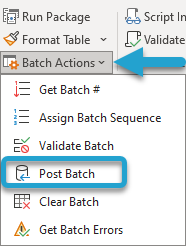
1. Click the Batch Actions button on the ribbon and then the Post Batch button.
2. You should see a similar message in the Result column.

Post your comment on this topic.