
Creating a New Personal Property Appraisal Record
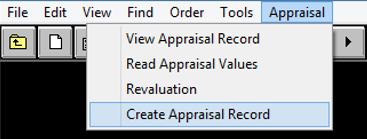
Once the new Personal Property Account is created, from that account in the Assessment File go to Appraisal—Create Appraisal Record
Select the type of Appraisal Record and CLICK Create.
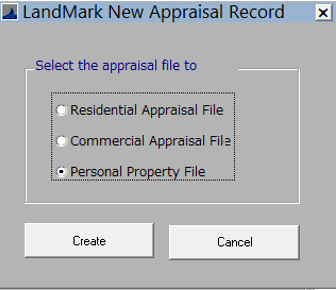
Please Note: Any type of Appraisal File can be selected, and the record will still be classified as Personal. For Example, a Mobile Home Personal Property can have a Residential Appraisal File attached to the account or an IOLL can have a Commercial Appraisal File attached to the account.
Once created, a new blank Appraisal Record will appear.
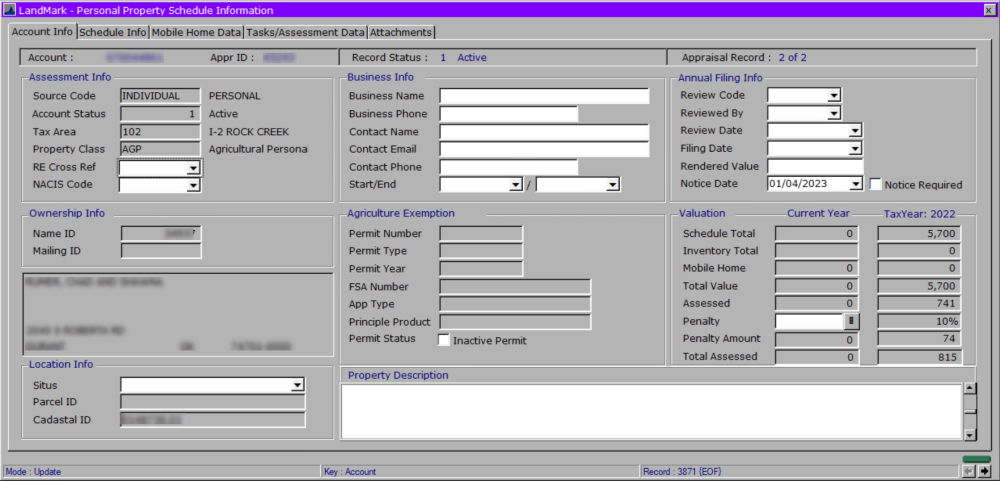
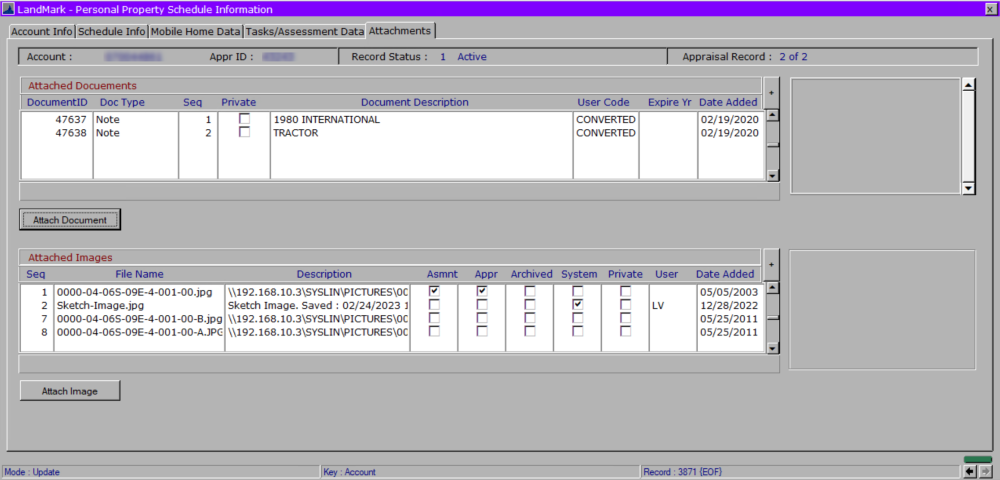
To edit this record, CLICK the Edit button on the Toolbar or on the Menu Bar go to Edit—Record ![]()
Assessment Info: These fields are all defined in the Assessment File.
Source Code: The type of property the account is such as Business, Individual, Dock, IOLL, or Mobile-Home and defines which type of Rendition and Valuation Notice is associated with the account.
Account Status: This is the current Parcel Status of the Account.
RE Cross Ref: This will populate with the account number of the cross-referenced account if applicable.
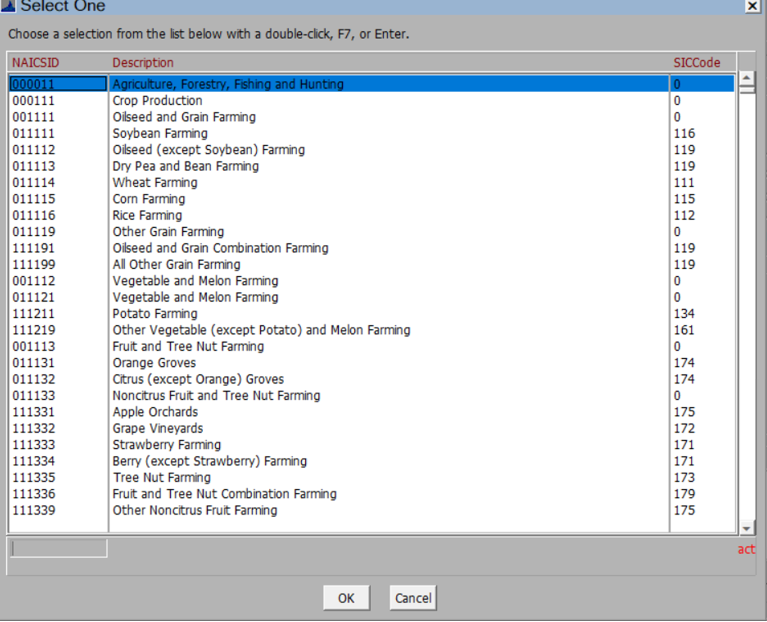
NAICS Code: Users can add select a NACIS Code from the drop-down list for a Business Personal Property Account.
Review Code: This field is not mandatory. It is used to track the status of the rendition review process. The drop-down menu will provide a user-defined list to choose from.
Reviewed By: This field indicates which user reviewed the returned rendition.
*Review Date:*This is the date the rendition information was updated in LandMark.
Filing Date: This is the date the rendition was returned. LandMark will automatically calculate a penalty percent based on the filing date. If there is no filing date and penalties are applied after April 20th, the penalty will be 20%.
NOTE: Personal Property Renditions printed out of the LandMark System will have a barcode scanner on them. When these Renditions are sent back to the county, they can be scanned in. The System will then automatically populate the Reviewed By and Filing Date fields.
Under the Schedule Info Tab, items can be added to the Personal Property Record.
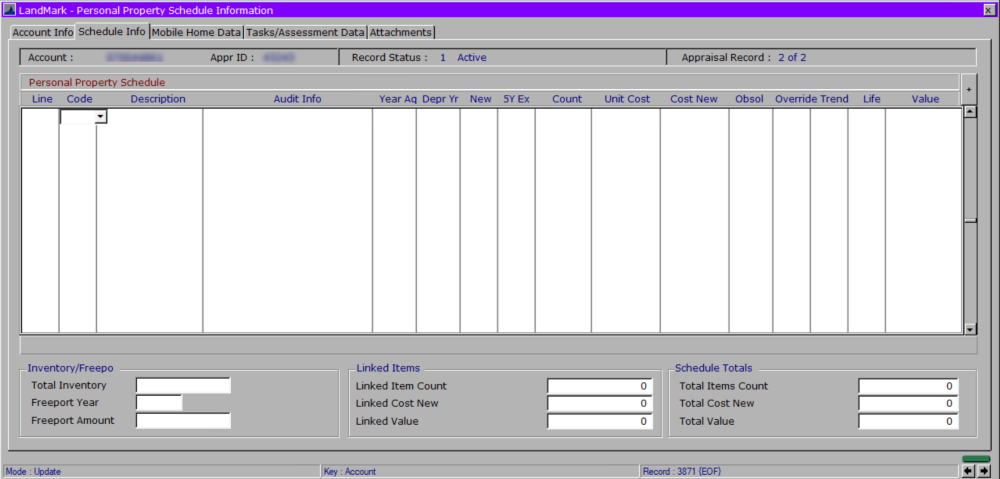
There are three ways to enter a new schedule item:
1. The user can either click “+” button in the top right corner of the screen.
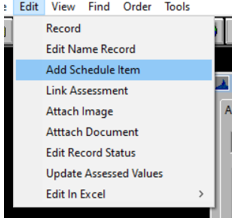
2. On the Menu Bar the user can click on Edit – Add Schedule Item
3. Or the user can click on the line itself in the Schedule Items tab and click the drop down to select the Item Type. Tabbing over will allow the user to complete the rest of the required information.
Post your comment on this topic.